Dynamic product management in a static e-commerce workflow
This story started when we decided to teach people how to sell carrots online.
Two months ago, we published a blog post showing how to use Snipcart, our HTML/JS-based shopping cart, and Roots, a static site generator, to create a simple static e-commerce site. As a friendly nod to Carrot, the agency that created Roots, we sold, well, hum, carrots on our demo site.
It wasn't our first rodeo with static websites. Like our friends at Netlify, we believe they are indeed the next big thing. Many web developers feel the same way, and, more importantly, act accordingly. When researching our Roots blog post, we found that the tech team at Carrot had some of these developers in its ranks. We stumbled upon one of their code journal entries explaining how they built a static CMS with Roots and an API-based, headless CMS.
What Contentful means for a static e-commerce setup
We explained how to add a customizable layer of e-commerce into static projects many times on our blog. Following these simple instructions, developers could set up static e-commerce site in a flash using generators like Middleman, Jekyll & Hugo.
Now adding products and modifying modern static websites is child's play for developers. But editing a .yml file and pushing to GitHub for a non-techie merchant? Forget it. In this case, a static set up inevitably reduces a merchant's ability to manage its own store. It forces more recurring developer input that has little added value for the project.
Now that's where Contentful comes in.
After throwing the API-based CMS into the mix, things get way better, for everyone. Developers will still leverage a modular approach and work with modern tools they love. But adding Contentful into their static workflow, they'll allow merchants to easily manage products (and more) with a simple web-based editor.
By giving autonomy to the merchant, you take away a major pain shared by both sides.
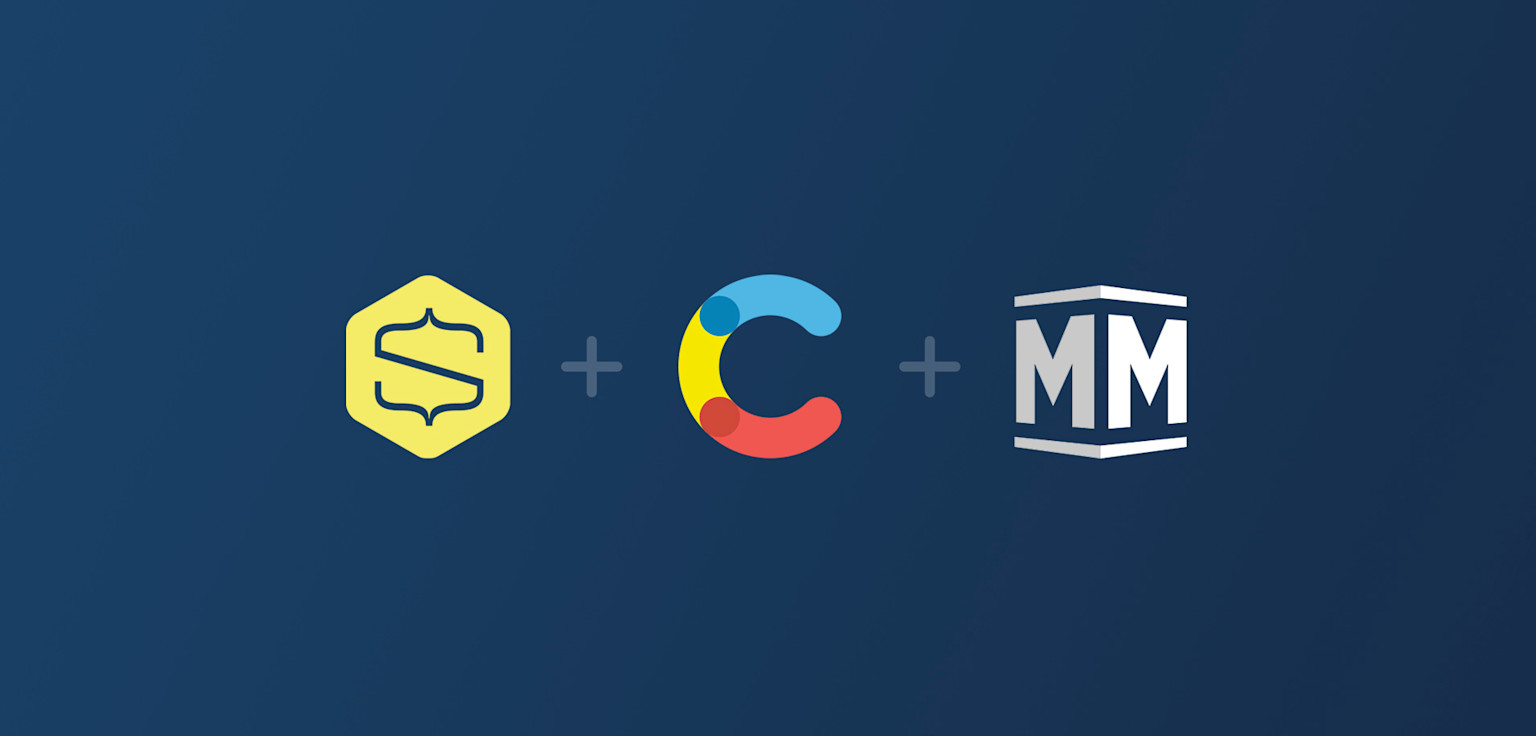
Today we're going to show you how to bring this best of both world scenario to life. We're going to walk you through a complete static e-commerce set up using Middleman, Snipcart & Contentful.
Starting notes
For this how-to post, we assume that you have a Contentful account (sign up here).
We'll be using version 3.x of Middleman since the
contentful_middlemangem is still experimental for Middleman 4.We assume that you have Middleman installed and know your way around it (and Ruby). The Middleman installation guide might come in handy.
1. Setting up Contentful & creating products
Head to your Contentful app and create a new space. We'll call ours snipcart-contentful-middleman-demo.
Under Content Types, create a new type. Since we want to sell stuff, we'll name it Product.
Open up your Product content type and add these fields:
Name (Text -> Short text)
SnipcartId (Number -> Integer). This field must not be named
idbecause of a bug in the current version of the contentful gem. I flagged the issue and Contentful immediately responded with a fix. But since we're not using the last version of the gem yet, we must use a workaround.Slug (Text -> Short text)
Description (Text -> Long text)
Price (Number -> Decimal)
Image (Media -> One file)
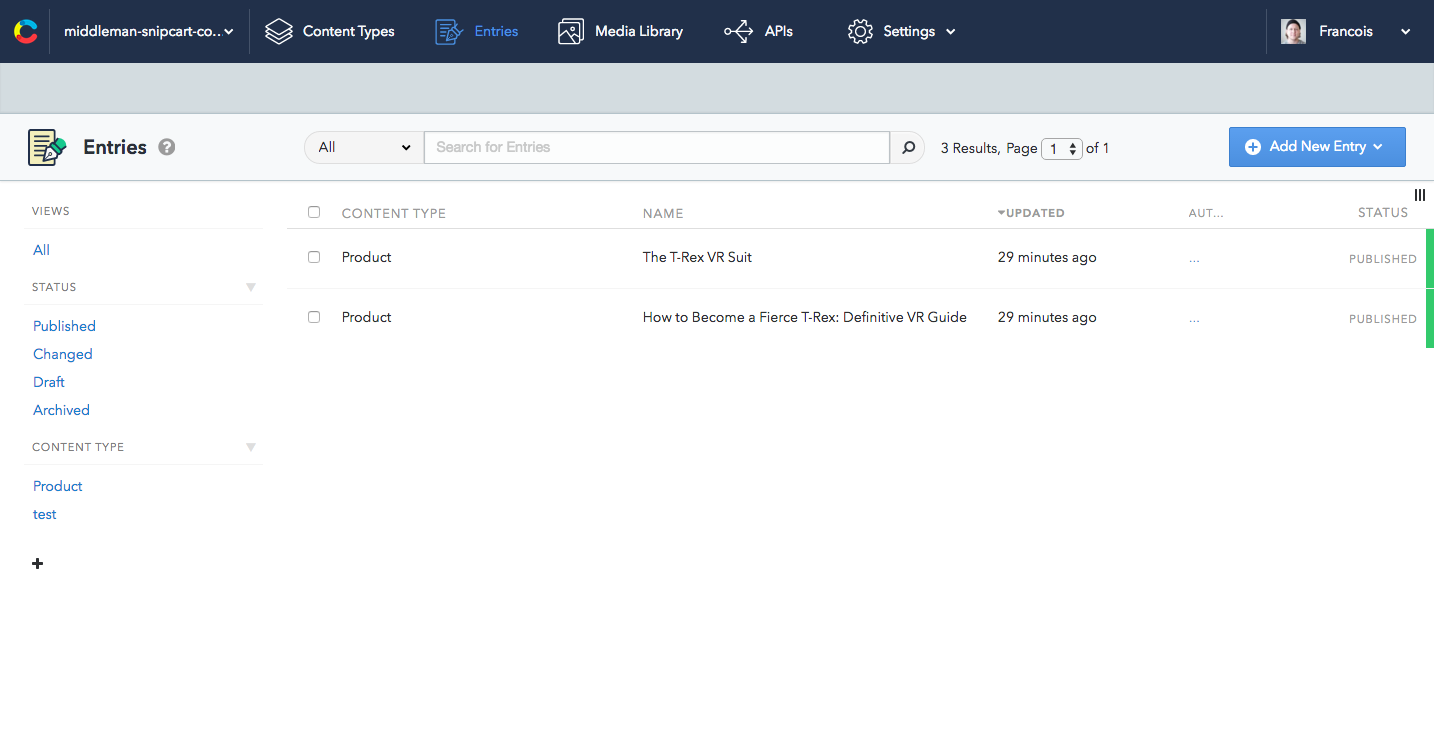
Now hit the Entries section and add a few products. For this demo, we'll be selling a T-Rex VR suit offering a pre-historic dinosaur immersive experience. We'll also be selling a book on how to be a fierce T-Rex. Let's take VR to a whole new level, folks

2. Setting up Middleman & Snipcart
Create your Middleman project
First, pick the directory where you want to create your project. Make sure you're using Middleman 3.x and run middleman init.
Now open the project in your editor of choice (Spacemacs for me) and make sure Middleman is working: bundle exec middleman server. Then, add the gem contentful_middleman to your Gemfile and run Bundler: bundle install.
Okay, time to set up the Contentful gem. Go to config.rb and add these configurations:
Here, replace the space id by your own space id. You can view it in your Contentful dashboard under APIs -> Content Delivery API -> API KEYS -> (Create one if you don't have one) -> Website -> Space ID. For the access token, I suggest using an environment variable to avoid putting the API key in a repository.
Now import your content from Contentful: bundle exec middleman contentful.
Set up a basic site layout
We'll use Foundation to produce a basic layout very quickly. Add the following to layout.erb:
Now, delete the default Middleman stylesheet all.css in source/stylesheets. Then, add a simple navbar to the body tag, before <%= yield =>:
Integrate Snipcart
Of course, we also need to include Snipcart for the e-commerce part. We will use Middleman helpers to do so:
Notice that, once again, I used an environment variable to avoid putting the API key inside a versioned file.
Create an index page
We'll need a basic index page to list all the products. Start by deleting the entire content of the index.html.erb file created by Middleman. Now add the page title using yml:
Then, add an h1 tag:
We now want to display our products, imported from Contentful. Since the contentful gem put them in the data/contentful/product directory, we can loop through them:
Open your browser and see if it is working. Yes? Good.
Create a product page
Now that we've got a site directory, let's set up a product page. Create a new erb file: source/product.html.erb.
This is where we'll put product information and Snipcart buy buttons.
In that page, I used a snipcart_button helper. Since I haven't succeeded in developing a magical tool that writes code for me yet, I created a small helper in config.rb instead:
We now have to tell Middleman to send URLs of the form product/our-awesome-product.html to our newly created product page. For that, we will use Middleman proxies in config.rb:
3. Deploying with Netlify
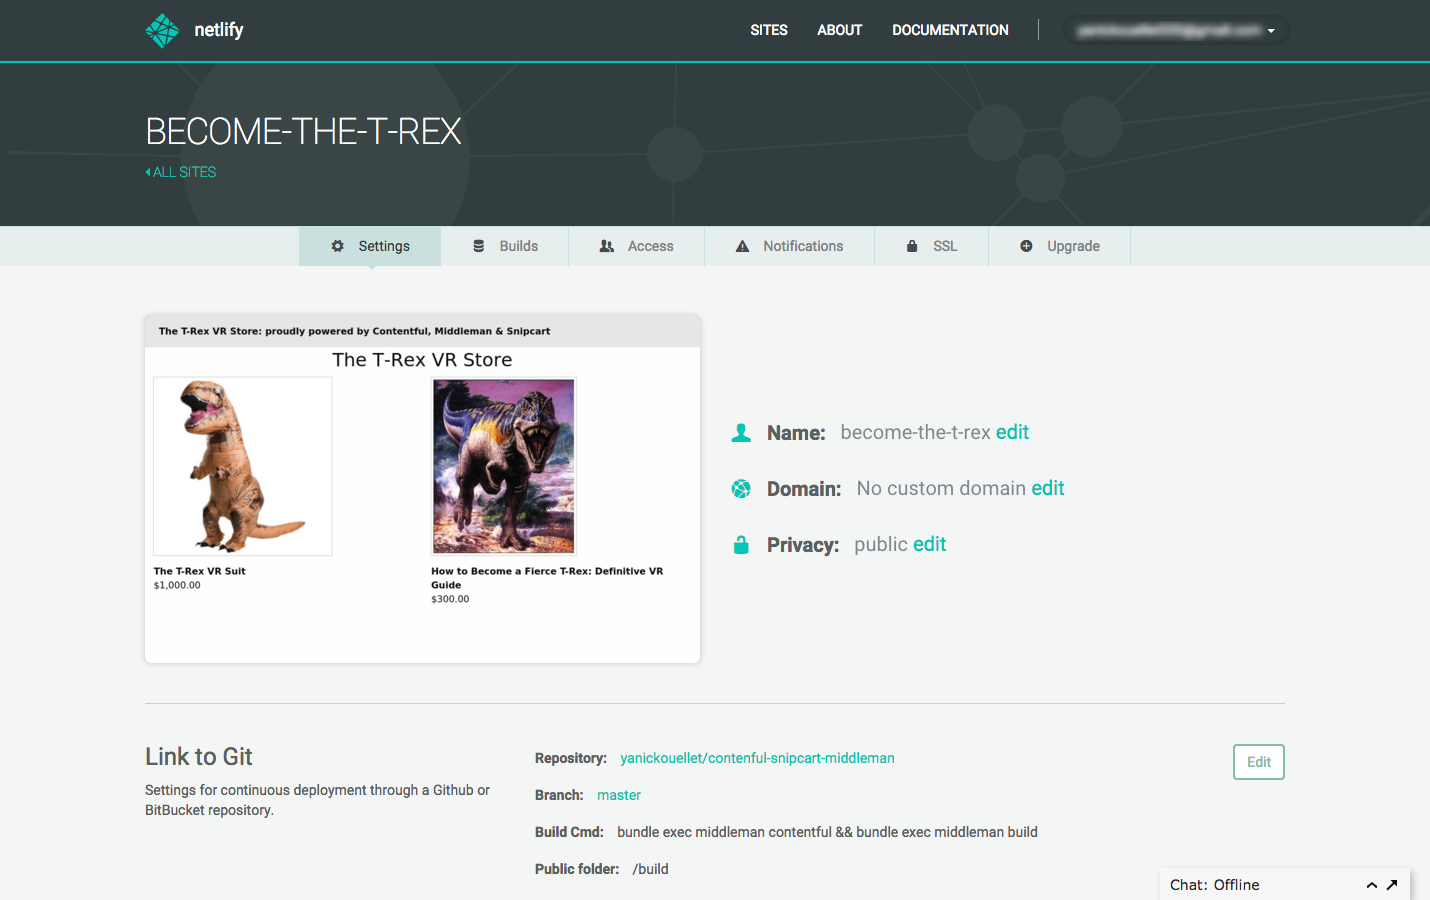
All right, so let's put the finishing touch on this bad boy. We'll use Netlify to host our static e-commerce site. For this part, we're assuming your project is already on GitHub. To deploy using Netlify, follow these 6 steps first:
Install netlify-cli using npm:
npm install -g netlify-cli.Run
netlify init.Answer a few questions:
Current directory = your Middleman app directory
Build command (middleman build/grunt build/etc.): we'll use
bundle exec middleman contentful && bundle exec middleman buildbecause we want to fetch the latest Contentful data before building.Username & password to add a deploy key to your GitHub account
Create a new site: yes
Change the default site id to:
netlify update -n snipcart-contentful-middleman.Set your environment variables (SNIPCART_API_KEY and CONTENTFUL_API_KEY) on the Netlify dashboard, since the cli does not seem to allow them.
Trigger the build of your site.
To make things more efficient, we'll add a webhook to trigger the build when we update something in Contentful. Add a new one in the webhooks section of the Netlify dashboard.
In your Contentful app, go to Settings -> Webhooks -> New Webhook and paste the URL provided by Netlify.
From now on, when you publish or update a product in Contentful, it should trigger a build on Netlify and automatic rebuild your website. Awesome, right?
Still, the changes won't be instant. After all, we're using a static site generator here, not a dynamic application! Also, note that you may wish to trigger the builds manually if you are on the free plan of Netlify (50 builds/month).
And I think we're done here, folks!
Go take a look at our GitHub repo & demo site to see some live results.
Conclusion
While we used Contentful to set up an easily manageable static store, we could've also leveraged its flexibility in other ways. For instance, we could've created another simple web editor to allow merchants to manage a business blog on their own.
Integrating Middleman, Contentful & Snipcart to create this static e-commerce workflow took me around 4 hours. And I can say for sure that they were well-spent hours: working with these powerful tools was a lot of fun. I do hope that this post inspires other developers to do the same.
There are so many ways to create awesome, efficient web projects by adopting a modular approach to development. And Contentful definitely opens up new doors for developers. I'm excited to see where they go from here.
If you found this post valuable and/or entertaining in any way, or if you have questions regarding the post itself, Snipcart or Contentful, please take a second to send a tweet our way! We'd love to know your thoughts on all of this.