Request Verification
How does webhook request verification work?
When you’ve configured a WebhookSigningSecret in the webhook settings of your space, a signature will be generated for all webhook requests coming from events in that space. When a consuming service receives a request, it can compute a signature in the same way. If the secret is the same, the signatures will match too, thus verifying that the sender knows the secret. For this reason, it is also important to not share the secret with any third party.
This signature and some additional metadata is then added to the headers of the request before it is sent. The headers look like this:
Consuming services can use these headers to verify the authenticity and integrity of incoming webhooks. See verifyRequest in node-apps-toolkit for more information.
Get started with Webhook Request Verification
Establishing a signing secret
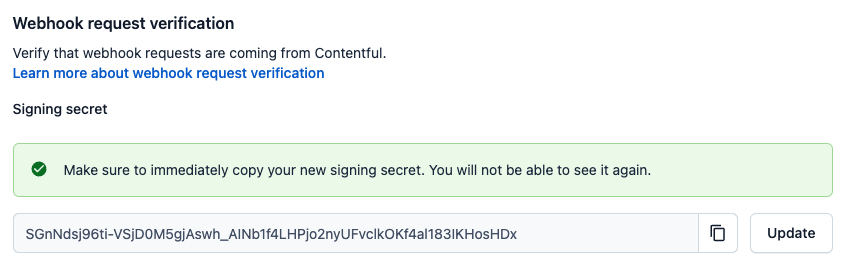
A signing secret can be generated in the settings tab of the webhook settings page within a space. Click on Enable request verification in this tab, and a signing secret will be generated.
- Go to the space that you want to enable request verification on webhooks.
- Click Settings -> Webhooks.
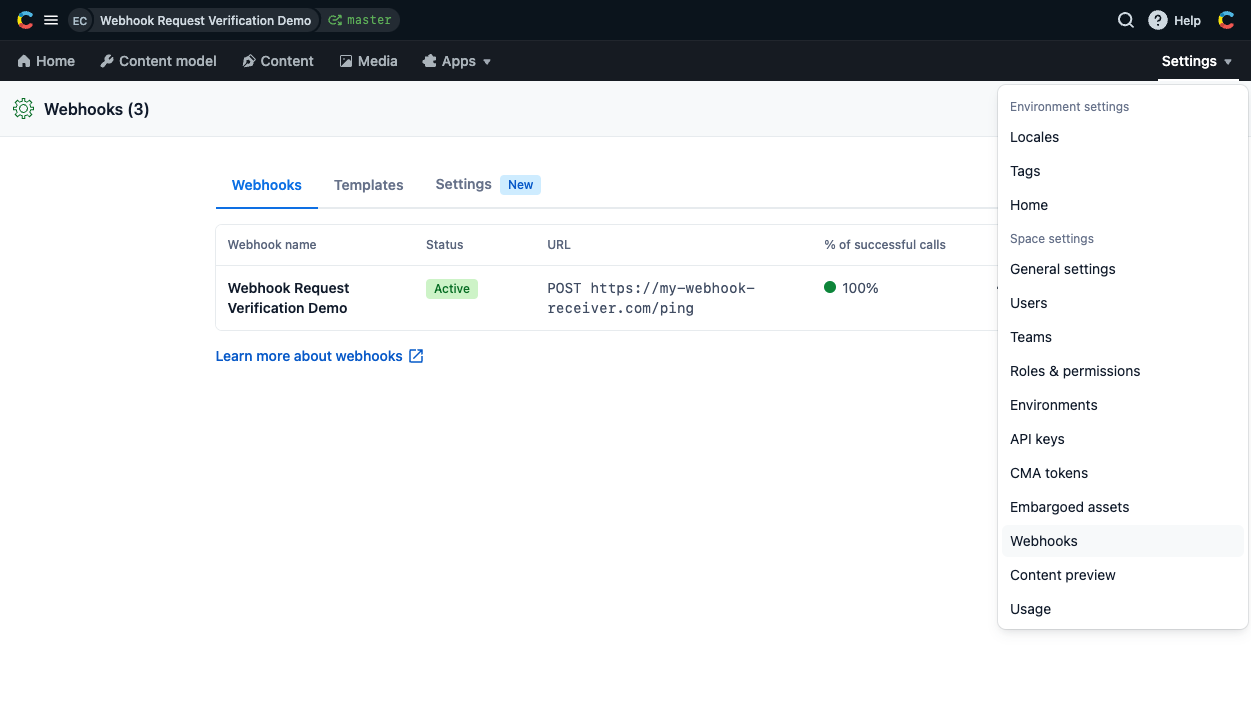
- Once on the Webhooks space settings page, click on the “Settings” tab.
- Click the
Enable request verificationbutton to create the signing secret.
- Copy the generated siging secret. You will not be able to copy it again once you navigate away from this view.
You can also manage secrets directly using the Content Management API (CMA). Visit the API documentation for details on how to manage the signing secret by using the API.
Once request verification has been enabled, all of the webhooks in the space will include signed request headers which can be used to verify their authenticity and integrity.
Verifying requests on the backend
Now that requests from your app contain the additional signature headers, your backend can start to enforce signed requests. The following is an example server in Node.js using the Express framework:
This example uses node-apps-toolkit, which contains tools to create app backends in Node.js.
The verifyRequest function will try to sign the contents of the incoming request and then compare them to the meta-information contained in the signing headers.
The function will throw an error if the incoming request is shaped incorrectly or is older than the specified time-to-live (TTL). You can pass the TTL in seconds as an additional argument, or disable it by passing 0. If nothing is passed, the TTL will be 30 seconds.
The documentation for node-apps-toolkit contains more detailed information on the signing and verification process.
verifyRequest function yourself. There is a pseudocode implementation of the verification algorithm at the bottom of this page which can be used as a reference for your implementation.Key rotation
Changing your secret while you are already enforcing secure requests requires some additional steps. This is because changing the secret on either side will cause verification to fail until the other side has been updated too. We can get around this by verifying against multiple secrets simultaneously in the backend. The process looks like this:
- Generate a new secret
- Verify requests against both the old and the new secret in your backend
- Submit the new secret to Contentful using the web app or the API, causing further requests to be signed with the new key
- Remove support for the old key from your backend
The following sections will go into detail on how to generate a secret and how to add support for multiple secrets in an backend.
Creating a secret
There are two constraints on the secret:
- It must be exactly 64 characters long.
- It must match this regular expression:
/^[0-9a-zA-Z+/=_-]+$/. This also means secrets using the hex or base64 character set are allowed.
To make full use of the security provided by secure requests, we recommend using cyptographic random number generators with high entropy to generate a secret. Here are some examples for how to do this using different languages and tools. All examples can be run on the command line:
Verify requests against multiple secrets
To properly test against multiple secrets, an attempt to verify the incoming request has to be made separately for each secret, as the request should only be rejected if none of the secrets can verify the request. The following is an example in Node.js using the Express framework:
Verifying a signature
A working JavaScript implementation of signature verification can be found in the node-apps-toolkit. Additional working examples in C++, C#, Elixir, Go, Java, Kotlin, PHP, Python, Ruby, and Rust can be found in the request-verification-examples repository. If you need to verify a request in another programming language, you can use this pseudocode example of how signed requests can be verified as the basis for your implementation:
Feedback
Our Developer Experience team highly welcomes feedback for all our features. To share your feedback, you can fill in this form.