

Run the pipeline step by step
Use the individual pipeline commands when you need to re-run a specific stage, inspect intermediate results, or integrate steps into a custom pipeline. All intermediate data flows through a local SQLite session database — no JSON files are written between steps unless you export them explicitly.
For the guided walkthrough, see Import components. For the full flag reference, see Command reference.
Every command creates a fresh session on invocation. Resume a prior session explicitly with --session <id>.
1. Extract components from source
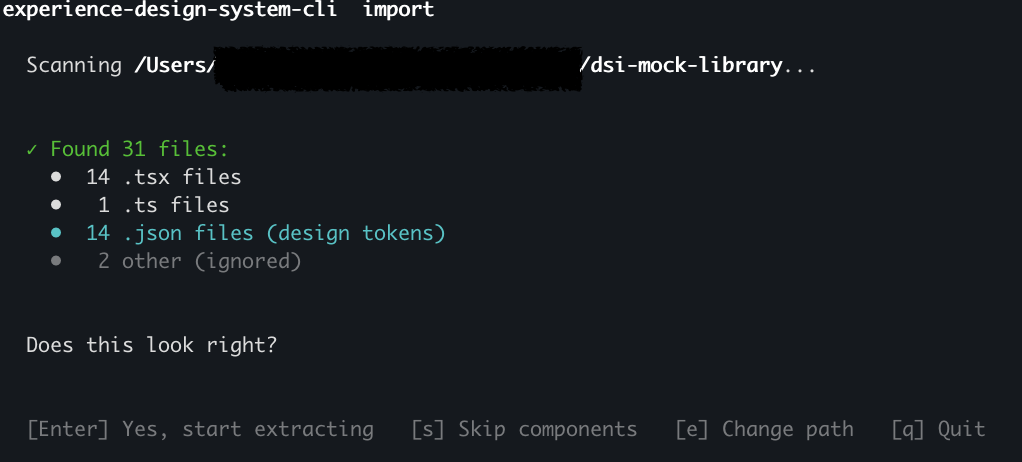
Scans your local source files and stores extracted component metadata in the session database. The command prints a session ID that subsequent commands consume.
To scan a specific subdirectory within your project:
The extractor supports React, Vue, Astro, Stencil, and Web Components. It ignores node_modules, dist, build, .next, .nuxt, and test/story files automatically.
2. Select components
Use Option A (agent) for automated pipelines, Option B (TUI) for first-time review, or Option C (pattern flags) for scripted re-runs.
Option A — AI agent selection:
The agent reviews each component candidate and accepts those that render visible UI (atoms, molecules, and organisms). It rejects non-visual infrastructure like hooks, context providers, and analytics wrappers.
Option B — Interactive TUI:
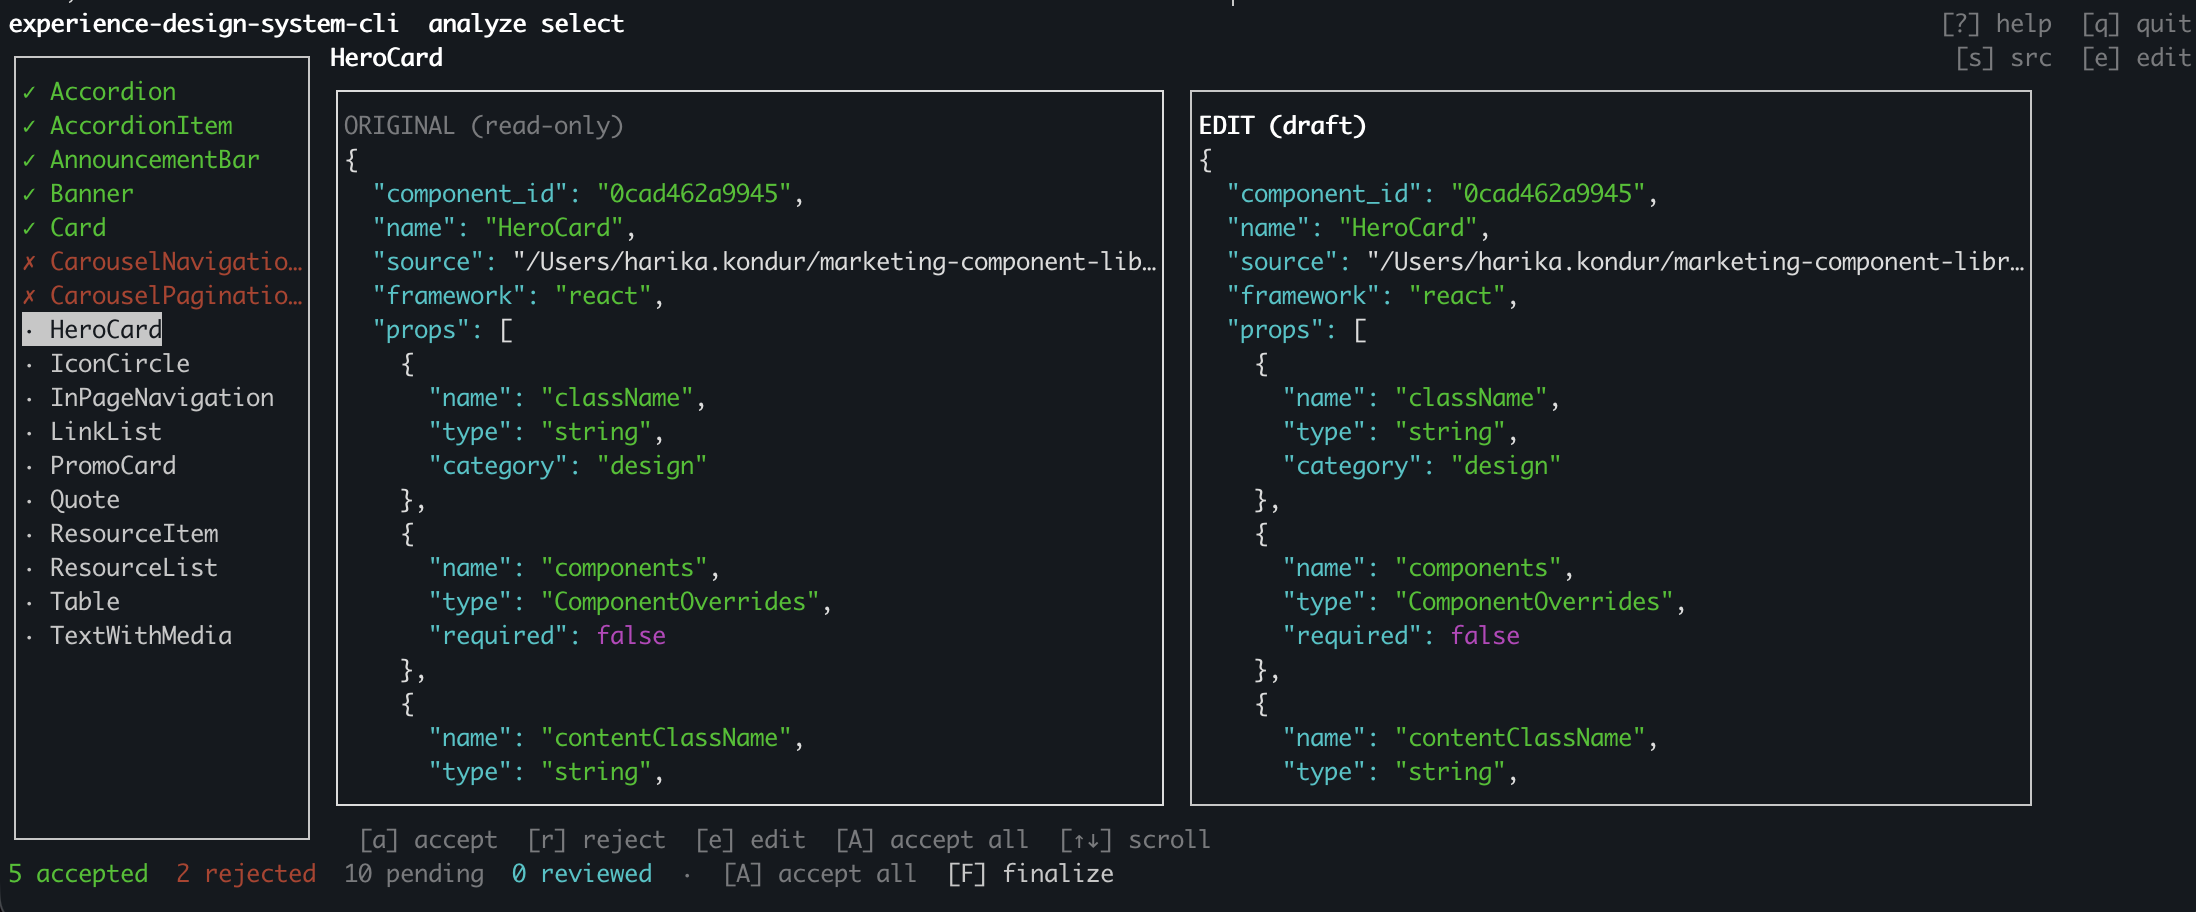
Launches a full-screen terminal interface where you can review each component, accept or reject it, and edit its extracted definition.
This standalone TUI is a separate legacy surface that is not part of the end-to-end experiences import wizard and is not recommended for most workflows. The pipeline still runs the AI generation agent downstream, which re-derives component definitions from source and can overwrite manual edits made here. If you need to review or edit generated definitions, use the wizard’s Final review step in experiences import.
Option C — Pattern-based selection:
Or target specific components:
3. Generate CDF definitions
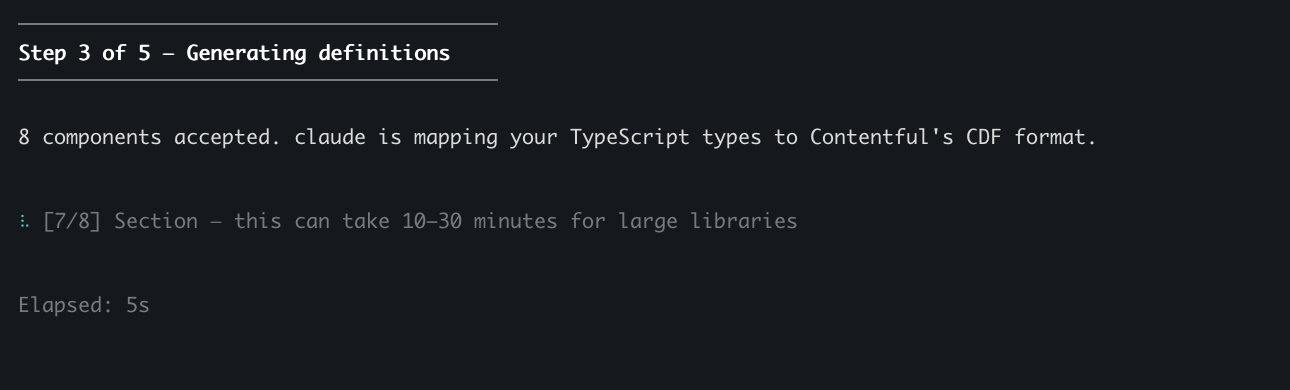
For each accepted component, the AI agent generates a CDF definition describing its properties, their types (string, richtext, media, enum, token), and their categories (content, design, or state).
generate components runs the LLM every time the session is fresh, even when the source is unchanged. The per-component cache used by analyze select-agent (step 2, Option A) does not apply here — generation re-runs against every accepted component on each fresh invocation. To reuse a prior generation without invoking the agent again, replay a recorded run with experiences import --push-from-run <id> or --modify <id> (see Run history and replay).
4. Preview changes
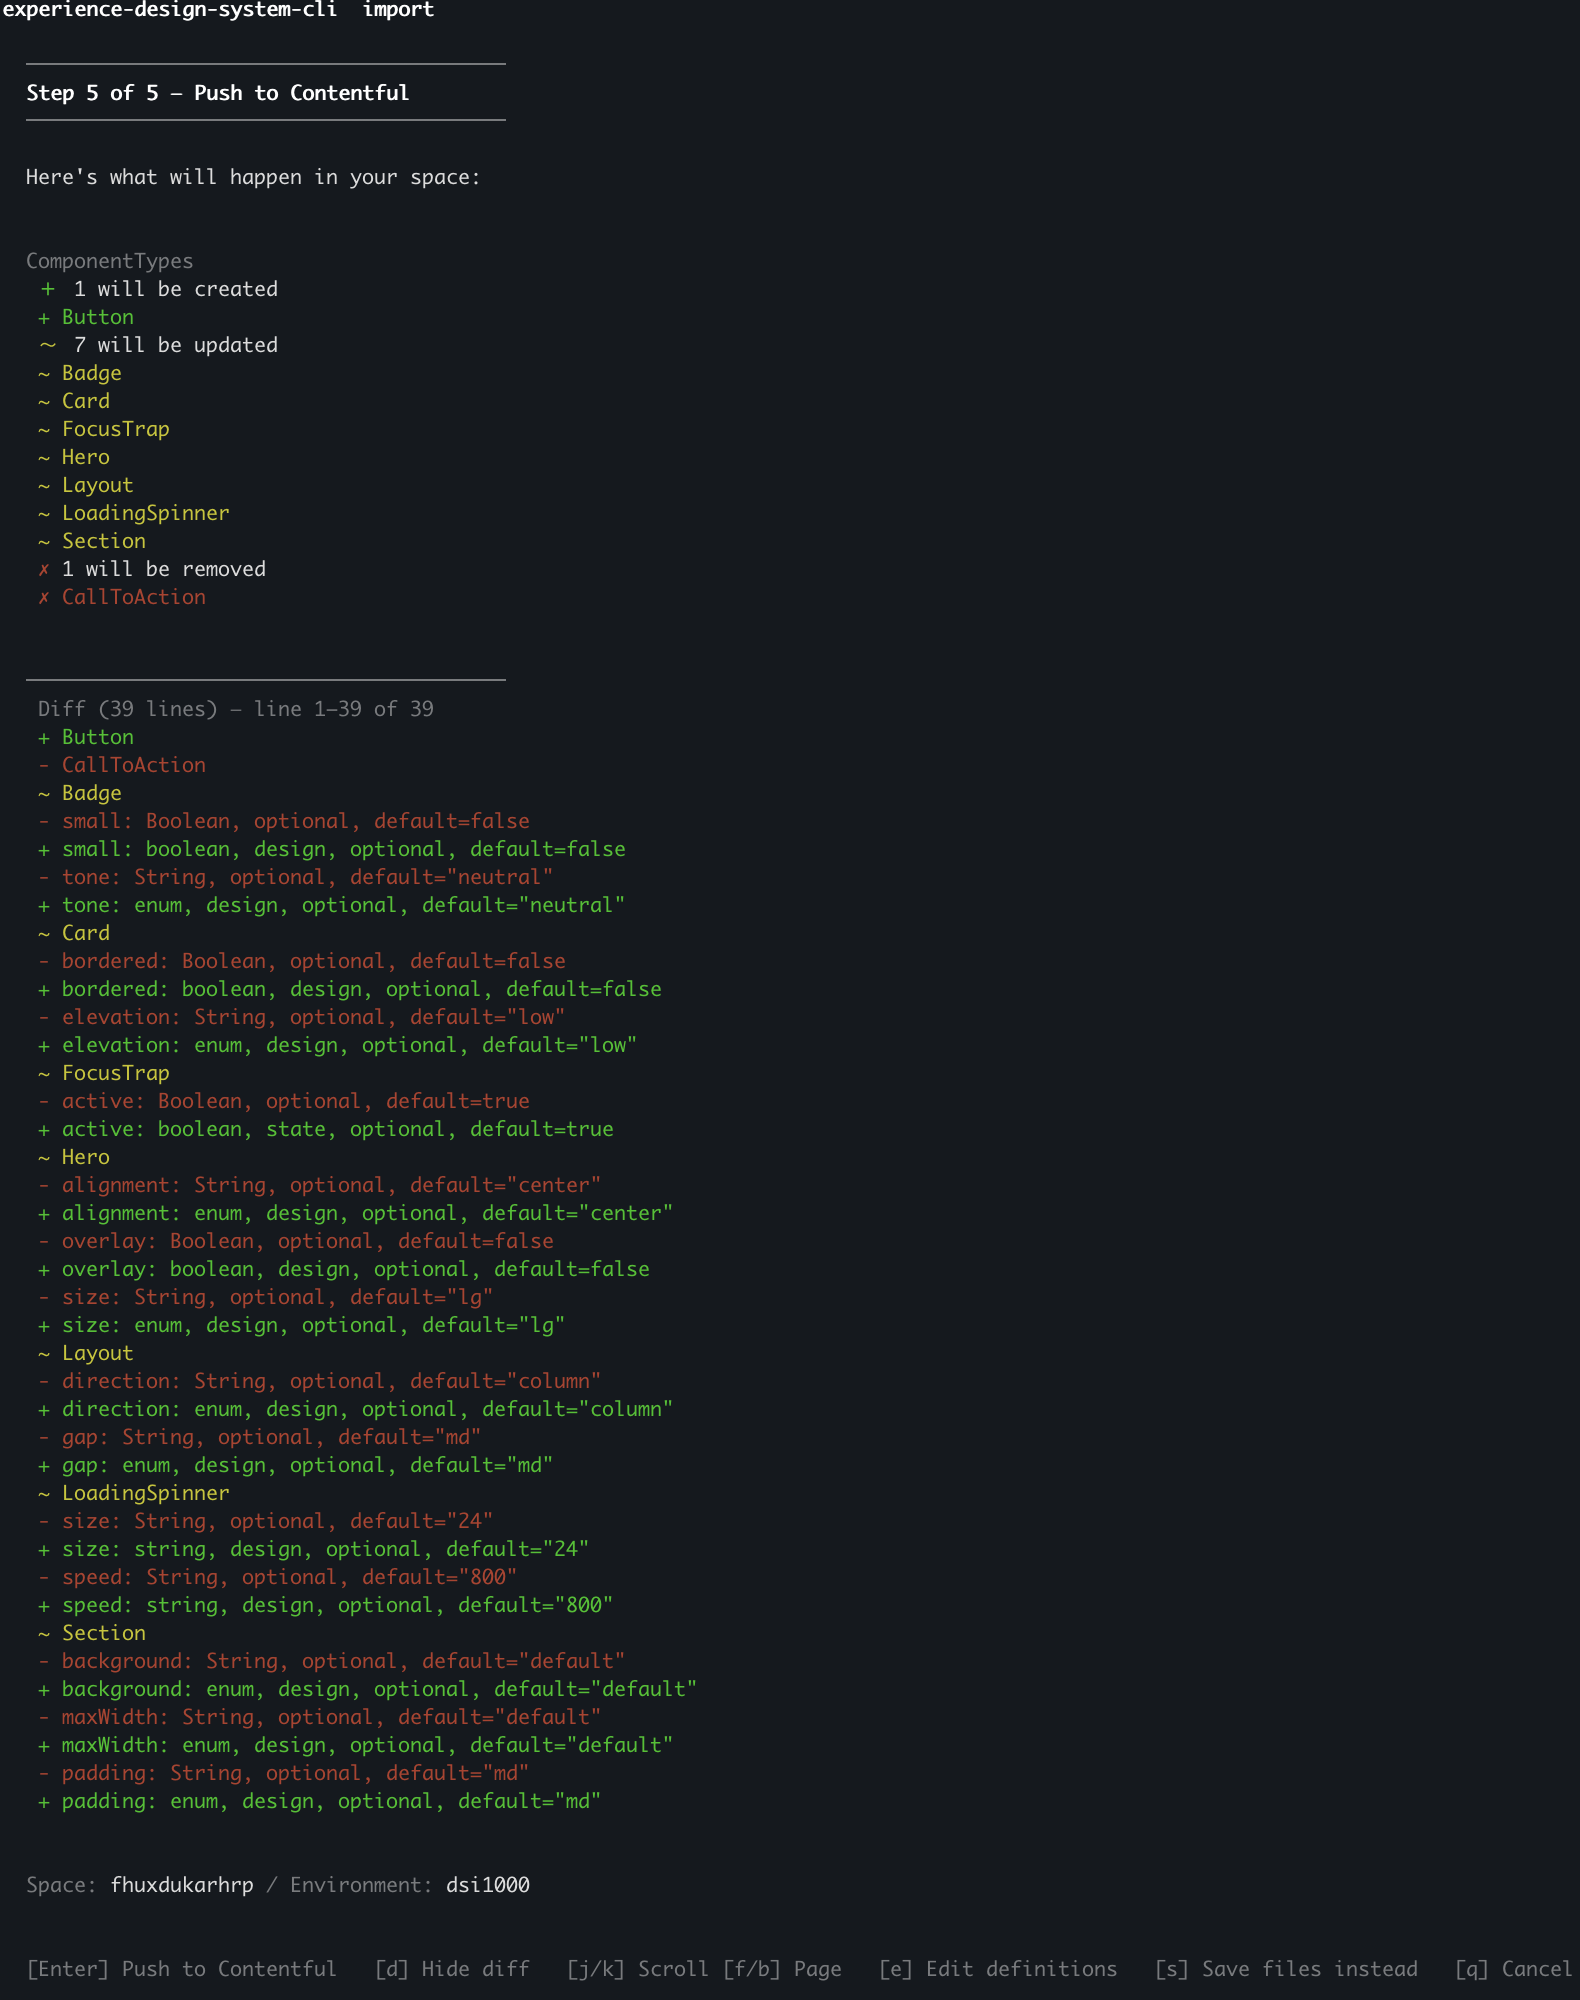
Shows a diff of what will be created, updated, or deleted in your Contentful space without making any changes. In an interactive terminal, a TUI displays entities grouped by status. In non-interactive mode, the CLI writes structured JSON to stdout.
To preview from exported JSON files instead of the session:
Expand the diff to review every field-level change before pushing:
5. Optional: Select entities to push
Launches a TUI where you can select a subset of entities from the preview to push. Skip this step to push the full batch.
6. Push to Contentful
Sends your generated component definitions to Contentful in a single batch operation. The server returns counts of created, updated, and failed entities, and the CLI prints a direct Contentful webapp URL to the components view. Non-interactive callers receive viewUrl in the JSON output.
To include design tokens in the push, pass --tokens with a generated DTCG token file (see Import design tokens):
Running apply push reconciles your Contentful space with the manifest you submit. Components in the manifest are created or updated. Components that exist in Contentful but are not present in the manifest — for example, because you rejected them at the scope gate or removed them from the exported components.json — are deleted from Contentful. Preview the diff with apply preview first to confirm the set of creates, updates, and deletes before pushing.
Export to file
To write generated CDF definitions to a JSON file for inspection or version control:
You can pass this file to apply push in a later session:
Verify in Contentful
After pushing, follow the URL printed by apply push to jump directly to your imported components. To navigate there manually instead:
- Log in to the Contentful web app.
- Navigate to your space and environment.
- Go to Design system > Components to see the imported components.
Design tokens are surfaced on individual components — open a component to see the tokens it references.