Azure connector setup
Azure connector setup guide
You can connect Azure to AI Actions using your own Microsoft account. This allows AI Actions to discover and invoke Azure foundation models using credentials you control.
Step 1: Configure Azure connection
Fill out the following required credentials taken from Entra ID from your company Overview page in the Microsoft Azure Portal:
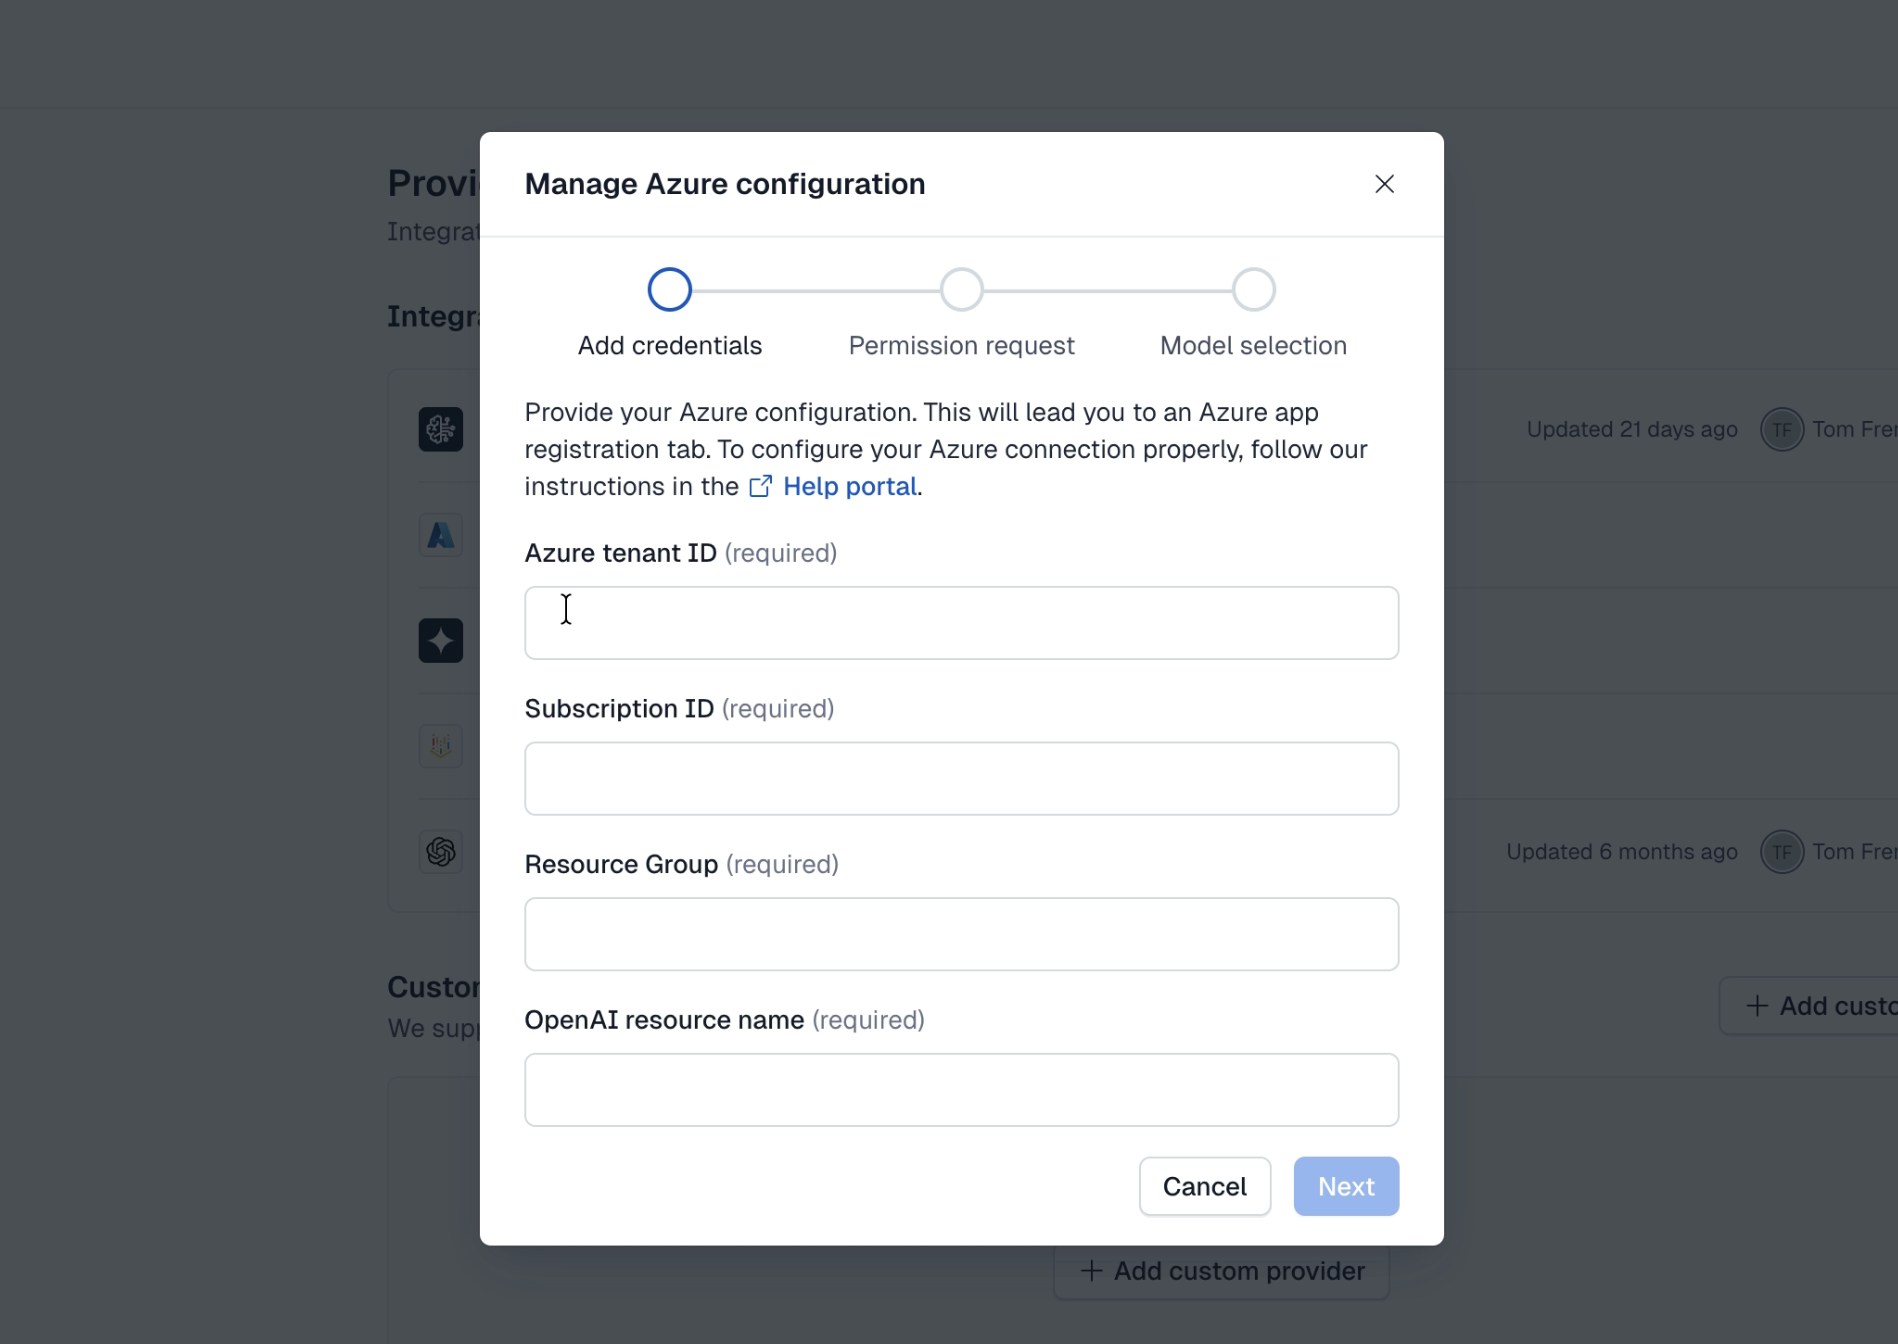
- Azure tenant ID - identifies your organization’s Azure Active Directory instance used for authentication.
- Subscription ID - specifies the Azure subscription that contains your resources and billing context.
- Resource Group - the container that holds your Azure resources, including your OpenAI service.
- OpenAI resource name - the name of your Azure OpenAI resource used to route requests to the correct service instance.
Once completing all of the fields, you will be redirected to register the Contentful connector in the Azure Portal.
Step 2: Register your model
- Click Register in your configuration modal.
- Select your Azure account and Accept.
Step 3: Create a custom IAM role
To allow Contentful to cache credentials and reduce repeated role assumptions:
- In your Microsoft Azure account, go to Subscriptions → Access Control (IAM) and create a new custom role.
- Under the JSON tab, paste the following JSON template:
This ensures more stable access when invoking and listing the models.
- Before deleting the original JSON, copy the Subscription ID from the original JSON and paste it into the new JSON template.
- Once the original JSON is deleted and replaced with the new JSON, click Review + create.
Step 4: Add role assignment
- Navigate to Subscriptions → Access Control (IAM).
- Choose Add role assignment.
- In the table search bar, locate the recent CustomRole type.
- Under the Members tab of the Custom Role, choose OpenAI connector from the Select Members option.
- Select Review + assign.
Step 5: Complete setup
- Select the model(s) to enable AI Actions to invoke Azure model(s).
- Click Add provider to complete the configuration.
Troubleshooting
If you are encountering errors in registration, verify the credentials are correct by checking the information in the Microsoft Azure portal. This can be caused by insufficient permissions or delay time.