Build a portfolio site with Contentful, Next.js and Netlify
Published on May 9, 2018


Inspiration for your inbox
Subscribe and stay up-to-date on best practices for delivering modern digital experiences.
When I wanted to make my portfolio site fast and easy to maintain, I landed on the following solution to create a static site using Contentful as my content manager, Next.js to display the data, and Netlify for hosting.
Requirements of the site
Fast ⚡️
Secure 🔒
Maintainable 🏗
Easy to deploy 🚀
Service Worker ⚙️
Goal
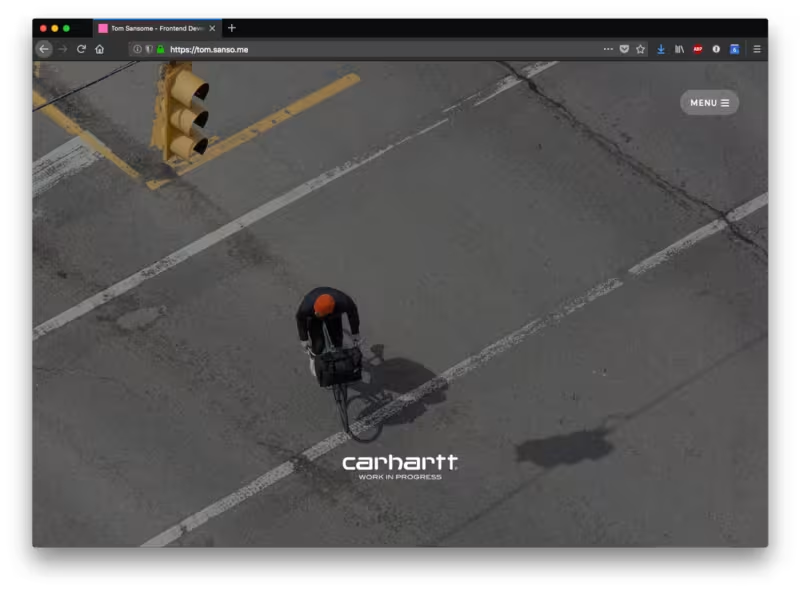
By the end of this you should have a good understanding of how I got to this website:

Contentful
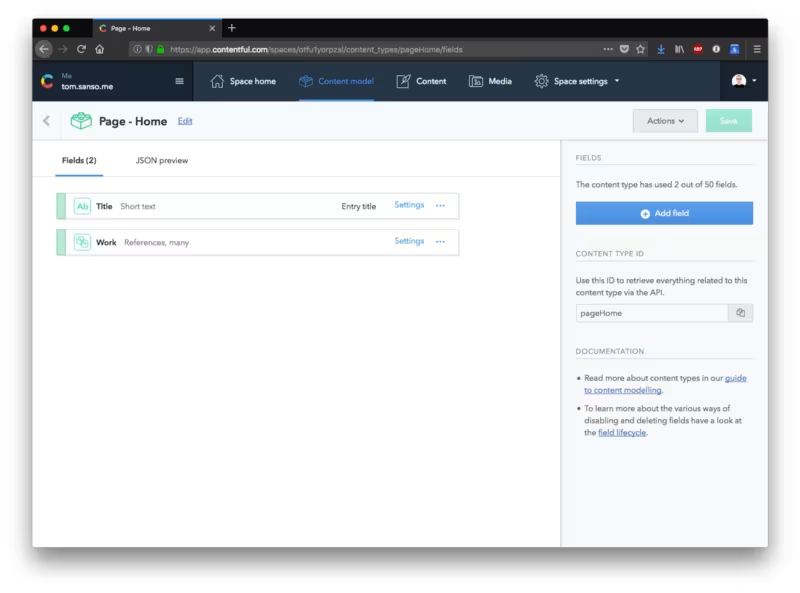
With an empty space, we are going to start to add our content types:

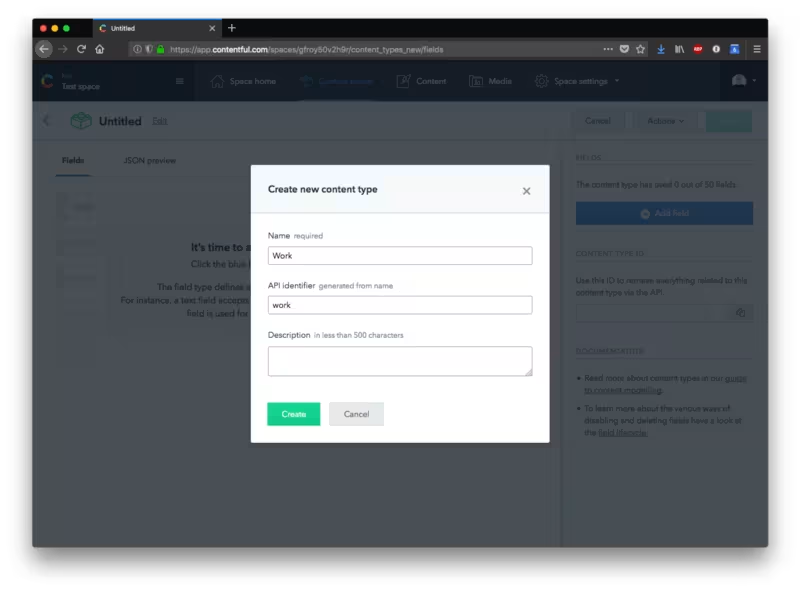
The main focus on this site is the work items, so we’ll go ahead and add a new content type called Work.
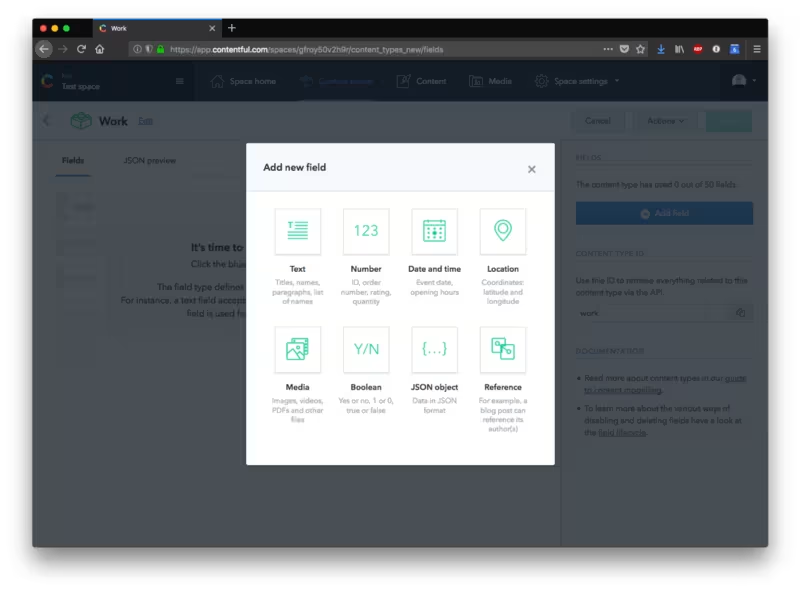
Next, we need to add the fields into the work content type. But what fields exactly do we need to add? Let's open up that previous build of the site.
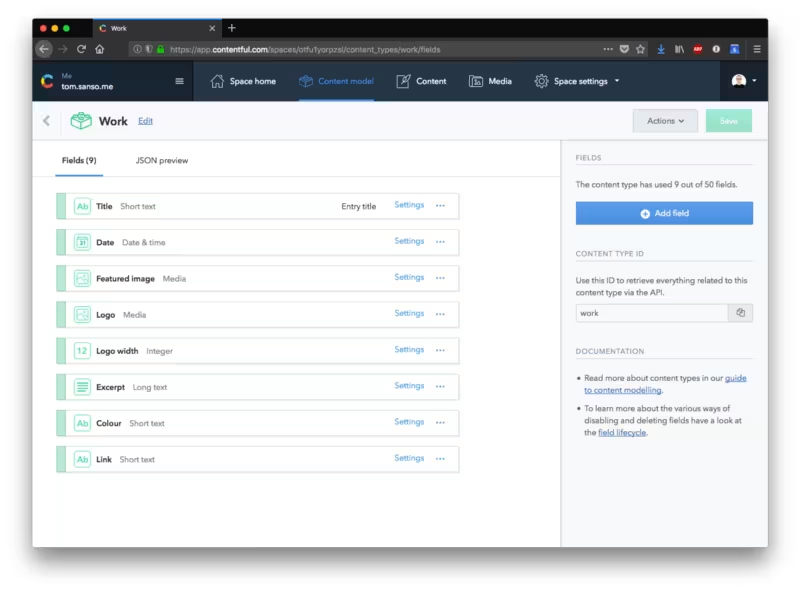
If we look back at the previous build of the site, we can check what fields we need for our content type:
Looks like we will need:
Featured image
Logo
Title
Description
Color
Link
Now go ahead and add those into Contentful:
Now that we have our content model setup, we can go through, create and fill out all of the work posts in the content area:

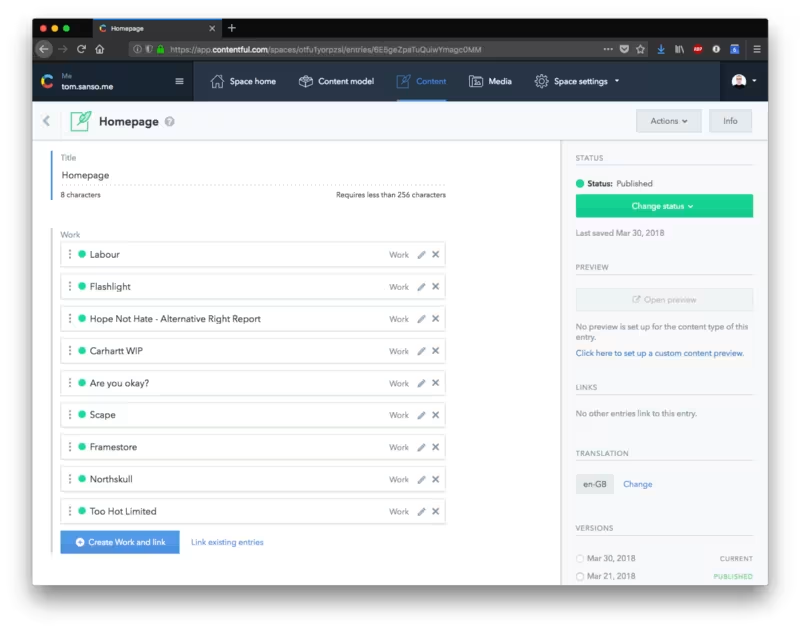
One more thing to note, I have actually created a custom content model for the Homepage. This has a title and then just a Work field which has a 'many reference' attribute.
This only exists so I can do some sorting with the nice drag-and-drop functionality that Contentful allows:
Now we have all our content in Contentful, let’s head over to our command line and code editor, open up a new project to grab the content and create some React components to display it.
Next.js
We can create a new project, via the command line, and then move things into it.
I’m going to open up my code editor and drop in a package.json file with an empty object inside so when we run the next command, the dependencies will actually save to that new package.json file.
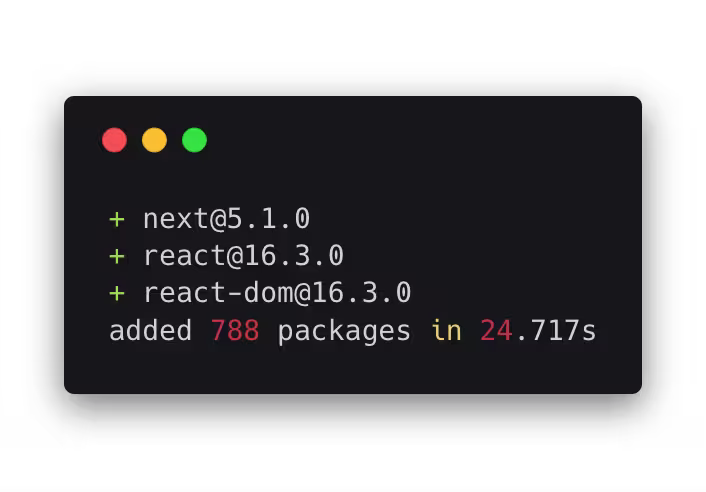
Following that, a visit to the Next.js repo lets me find the next command to get moving:
I’m going to run that script to install the dependencies; that will also automatically save those dependencies to my package.json file.
I’ve gone ahead here, put in the scripts to build for production, and develop the project locally.
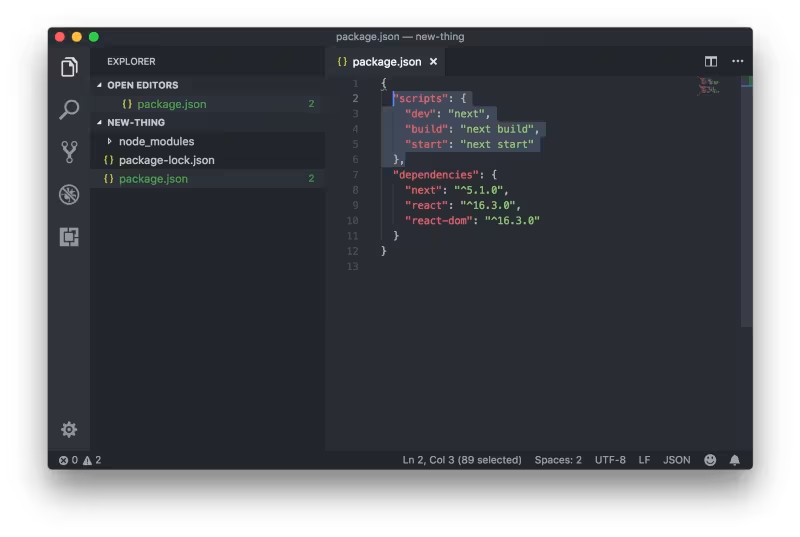
That’s it for configuration. We are ready to create a page, and then create a few components to put on that page!
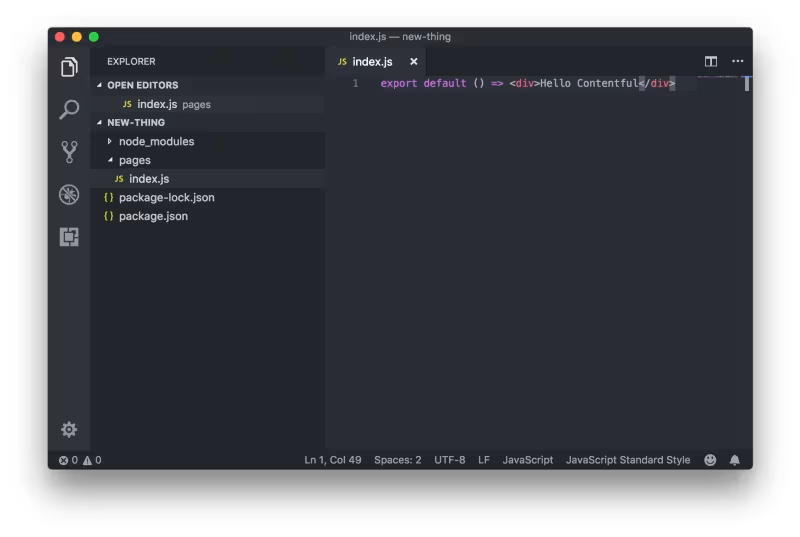
We will start by creating a folder called pages, which Next.js recognises as a route, and then creating our index page inside that folder; that will be our homepage.
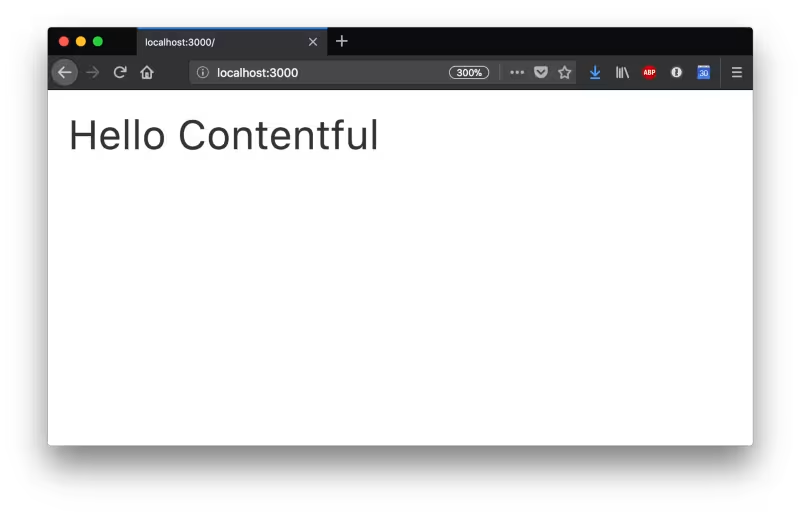
Now that we have that, let’s run the project locally and visit localhost:3000 in the browser:
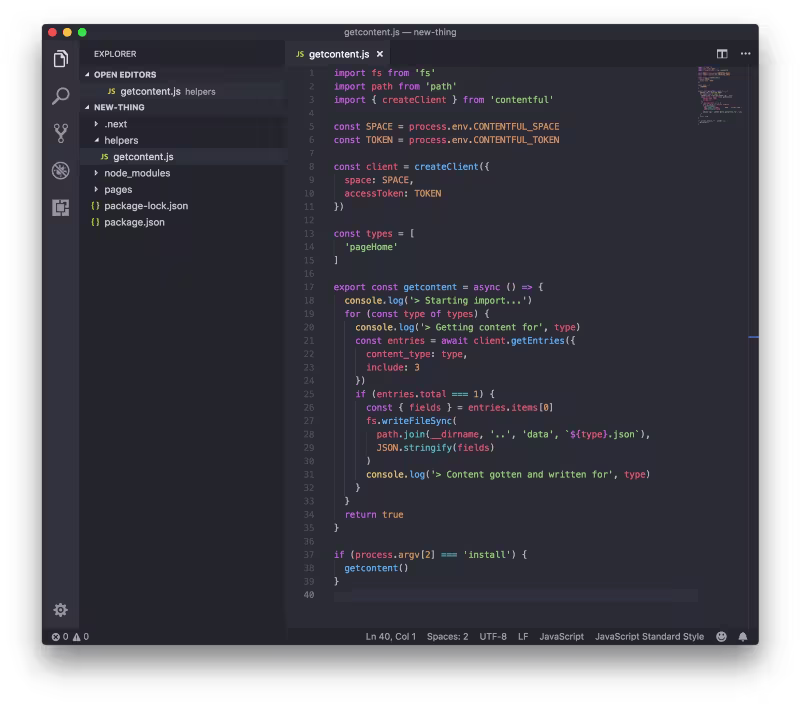
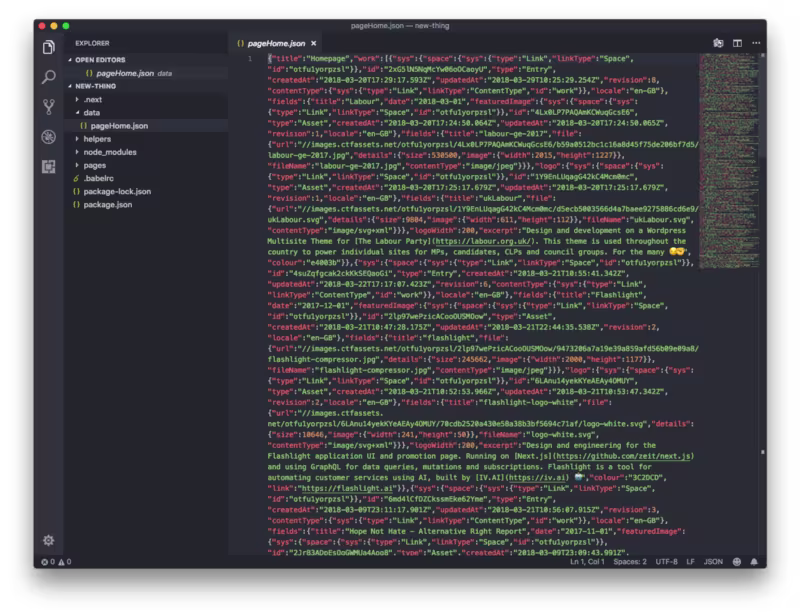
Great, now we need to get our Contentful data. I have a little script I’m going to run which will request that from Contentful and then write it to disk. The reason I’m doing it this way is to make everything as fast as possible by just reading JSON straight from disk; this also helps with caching later.
This snippet can be found here.
We need to update our package.json file at this point so we are able to run our postinstall script.
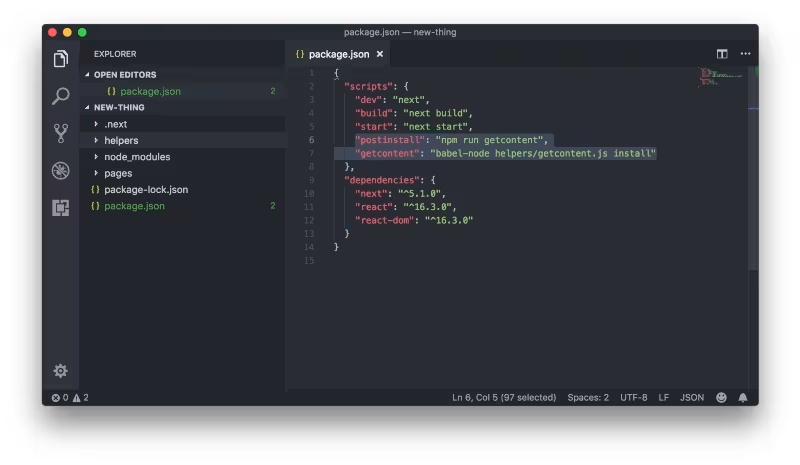
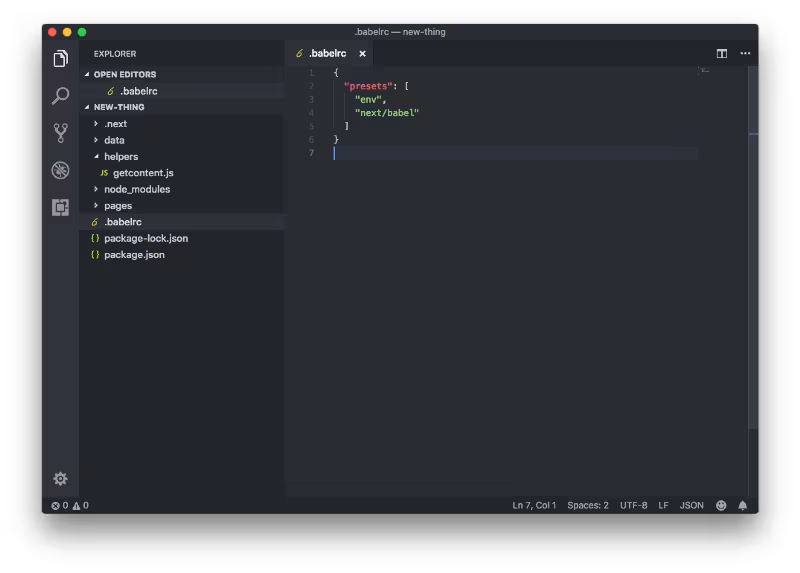
We need to use a custom .babelrc file here to utilize the import / export tokens available to us in that getcontent.js file.
{: .img}
Create a new folder from the root of the project for the JSON file to be written to—we will call that data:
The last step here before we can run our postinstall script would be installing the depedencies:
Phew, ok, let’s run it!
Excellent, we have data from Contentful, written to JSON locally:
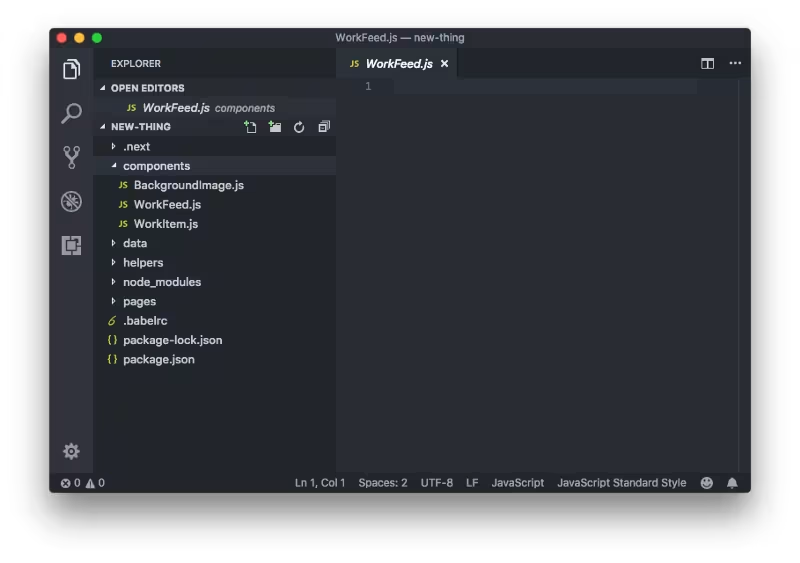
Now, we will display this data using a few React Components. To do that, let's create a components folder, enter it, and create the three main components we will be using:
Back to index.js, let's render our WorkFeed component and give it the data from Contentful:
Inside WorkFeed, we will loop our data and render a WorkItem for every case-study we have:
Now inside the WorkItem, we move on to render all of our data. This component could actually be broken up into smaller chunks, but as with all personal projects, sometimes you don’t have time to make something perfect:
This snippet can be found here.

I’ve left out some of the styling here for presentation purposes.
Let’s head back to the browser and hit refresh. We should have some data shown in the manner we would like it displayed:
This export command will output our site into a directory called out, which will be important in the next step.
Netlify
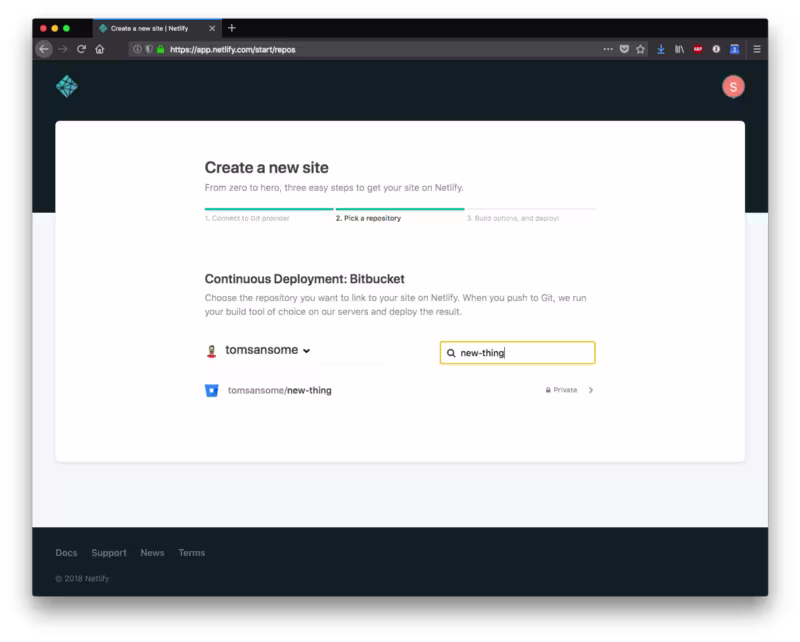
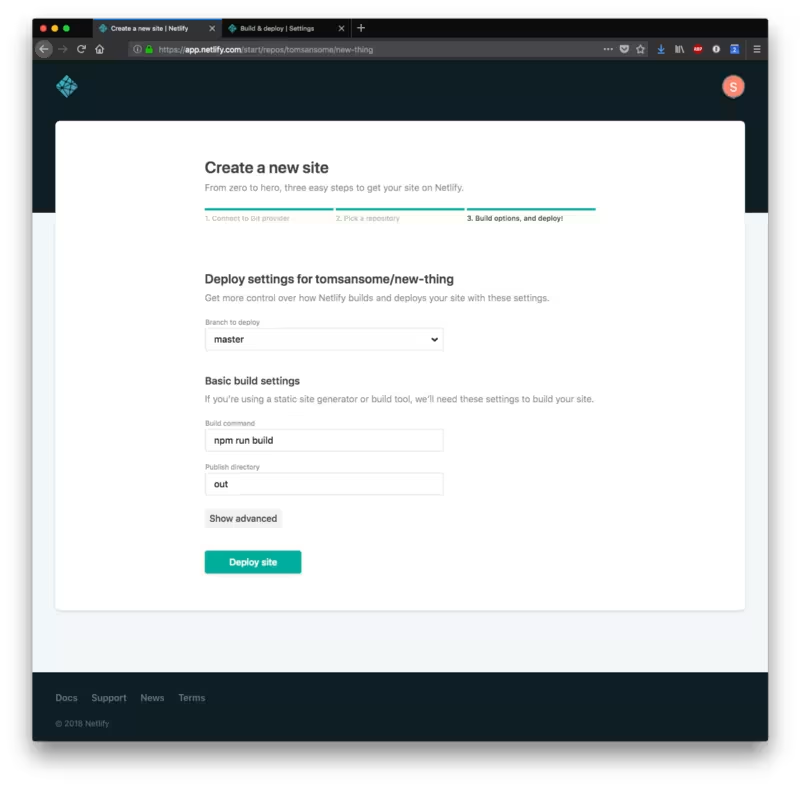
Alright, now that we have what we want on the project side, let’s get the site deployed to Netlify. I’ve already version-controlled this site and connected my Bitbucket account to Netlify, which has gone and found the repo for me:
Now I can input my build command and publish directory, and hit deploy to get this site live.
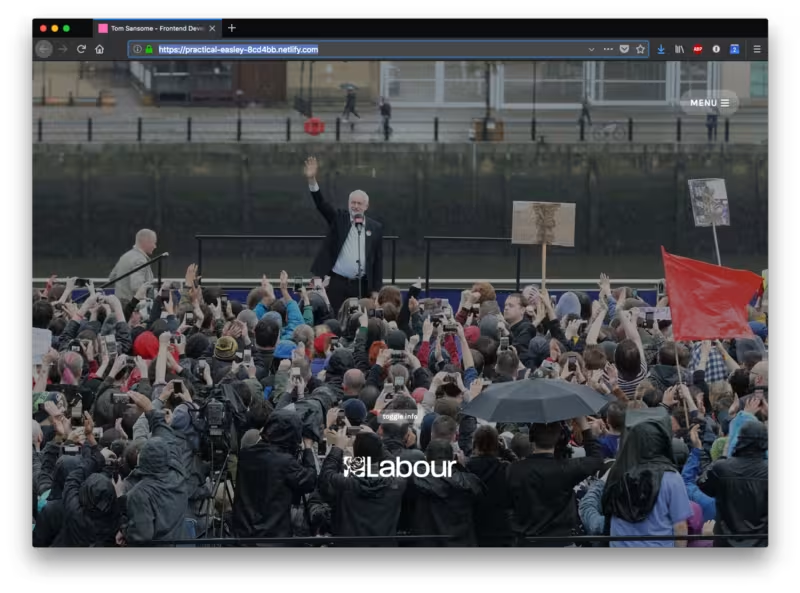
Here we have it!
Netlify + Contentful
At this point, I'd like to show you how to auto-deploy to Netlify whenever we have published or updated anything from inside Contentful.
Let’s head back to Netlify to create a new ‘Build hook’:
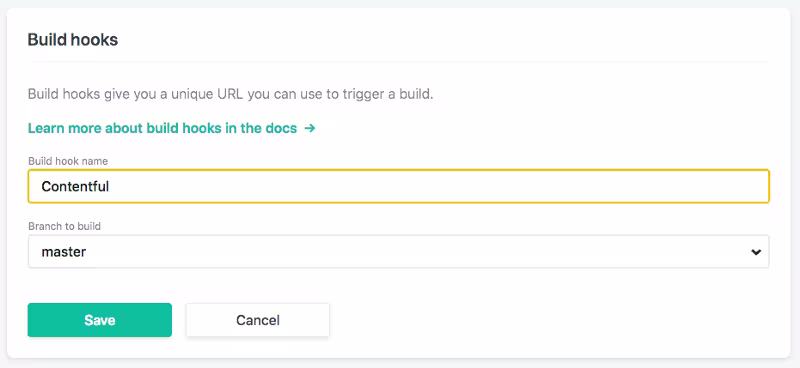
Hit save:
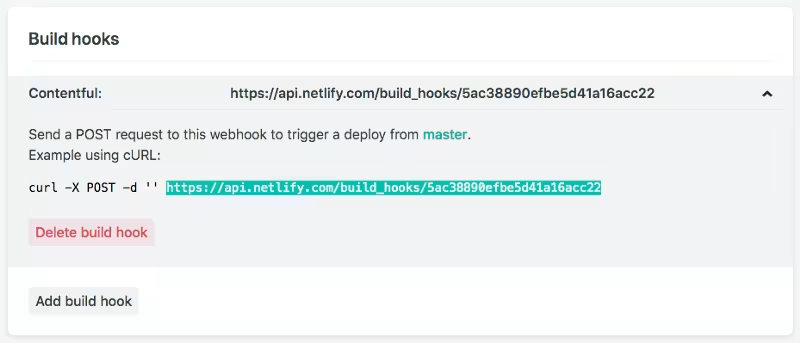
Excellent, now we have a URL for running deployments from Netlify, which we can copy and place into Contentful.
Let’s head over to Contentful to set up a webhook which will post to the URL we just generated from Netlify:
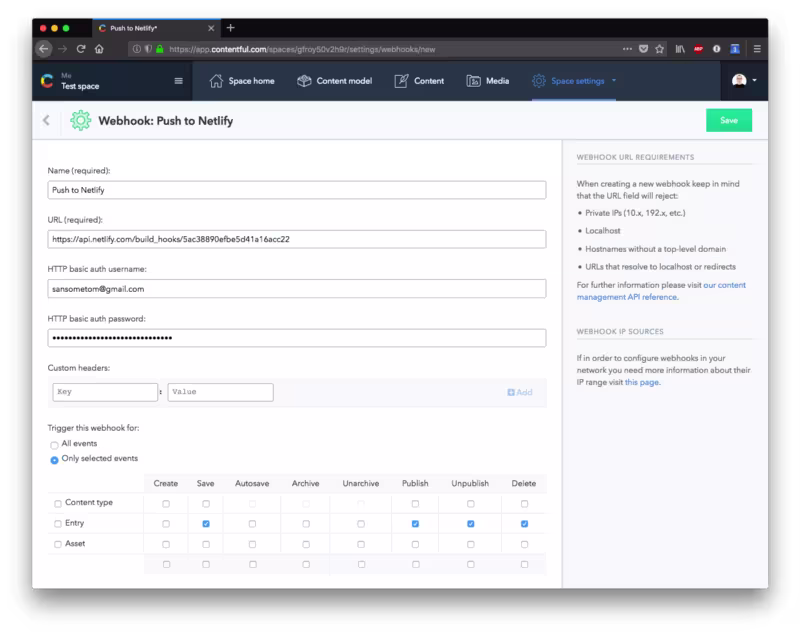
Hit save on that, and we now have our webhook setup to push to Netlify. Let’s give that a quick test:


Perfect!
That’s a quick run-down of how to get a portfolio (static) site up and running, using the combination of Contentful, Next.js and Netlify to produce a great static site.
Explore this Next.js CMS article for deeper insights into seamlessly integrating Contentful with Next.js.

Inspiration for your inbox
Subscribe and stay up-to-date on best practices for delivering modern digital experiences.
Meet the authors

Tom Sansome
Freelance Frontend Developer
Freelance Front-end developer
Related articles

Using React with Node.js
February 6, 2025

React useState hook: Complete guide and tutorial
May 8, 2025

Mastering GraphQL filters
April 7, 2025
