Using ChatGPT to migrate articles from HTML to Contentful
Published on April 4, 2024


Inspiration for your inbox
Subscribe and stay up-to-date on best practices for delivering modern digital experiences.
With the growing popularity of composable content and the desire to migrate data from legacy systems to Contentful, questions will naturally arise about the process. The first, most importantly, is how to get hundreds and thousands of pages of your content from X to Y in a way that's fast and error-free.
Established and reliable approaches already exist to programmatically migrate from a monolithic content management system to Contentful. For example, this detailed migration guide for Drupal 7.
But in my role as a Solutions Architect at Outliant, a Contentful Solution Partner specializing in Artificial Intelligence applications, I've found that ChatGPT has great potential to accelerate migration processes. Not only that, but it can reduce programming efforts and help development teams reduce migration times from months to days.
This tutorial will demonstrate how to migrate content from a HTML page in a Wordpress site over to Contentful using ChatGPT. And because the source page is HTML, the core steps of migration should be applicable to any CMS or web page. All of the source code used in this tutorial is located here.
Prerequisites
To follow along, you’ll need:
A Contentful account. Sign up if you do not have one.
A ChatGPT account. Sign up if you do not have one. Keep in mind you need a paid account to allow you make requests to OpenAI API. At account creation, OpenAI provides some free credits which should be enough for this tutorial.
Intermediate knowledge of JavaScript.
Basic knowledge of Contentful data models.
Node.js version 16 or above.
Set up Contentful API access
First of all, we’ll need to create a content management API token (CMA token).
In your Contentful account, go to the Settings menu (at the top right of the screen) and select the CMA Tokens option.
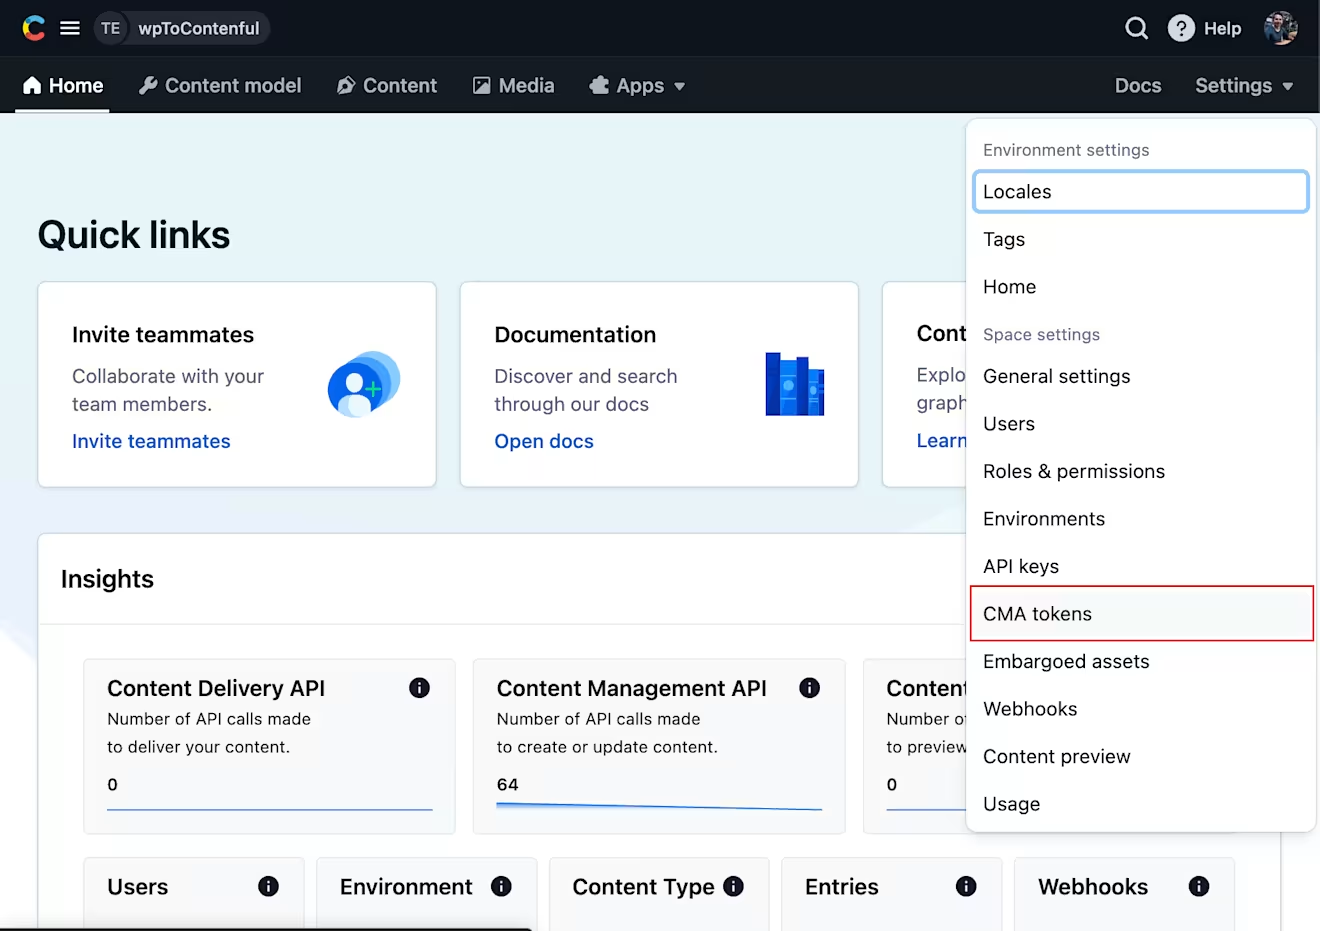
Inside the CMA tokens section, click the Create personal access token button and create a token with the desired name and expiration date.
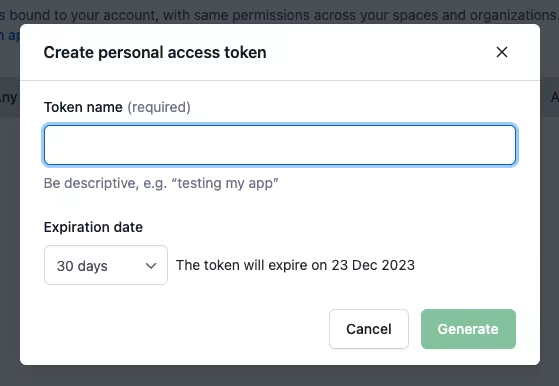
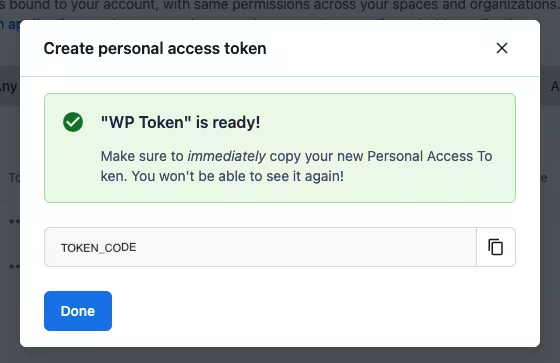
After the data is filled as desired, let’s generate the token. Do not forget to copy your personal access token. If not, will be required to create a new one.
Now, let’s set up our ChatGPT API key!
Set up ChatGPT API access
To access your account, please go to https://platform.openai.com/ and login to your account. In the left menu, go to the API Keys section.
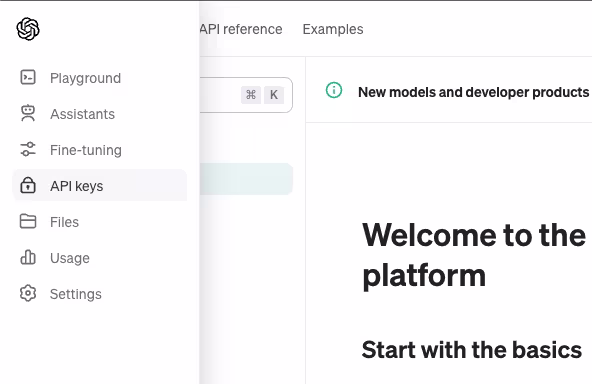
There, go to Create new secret key, type the desired name, and click on Create secret key.
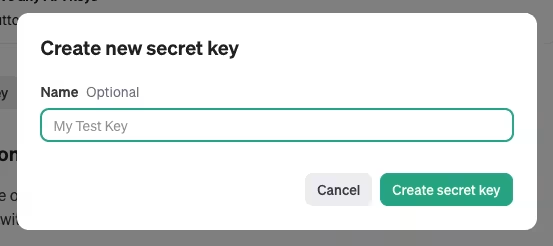
Do not forget to copy your new secret key. You will not be able to view the secret key again. If you lose your secret key, you will need to generate a new one.
With this, we are ready to start to code!
Building Node application
First, create a new empty directory in your development environment and run npm init. You’ll then answer a few basic questions about your project, and npm will create a new package.json file for you when you’re done.
Now, we’re ready to install our Node.js required dependencies. The main dependencies we will use for our project are:
OpenAI: Used to provide us access to the OpenAI REST API. To know more about this library, you can go to https://www.npmjs.com/package/openai
Contentful Management: Used to provide us access to the Contentful Content Management API. To know more about this library, you can visit https://www.npmjs.com/package/contentful-management
JSDom: Used to provide us access to the DOM of our desired page to be migrated. You can visit https://www.npmjs.com/package/jsdom for more information.
To install our required dependencies, execute the commands below:
Now, let’s create some important files:
server.js: Will manage the main code for our solution..env: Will store environment variables in our solution.
You can create the files on your own or execute the commands below:
Inside the .env file put values of tokens created in previous sections. This should look like below:
Also, it is essential to configure your project to be a module. To do so, in package.js add the property “type”:”module”, to look like this:
With this, to run your solution, you are only required to run npm start.
Fetching data from WordPress
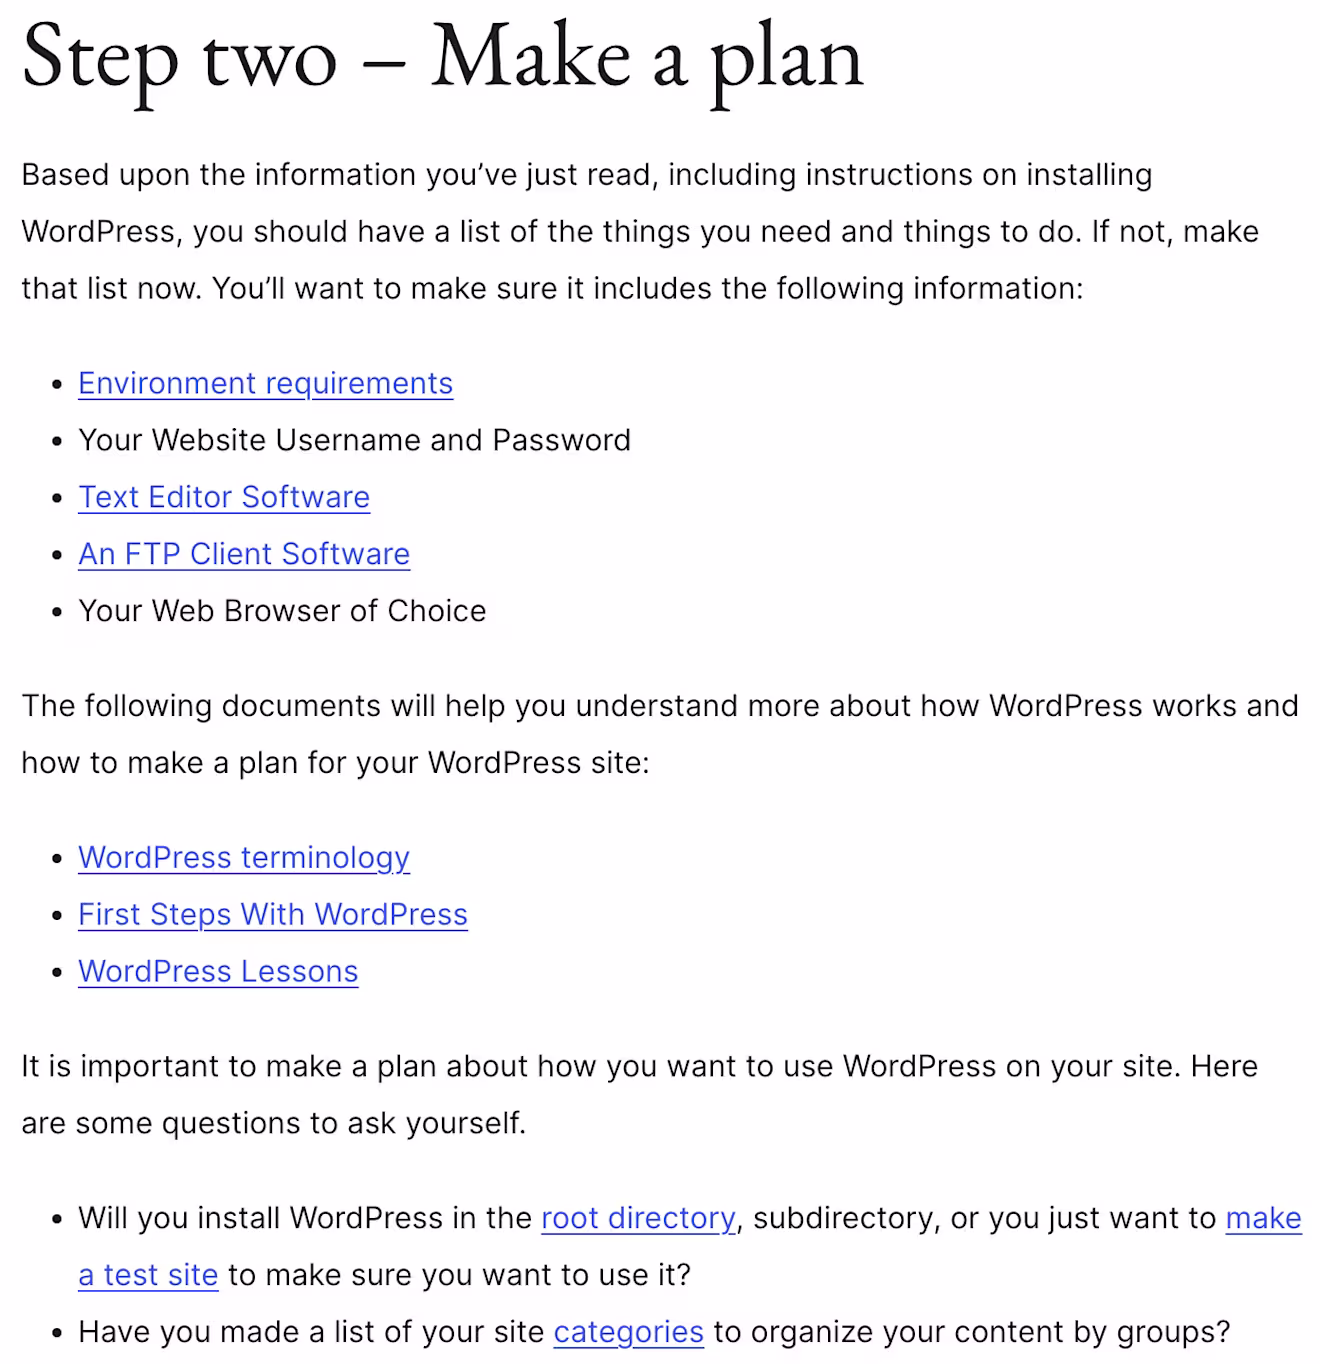
The first step in our migration process is to retrieve data from the desired HTML article. For this tutorial, we will use one of WordPress’s getting-started pages (https://wordpress.org/documentation/article/get-started-with-wordpress/) to migrate. Then, we will migrate data inside their article tag.
One option is to create a service in our project to handle all actions from the HTML page. So, let’s get started!
First, create a new file htmlService.js inside the services folder.
Ideally, we extract all data from HTML at once to be migrated by ChatGPT, but this is not possible. Through ChatGPT, it is possible to migrate a small portion of code, so, let’s convert the HTML article into small objects to be easily migrated.
Inside htmlService.js add an import for JSDOM. Must look like this:
Now, let's create a function getArticleObjByURL. Its purpose will be to create an object with the data to be migrated by ChatGPT. It looks like this:
With this, the goal is to convert tags in objects to be easily manipulated and allow us to extract data line by line. Depending on each need, we can be required to add additional elements, such as styles, classes, or info for particular tags, etc.
Also, we need to know the structure of HTML articles to extract desired data. In our case, we extracted the data inside the article tag, and inside, we identified all content is inside a div with wp-block-post-content class.
Migrating data to Contentful using ChatGPT
After having all the article data, the next step is to prepare the data to be as Contentful API expects. This step is very important and can change depending on the complexity of content models configured in your Contentful space.
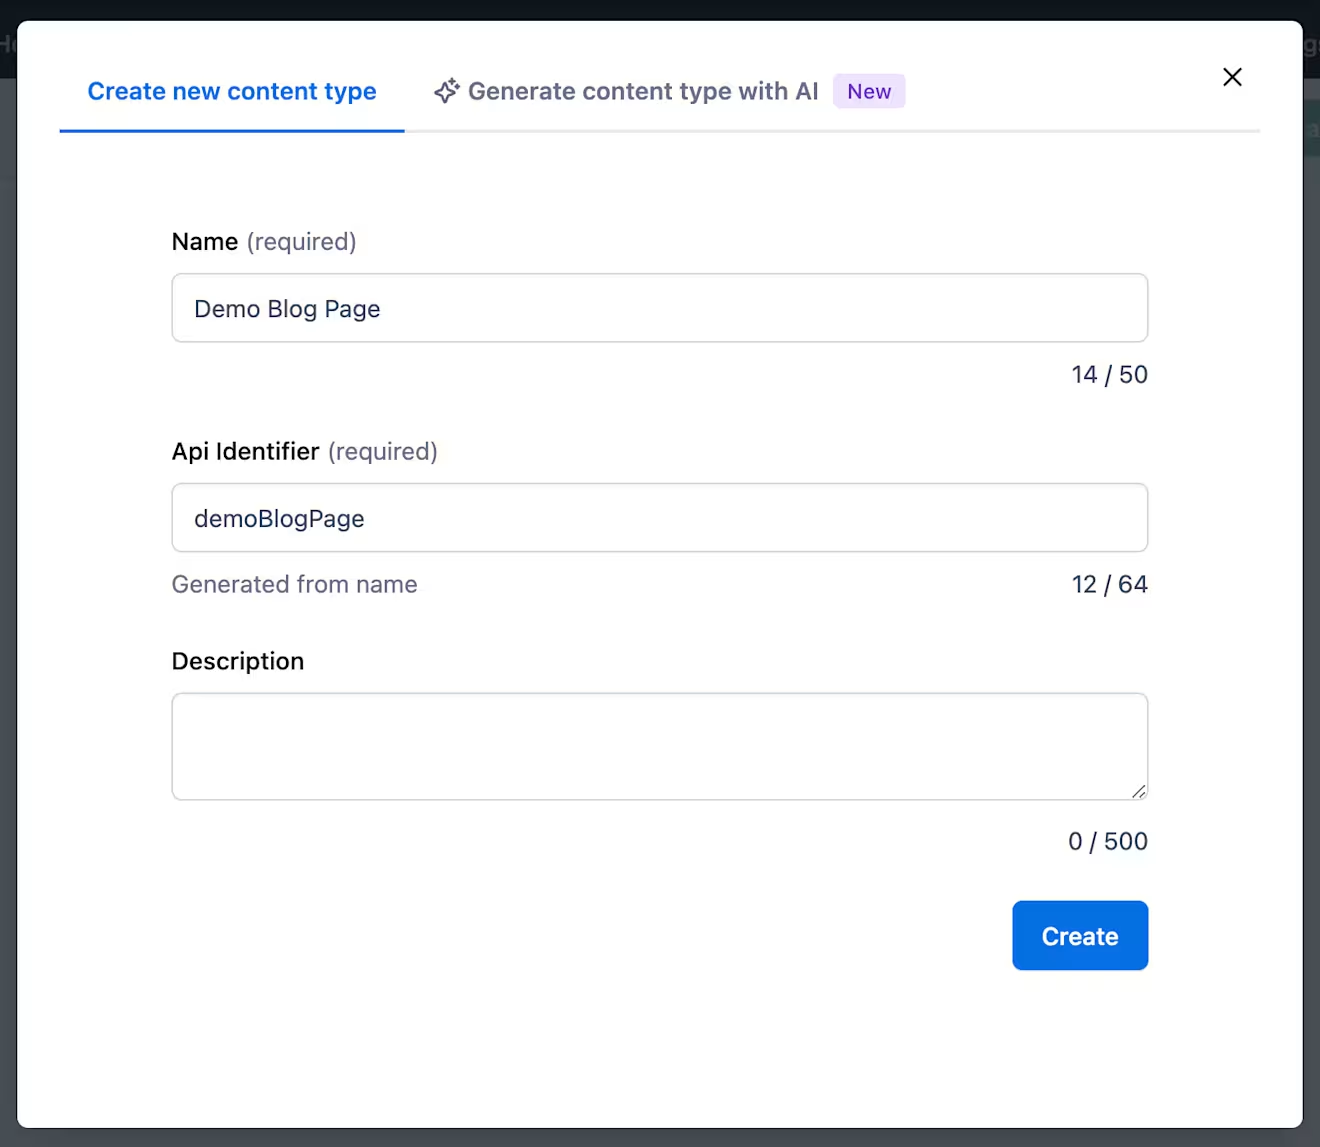
For this tutorial, let's have a basic content model with a title and a Rich Text body. This model we assigned an ID demoBlogPage. To get this, inside the content model tab, go to Create content type. There, configure the name, ID (API identifier) and description, as can seen below:
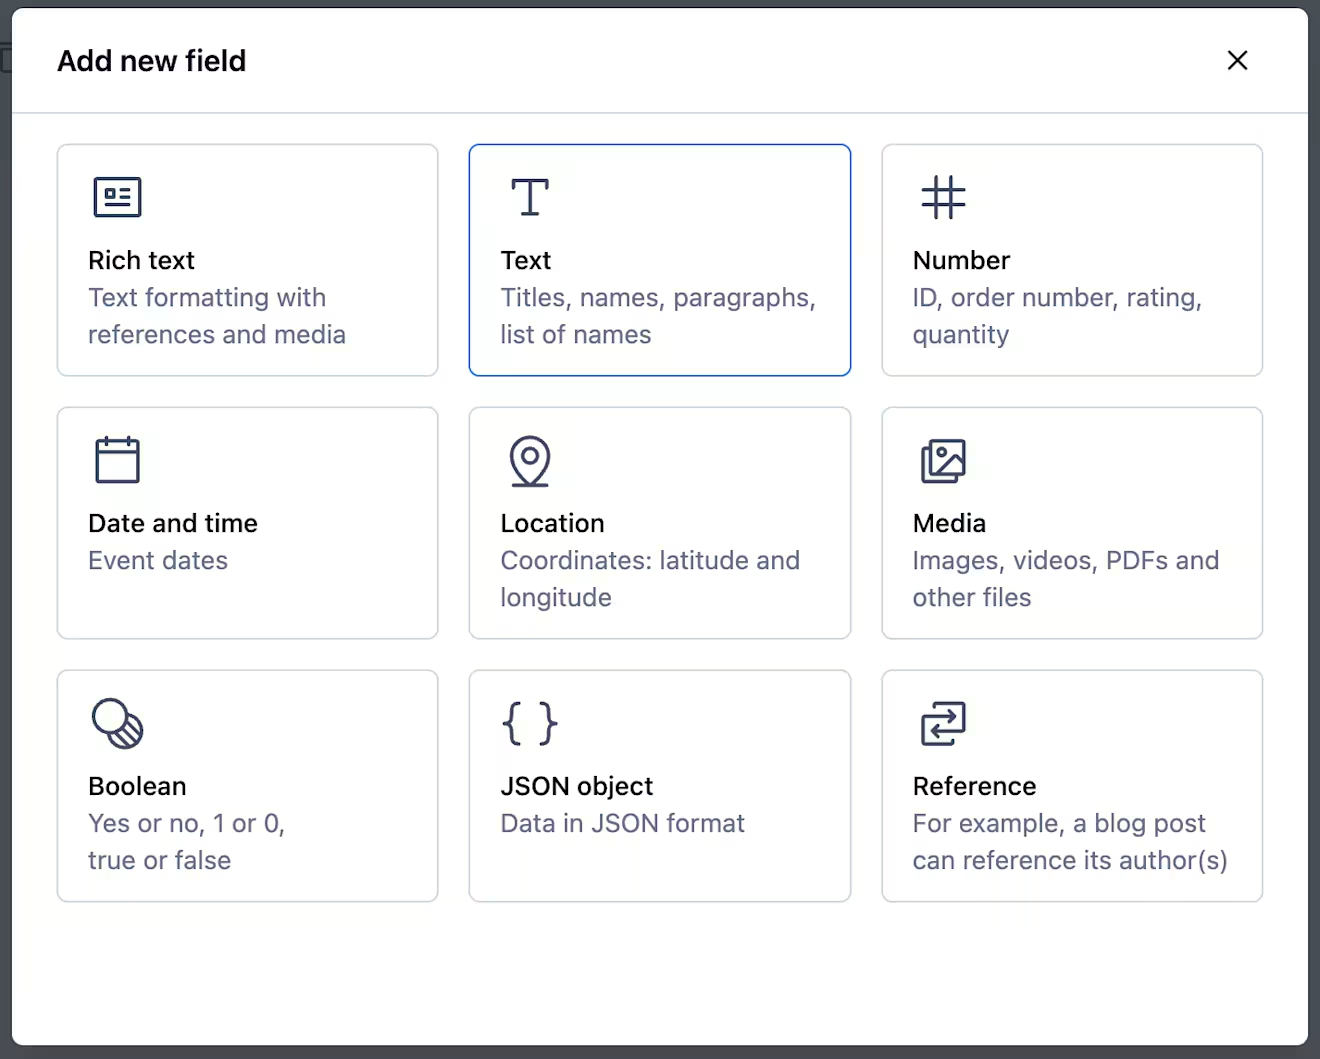
Next, you can add desired fields by clicking in Add field. For our case, will require a text for title and Rich Text as body.
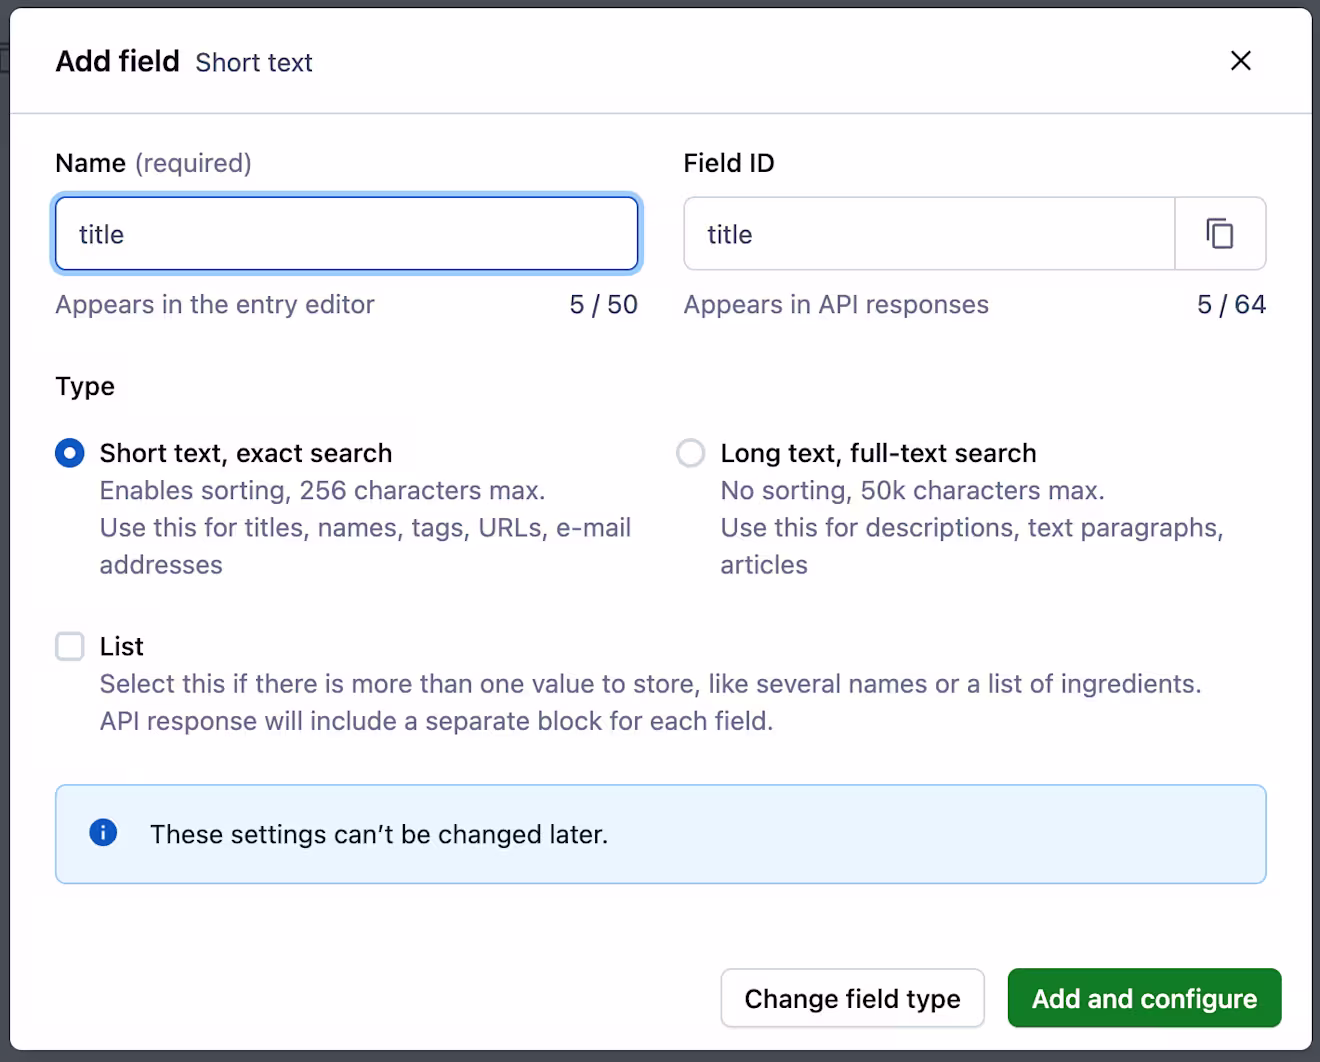
First, for title, we can configure text as appears below:
And similar for body, we can configure Rich Text as below:

For this, we need to create two new services, one for Contentful interaction, and other for ChatGPT interaction. Let’s start with Contentful service. For it, create a new file contentfulService.js inside the services folder. It looks like this:
From the file content, we can analyze a few functions:
convertItemByTag: Takes items created in htmlService and, according to their node type, asks ChatGPT to sanitize the result according to Contentful API rules. This process is very important and requires some iterations according to the structure of the desired data to be migrated. This tutorial shows some use cases, but other structures can exist.sanitizeObject: According to Contentful rules and limitations of ChatGPT, this method can fix validation errors that Contentful API can return. Also,checkContentfunction helps to check recursively all the objects.
Now, let’s create a new file chatgptService.js inside the services folder. Looks like this:
The method getChatGPTRecommendation takes a formatted HTML string and asks OpenAI to rewrite it as a Contentful document object. In general, it is a very simple function, but very powerful. It is possible to configure the model and temperature. For this tutorial, we used the model gpt-3.5-turbo. It works very well for this use case. Also, the temperature is set to "0" to be the most deterministic possible.
Important to keep in mind that OpenAI will charge you per token used, and the number of tokens depends on the amount of characters sent to OpenAI and their responses. For more details about OpenAI pricing, you can go here.
The code can be updated to reduce the amount of API calls to OpenAI, but do remember that the models have limitations in their request and response size. Using the model gpt-3.5-turbo, the maximum request and response is 4096 tokens (you can find some details here about how to count them).
Now, we can update our server.js to look like this:
With this, we can orchestrate all data migration, create a Contentful entry according to the desired content model and request the creation directly with the API.
Seeing this process in action, it is possible to see some interesting results in the next two screenshots.
Screenshot A
Screenshot B
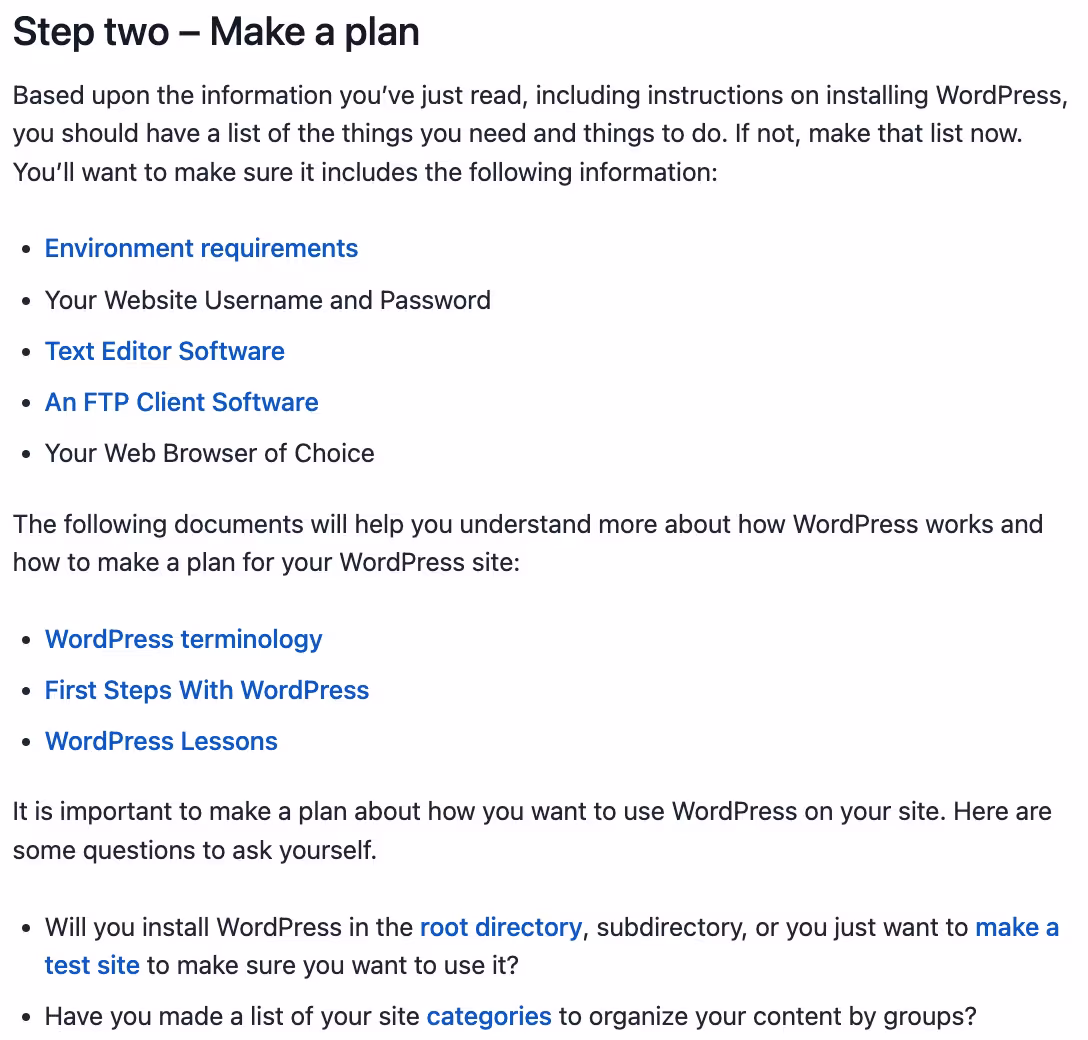
The first screenshot is the origin article, and the second is the resulting data. Here you can see all content and structure is the same, including headers, paragraphs and lists. Also, inside each line, we have extracted different types of values, such as hyperlinks.
So in this one experiment, you can see the capabilities of ChatGPT, and the potential to migrate large amounts of data between HTML and Contentful.
Wrapping up
And that is all! We’ve just created a migration engine between an HTML page and Contentful.
You can continue exploring different capabilities of ChatGPT in the code migration process, providing support for different TAGs and assets. Also, interact with more robust Contentful content models.
You can also explore different approaches to optimize code examples provided in this tutorial to reduce the amount of ChatGPT requests required. With it, you can reduce costs and time in the execution process.
OpenAI API calls can sometimes fail, so it is recommended to add a retry algorithm to prevent data loss or incomplete executions.
You can also explore the new training capabilities for the newer GPT-4 model. With it, it can provide even better recommendations, reduce efforts in the sanitization process, and provide support for custom structures.
With all the power of OpenAI and other Artificial Intelligence tools, the sky’s the limit! I encourage you to continue learning and use this approach to accelerate migration in different code areas.
If you'd like to see the source code used in this tutorial, it is located here. Happy coding everyone!

Inspiration for your inbox
Subscribe and stay up-to-date on best practices for delivering modern digital experiences.
Meet the authors

Erwan Lent is the founder and CTO of Outliant, specializing in web migrations of content management systems.
Related articles

Getting started with Contentful Studio and the Experiences SDK
May 29, 2024

GraphQL pagination: Cursor and offset tutorials
October 28, 2024

How to increase conversion rates with A/B testing
March 14, 2025
