Next.js authentication with Auth.js (formerly NextAuth) and Contentful
Updated on January 8, 2025


Inspiration for your inbox
Subscribe and stay up-to-date on best practices for delivering modern digital experiences.
Next.js has become increasingly popular in recent years due in part to its ability to address common challenges for developers when building React applications. It extends React's capabilities by adding tools to speed up the development of full-stack applications, such as server side rendering (SSR) and API routes, for building backend functionality directly within the framework.
One thing Next.js doesn't include out of the box is authentication, and you'll need to choose and implement a third-party library such as Auth.js if you require authentication in your app.
This article shows you how to use Auth.js to add authentication to your app using Contentful to store your user data (so you don't need to write a back end). It includes full explanations and code examples showing how you can use Next.js, Auth.js, and Contentful as the foundation of your projects.
What is Auth.js (formerly NextAuth)?
One of the first priorities when building a user-facing app will be authentication, which verifies identity (this is different from authorization, which determines what a user can do within your application). Auth.js provides a full, prebuilt authentication solution for Next.js apps. It provides built-in support for providers such as Google, GitHub, and Facebook, allowing you to quickly add social logins. It's also easy to add email- and password-type login flow too, giving you control over your implementation without having to write any of your own authentication code.
Auth.js provides various functions such as auth, which allows you to create secure authentication flows without complex setup. Its modular design allows you to customize how data is handled within your application, making it useful for an array of different scenarios from basic login to more advanced authentication.
Contentful provides a back end for almost anything, including user data
In the following example, you are going to connect Auth.js and Contentful to be able to store users directly in Contentful.
But first, you might be thinking, why would you want to store user data in Contentful? And the answer is really simple: you get a storage back end and a user-friendly, graphical admin panel right from the start — all without writing any code or having to deal with hosting.
Once you have authentication in Contentful, you can add functionality so users can create, edit, or delete content that is tied to their account; for example, a user could sign up and then start creating blog posts or product listings with all of that content linked to their unique Auth.js ID in a Contentful space.
How storing users’ content in Contentful works
Auth.js (NextAuth) will act as an authentication layer. It manages the process using providers like Google or Facebook (or custom credentials with email), and then it verifies the user's identity and establishes a session for that user.
Once Auth.js authenticates the user, the user's information can be used to relate content they create to their account. On login, Auth.js provides session information that can be used to retrieve the authenticated users data. For example, when a user logs in, the app fetches their email and other stored details from Contentful to personalize the experience or tie actions (like content creation) to their account.
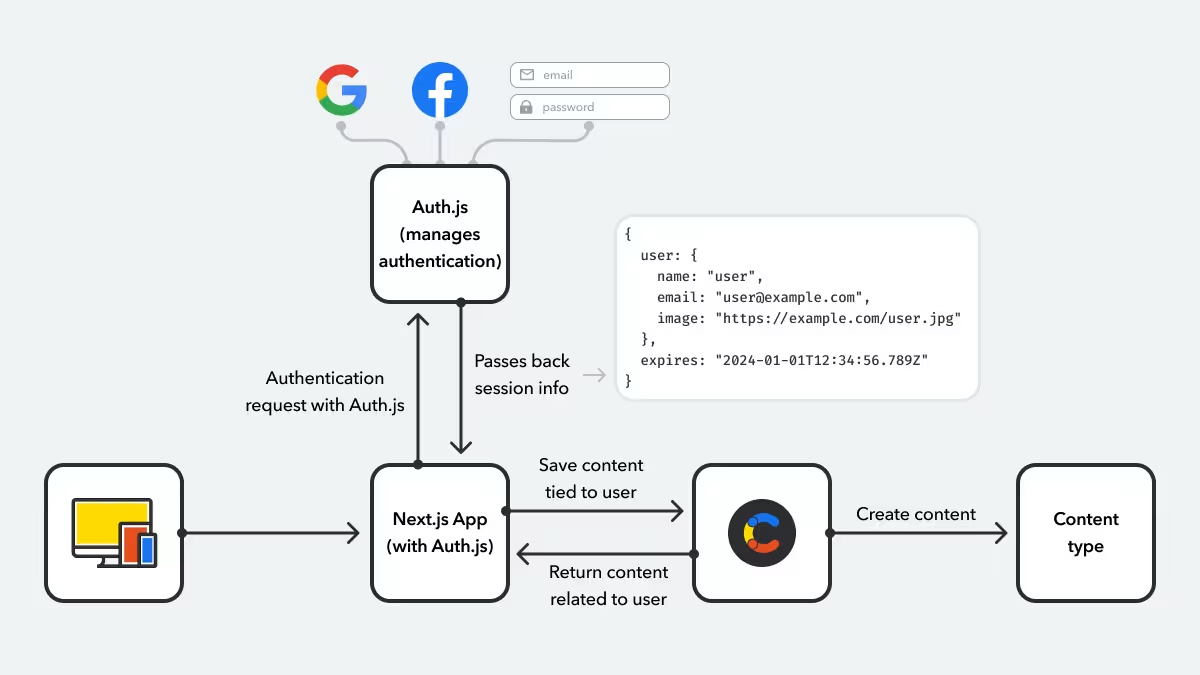
Flow diagram showing how Auth.js verifies user identity with providers like Google, stores user data in Contentful, and enables apps to fetch user content for personalized experiences.
Next.js + Auth.js: Full tutorial with code example
All the code used in this post is available in the link here, and if you get stuck, don't hesitate to ask for help in our community Discord.
Requirements: To follow the example, you will need Node.js installed, a Contentful account with a CMA token, and a Next.js app where you want to add authentication. To avoid storing passwords, this tutorial will only consist of adding a social login that supports Google, but other authentication providers can be added later.
Step 1. Create the user store in Contentful
When you sign up for a Contentful account, a blank space is created to hold your data. If you prefer to do things in a separate space, add a new space to use with this project.
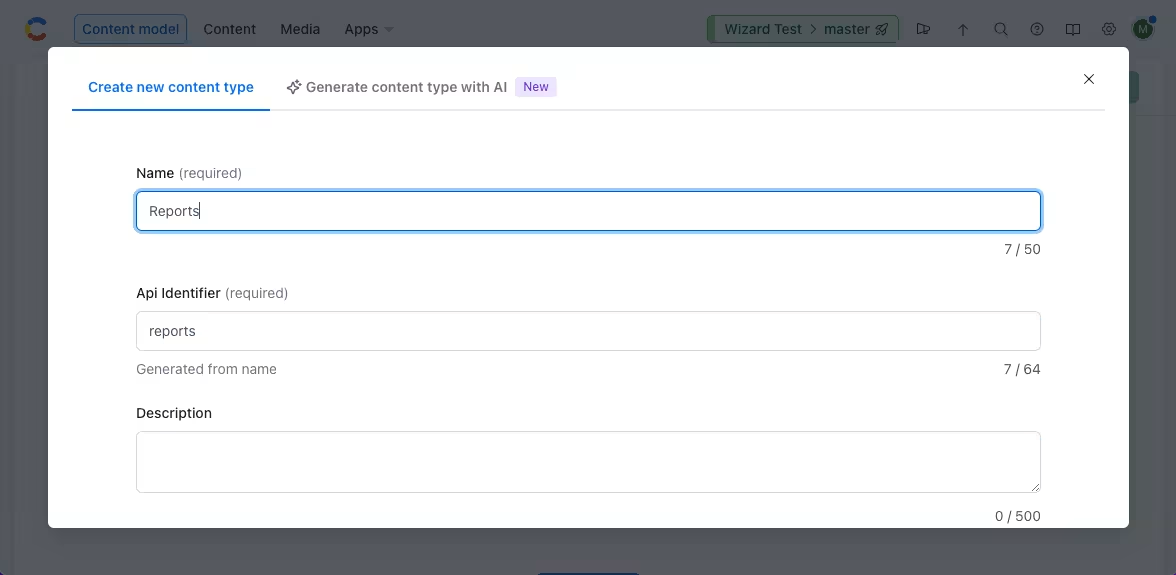
To store the users and make sure the following code example works, create a new Content type in your space in the Contentful web app by clicking on the content model. Your new Content type should be named Reports:
Choose the “Text” type:
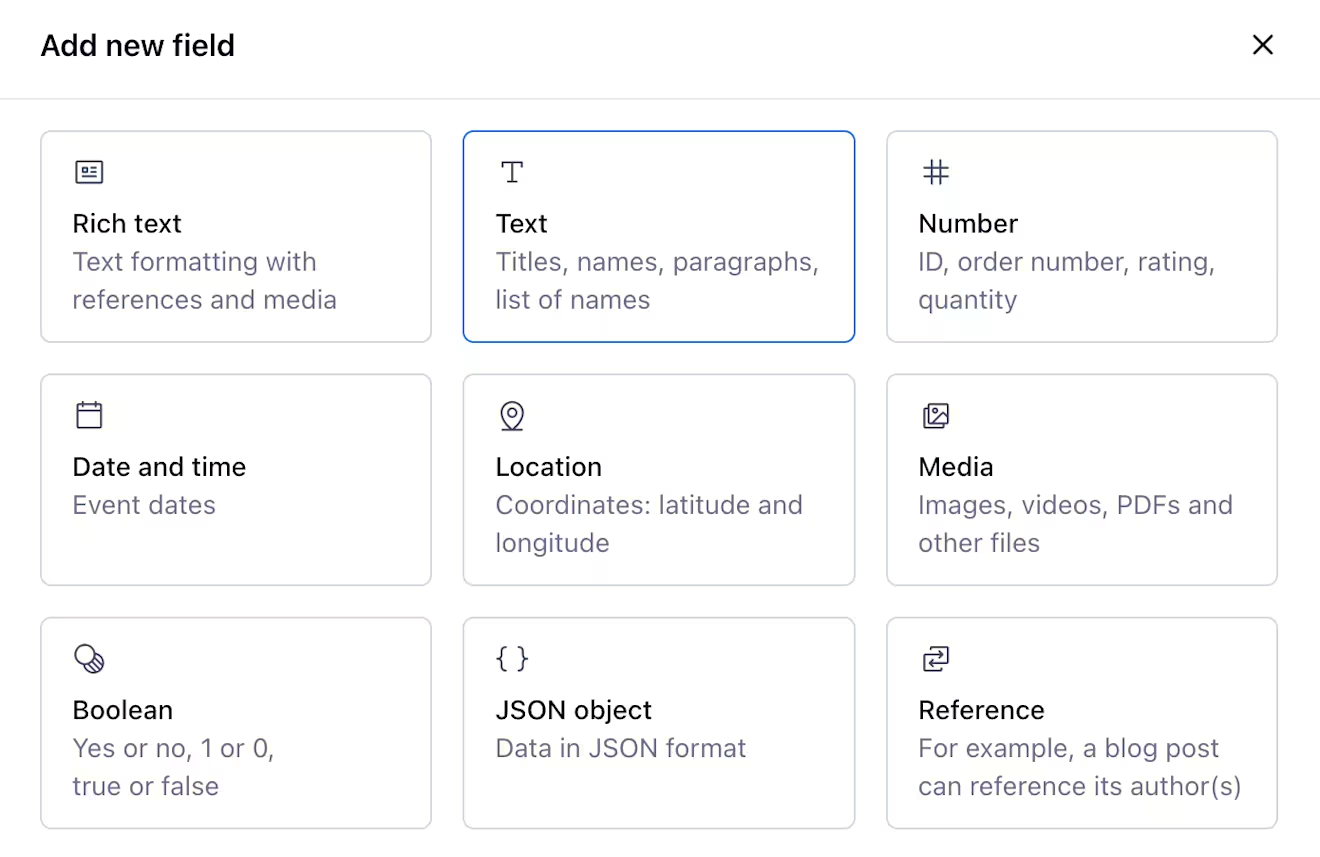
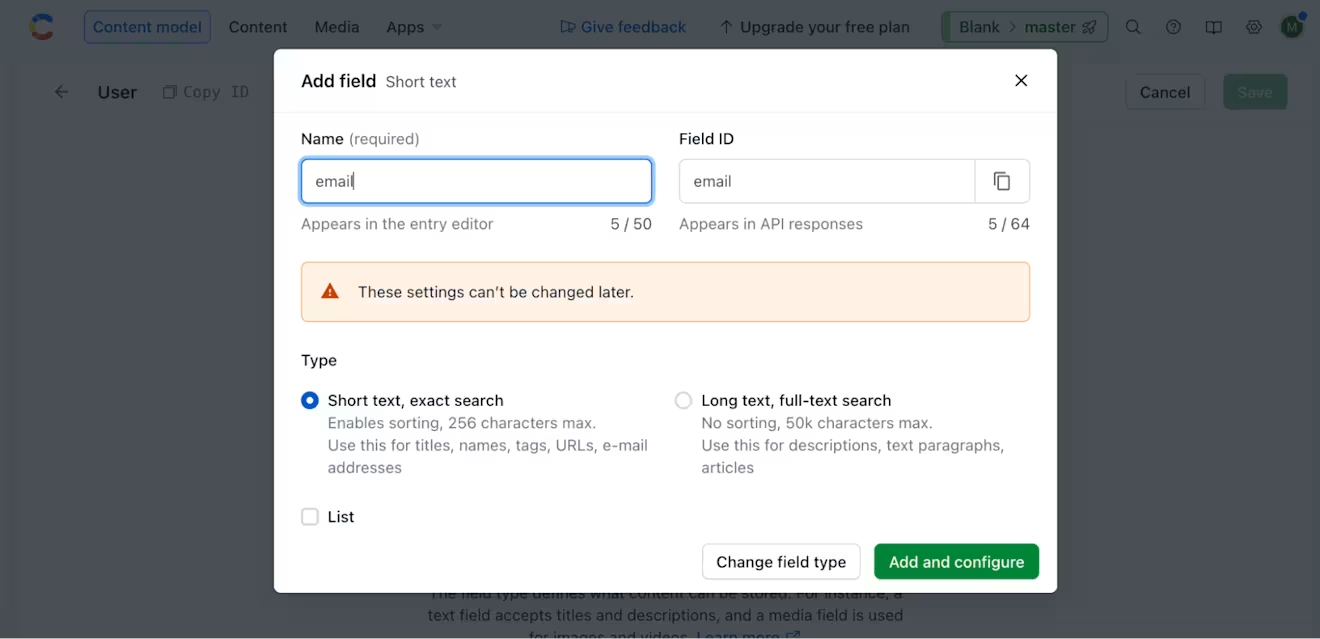
Add a new field named email, as it's the minimum that Auth.js requires for social login (and will also act as the unique ID for each user) then add another field called reportText. After adding, make sure you save the content type. As you build out your app, you can add other fields to store user information.
Step 2: Create and configure a Next.js project with Auth.js
To set up a new project, start with the Auth.js example project and install the necessary dependencies. While Next.js does support TypeScript, the code in this tutorial will stick with plain JavaScript.
The next step is to configure your environment variables. Use the following command in the terminal to copy the contents of the existing env file to a new file called env.local:
cp .env.local.example .env.local
You will also need to generate a secret to secure Auth.js by running:
openssl rand -hex 32
And copying and pasting the generated value into the AUTH_SECRET in .env.local.
Auth.js already provides some configurations in the example project, so you'll only need to add the following Contentful-specific environmental variables to .env.local:
CF_SPACE_ID={your value here}
CF_CMA_TOKEN={your value here}
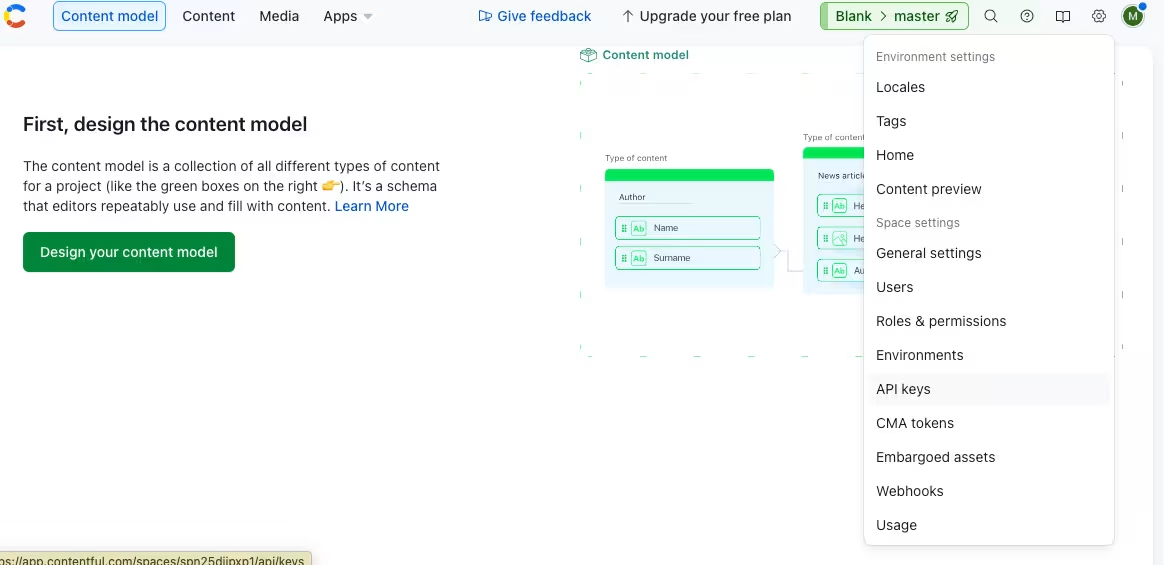
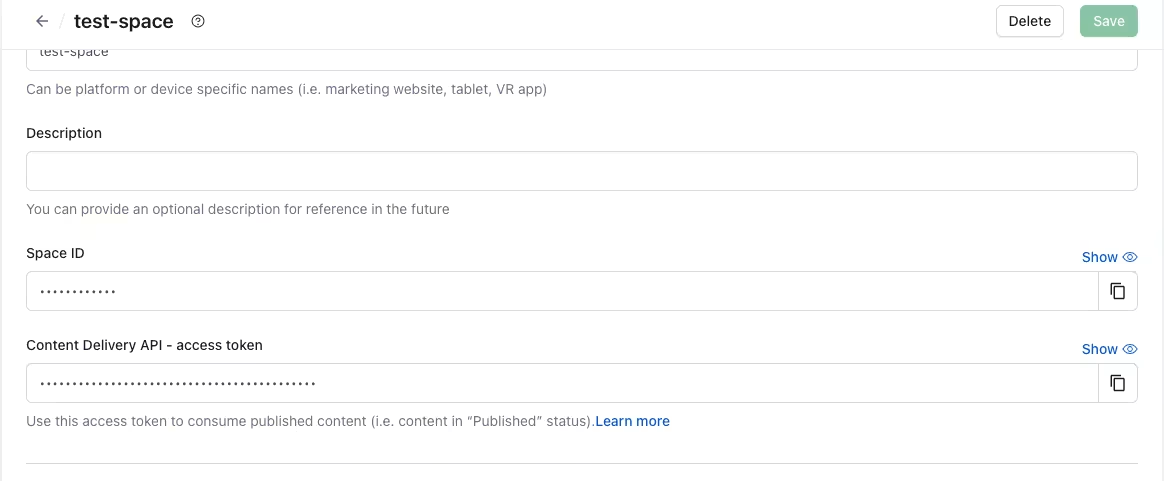
You can find your Contentful space ID by selecting “API keys” from the settings dropdown menu:
Then choose a name and create your API keys, which will then be accessible in your newly created space:
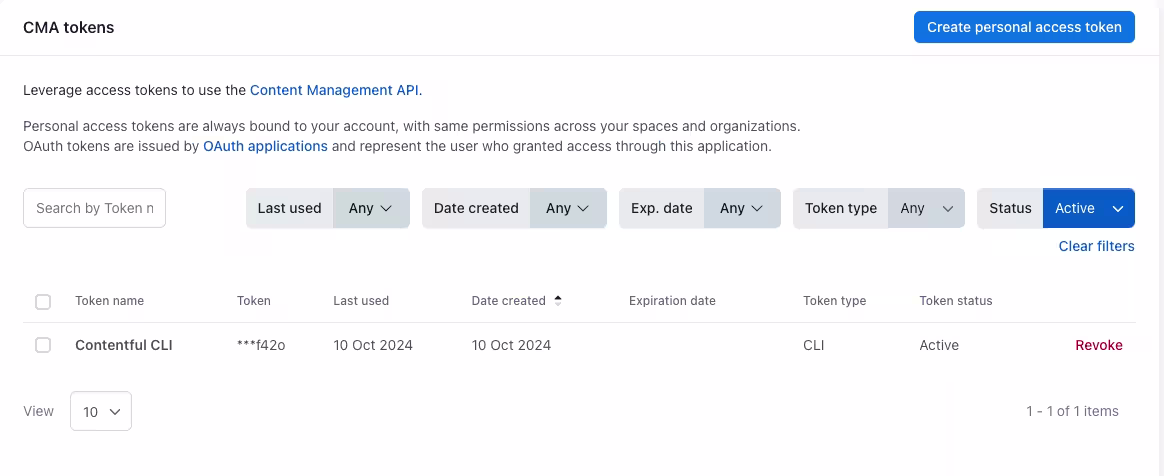
For the CMA token, you can select that from the same dropdown menu and then click “Create personal access token” from the top right, giving it a name. Once it’s created, you can paste it into the env.local file:
Next, replace the export const code block in the auth.ts file with the following (leave the rest of the file as is):
The above code modifies the default auth.ts file (which initializes Auth.js) to read the AUTH_SECRET value from the env file, and enables the Google authentication provider.
Step 3: Get the Google authentication provider API credentials
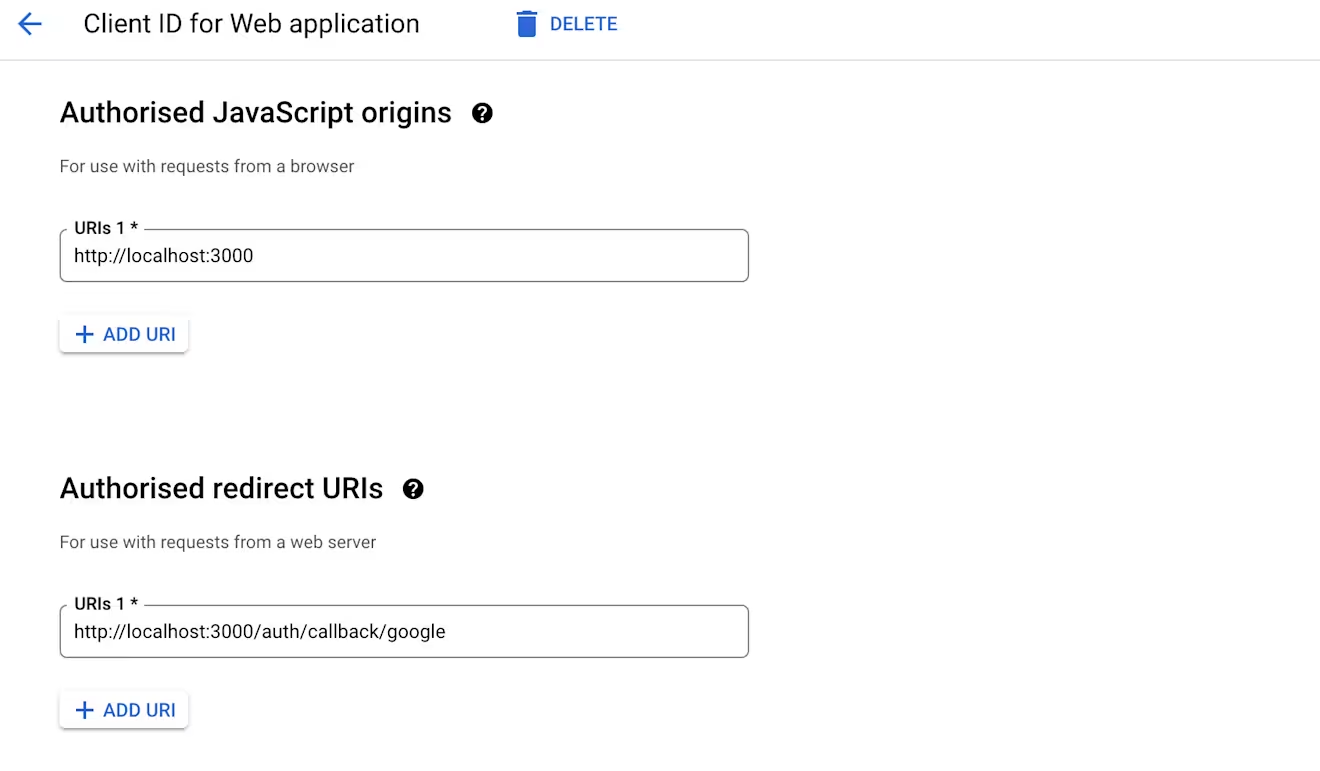
Next, you need to get the AUTH_GOOGLE_ID and AUTH_GOOGLE_SECRET for setting up the Google provider in Auth.js. To get these values, you will need to go to Google Cloud Console and get an OAuth2.0 client ID and client secret.
When creating the credentials in the Google Cloud Console, make sure that in authorized JavaScript origins you add http://localhost:3000, and in authorized redirect URIs you add http://localhost:3000/auth/callback/google, as these are the URIs to your Next.js when you run it locally.
Once you've created your client ID and secret, add them to your .env.local file as the AUTH_GOOGLE_ID and AUTH_GOOGLE_SECRET values.
Step 4: Add a login form
You can use the default login form that Auth.js provides by appending the following to app/auth/nextauth/route.ts:
You can test your app by running:
npm run dev
And then opening http://localhost:3000 in your web browser.
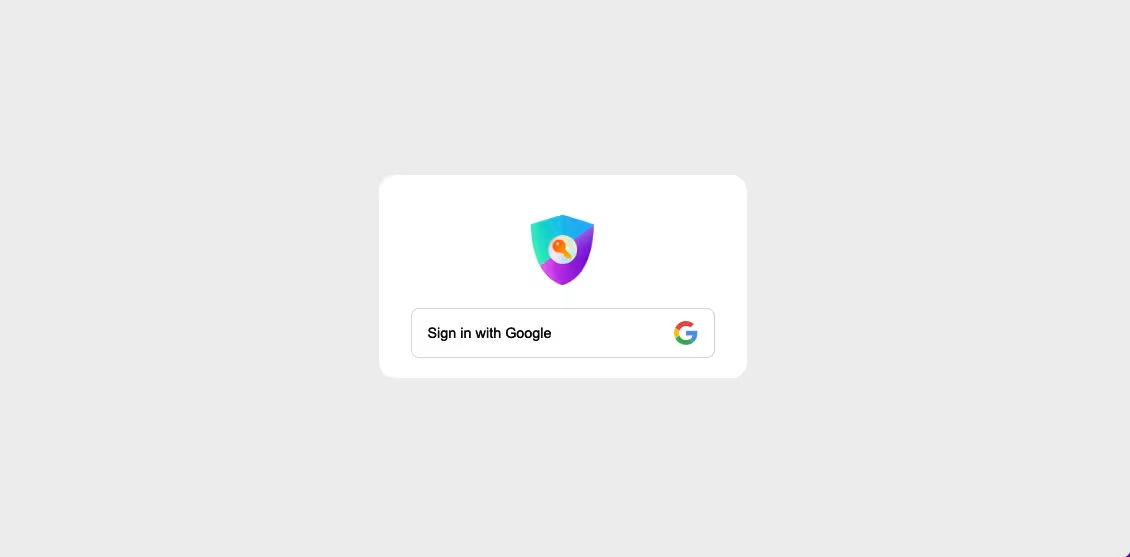
If you now click the “Sign In” button in the top right:
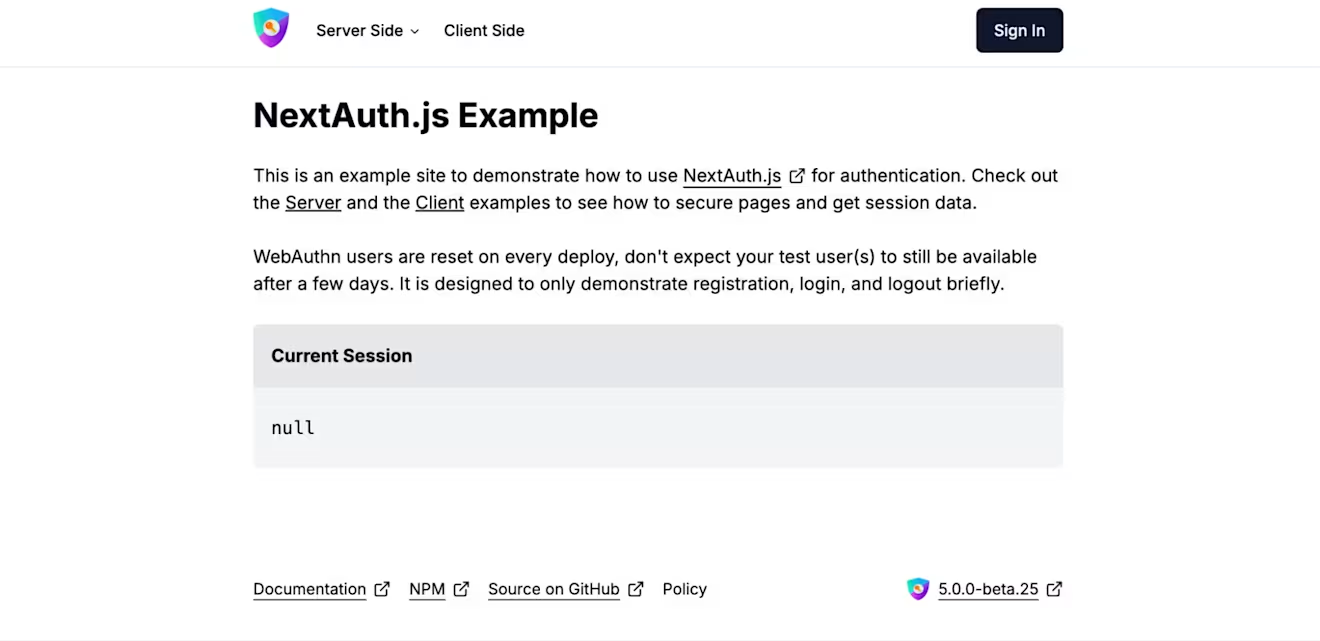
You should see something very similar to the screen below:
Step 5: Auth.js session details with app directory
The example already has you covered with getting the session details, and once you log in, you should be redirected to home with a view showing you the user’s session information. The code is under app/page.tsx:
Here, the auth function is imported in from the Auth.js library, then the session details are asynchronously awaited so they can be displayed.
Step 6: Create the Contentful connection
The next step is to use the contentful-management package to connect your app with Contentful for storing user content. Create a contentful.js file in the root folder of your project and add the following code:
This code initializes the Contentful management API client so you can interact with your Contentful space. The space and accessToken are set to specify the target space and authenticate the API calls, as read from the .env.local file.
Next, append the following code to contentful.js. It creates a function to add reports to your report store. This function will take an email and reportText and store them.
The final step of the connection is to add a form to the page.tsx file, create a component called ReportForm.jsx with the following code:
Step 7: Finishing up
Now that the connection between the app and Contentful is set up, you just need to import the ReportForm component into the page.tsx component and pass the email from the session. Notice that the user must be authenticated to be able to see and use the form.
Now, when a user authenticates through Google, they will be able to use this form to enter reports, which will be saved in Contentful and linked to them by email.
A working Next.js app, with authentication, and not a single line of backend code
If you have used the Auth.js example, you should have a login/signup flow already working. You can verify that the flow is working by navigating to /api/auth/signin and doing a signup. You should get redirected to the index.
If you were working on an existing project, the flow should also be working. Now your Auth.js project should be storing reports in Contentful, but you might need to change some more things than shown in the post. You can now add more authentication providers to broaden your audience.
Next steps: Make it an app
And there you have it. You now know how to add Auth.js (NextAuth) to your app and use Contentful as your admin panel for content. By combining a library like Auth.js for your authentication needs and Contentful for storing your users’ content with an intuitive interface, you can speed up your development workflow and concentrate on more important features.
This is of course just the beginning! Now that you have an app that can authenticate users (and a full management admin panel supplied by Contentful) you can start building the rest of your app. You don't even need to worry about the back end — it's already there. Contentful lets you model any content type, create and manage content, and deploy to GraphQL and REST APIs backed by a high-speed global CDN.

Inspiration for your inbox
Subscribe and stay up-to-date on best practices for delivering modern digital experiences.
Meet the authors

David Fateh is a software engineer with a penchant for web development. He helped build the Contentful App Framework and now works with developers that want to take advantage of it.
Related articles

Command line interface: A beginner's guide to what it is and how it works
April 16, 2025

How to use the Next.js app directory: Complete guide and tutorial
January 17, 2025

Combining GraphQL multiple queries to boost performance
February 7, 2025
