Guide to Integrating Algolia and Contentful with React JS
Published on August 31, 2023


Inspiration for your inbox
Subscribe and stay up-to-date on best practices for delivering modern digital experiences.
Algolia is a performant search engine that exposes an API to perform search and discovery on your data. Instead of having to make several queries to the content source, which can do the job at the expense of performance and query filtering complexity, Algolia solves this by indexing your data and giving you access to it.
This tutorial will guide you through using Algolia to create search indexes and manage data-fetching logic in a React project and how to apply these techniques to data coming from Contentful. We’ll be able to display the data in a catalog-like web view. All the code in this tutorial can be found in this repository.
Prerequisites
To follow along, you’ll need:
A Contentful account. Sign up if you do not have one.
An Algolia account. Sign up if you do not have one.
Intermediate knowledge of JavaScript.
Node.js version 18 or above.
Set up Contentful webhooks connected with Algolia
First of all, we’ll need to create Algolia credentials and a search index.
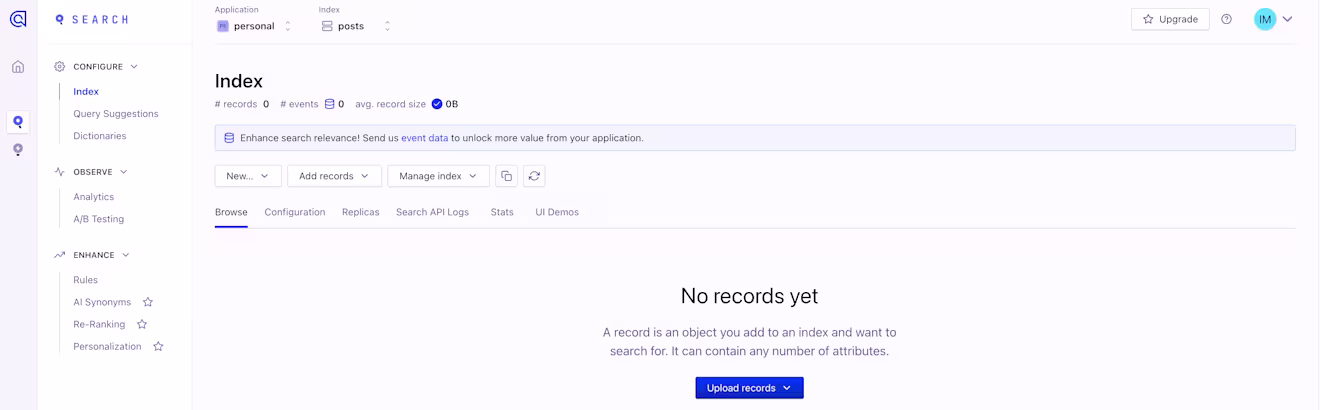
In your Algolia dashboard, create an application. Then, create an index. You can call it whatever you like. For the purpose of this tutorial, we’ll be creating an index of blog posts.
Now, you have to go to the Settings section (the cog icon at the bottom of the page) and you’ll see your organization settings. Go to Team and Access > API Keys and copy your Application ID and your Admin API Key. We need writing access to the index as we’ll be syncing data from Contentful to it.
Now, in your Contentful space, go to Settings > Webhooks. For the sake of simplicity, we’ll use the Algolia webhook template that already exists, but you could also create an endpoint with your own needed business logic and use its URL as the webhook’s URL. You’ll see a section called Webhook templates in the right sidebar. Click on the Algolia one (or in the “See all templates” button if you don’t see it and search for it) and input the three required fields: your Algolia Application ID, the name of your index and the Admin API Key. This key will allow us to perform write actions over the index. By the other hand, the Search-Only API Key is intended to be used in a frontend application to fetch the data from the index — we’ll use it later in our React App.
This will create two webhooks. One for indexing the entries and the second one for deleting unpublished entries. Both will be configured with the following:
URL: https://{app-id}.algolia.net/1/indexes/{index-name}/{ /payload/sys/id }
Events:
The “index entry webhook” will only trigger with Publish Entry events.
The “delete unpublished entry” webhook will only trigger with Unpublish Entry events.
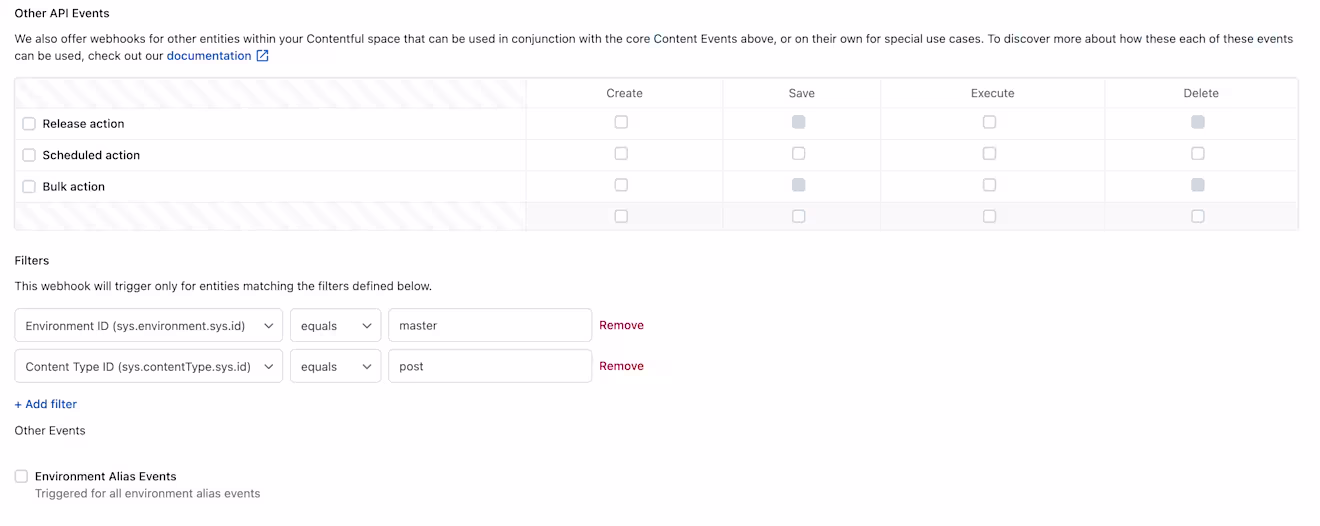
Filters: will trigger only with entries in the ‘master’ environment
Headers:
X-Algolia-Application-Id: Your application ID
X-Algolia-API-Key: Your API Key
Use default Contentful payload
The Index Entries webhook will look like this:
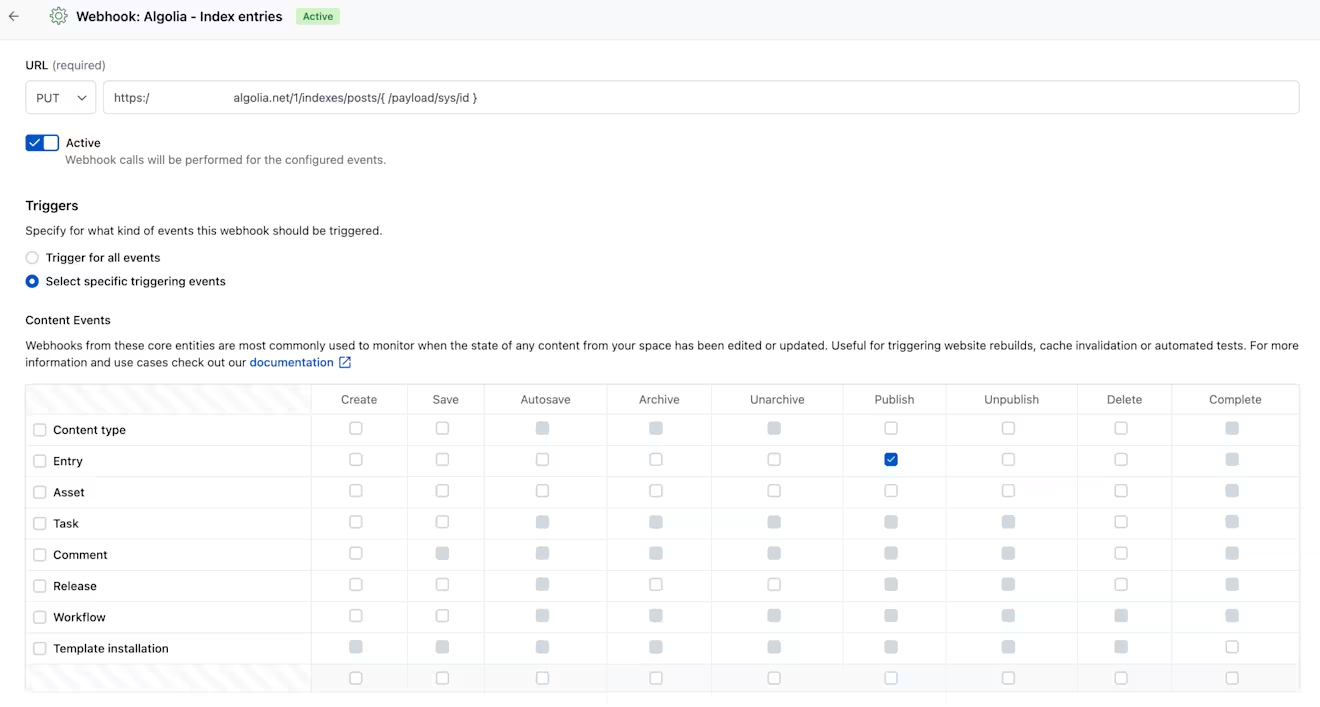
I’ll add another filter rule to both webhooks which will make sure the indexing and deletion will only happen with the post content type. We normally don’t want all of our entries to be indexed, just the ones we want to show in a listing-like page. We also don’t want to trigger the deletion webhook whenever entries from another content type are unpublished.
Now let’s create our Post content type and index an entry!
Post content type and indexing entries
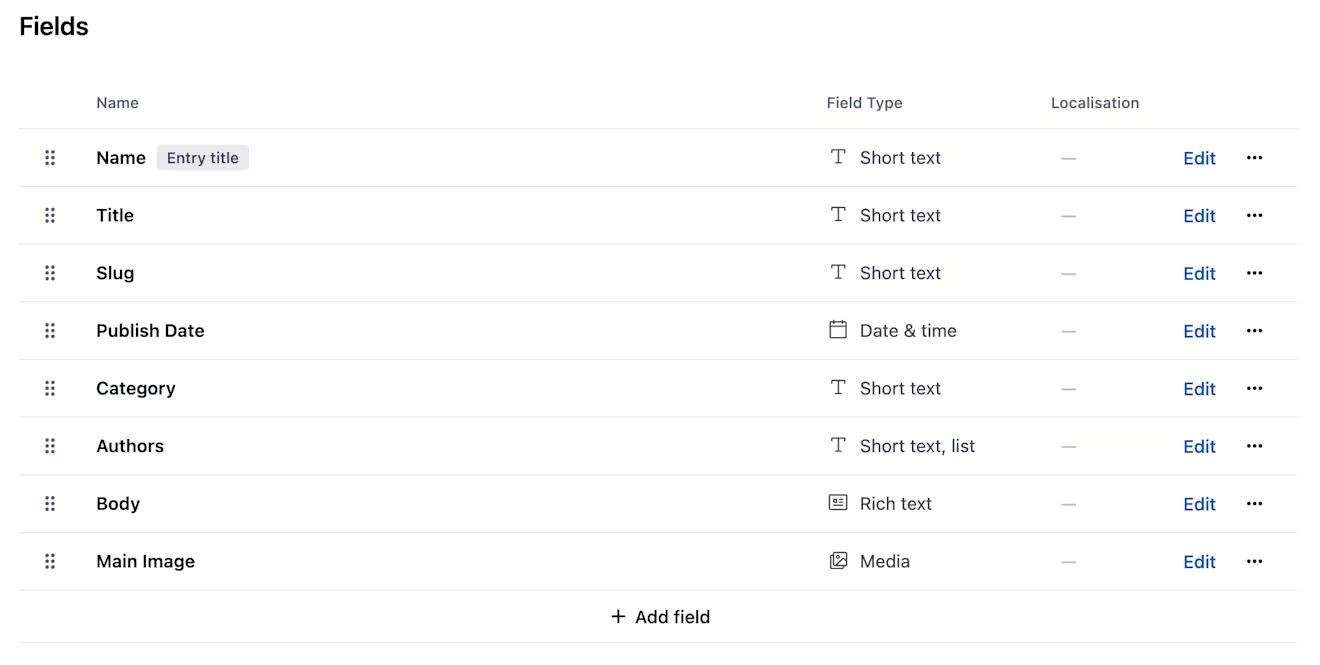
We’ll keep it simple and not include reference entry fields, but in a normal scenario, you will likely use them in your model!
Our content type will have the following fields: Title, Publish Date, and Authors, the minimal required information in order for the Post to be shown in our listing page:
Now, whenever you publish a post entry, its data will be synced into the Algolia index! Let’s take, for example, the following sample entry:
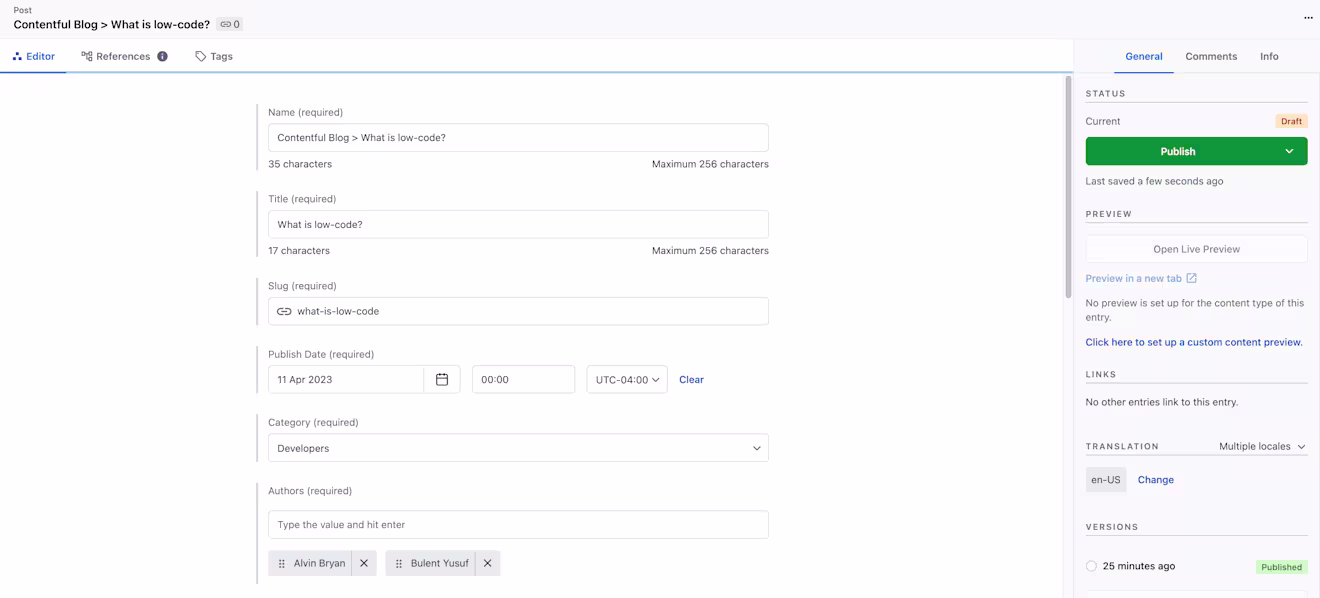
As soon as we fill in all the fields and hit the publish button, our entry will be synced into Algolia and we’ll be able to see the data in our index!

Building the React application
First, generate a React project called react-contentful-algolia using the React template for Vite via the command-line interface.
npm create vite@latest react-algolia -- --template react
Next, execute the two commands below:
cd react-algolia
npm install algoliasearch
This leaves you in the react-algolia project and installs the needed dependencies to build the project.
Finally, create a file called .env within the project directory. We’ll use this file to store our Algolia credentials. Make sure you replace <YOUR_APP_ID>, <YOUR_API_KEY>, and <YOUR_INDEX> with the respective values from Algolia.
‼️ This time you need to use the Search-Only API Key, as we only need to read data from the index and don’t want to expose a key with write-access such as the Admin API Key.
# .env
VITE_ALGOLIA_APP_ID=<YOUR_APP_ID>
VITE_ALGOLIA_API_KEY=<YOUR_API_KEY>
VITE_ALGOLIA_INDEX=<YOUR_INDEX>
Now we’ll be able to use these credentials to fetch data from Algolia.
The VITE_ prefix is required in your environment variables because these values are public and visible to the client.
Setting up the Algolia client
Create an algolia-client.js file within the src directory. This file will be in charge of having our Algolia client, the index, and some functions that will allow us to get the data from the index.
Add the following code into your file:
With this, we’re retrieving our credentials, creating an Algolia client, and initializing the index, which will allow us to perform queries against it. The getPostsData function will help us to retrieve our posts based on a string query.
Fetching data from the index and showing it in the client
Now we can start pulling some data and showing it in our React application.
We’ll create a Post component which will receive the post’s data from our index and will display it as a card. Create a Post.jsx file in the src folder with the following code:
Also replace the boilerplate code in ./src/App.jsx with the following:
Here we’re fetching the data from our index using a simple useEffect and storing it into the posts variable, then we map all the results (i.e. hits) and render Post components.
Finally, delete the index.css file, as we will not need it anymore, and replace the default code in the App.css file with these styles:
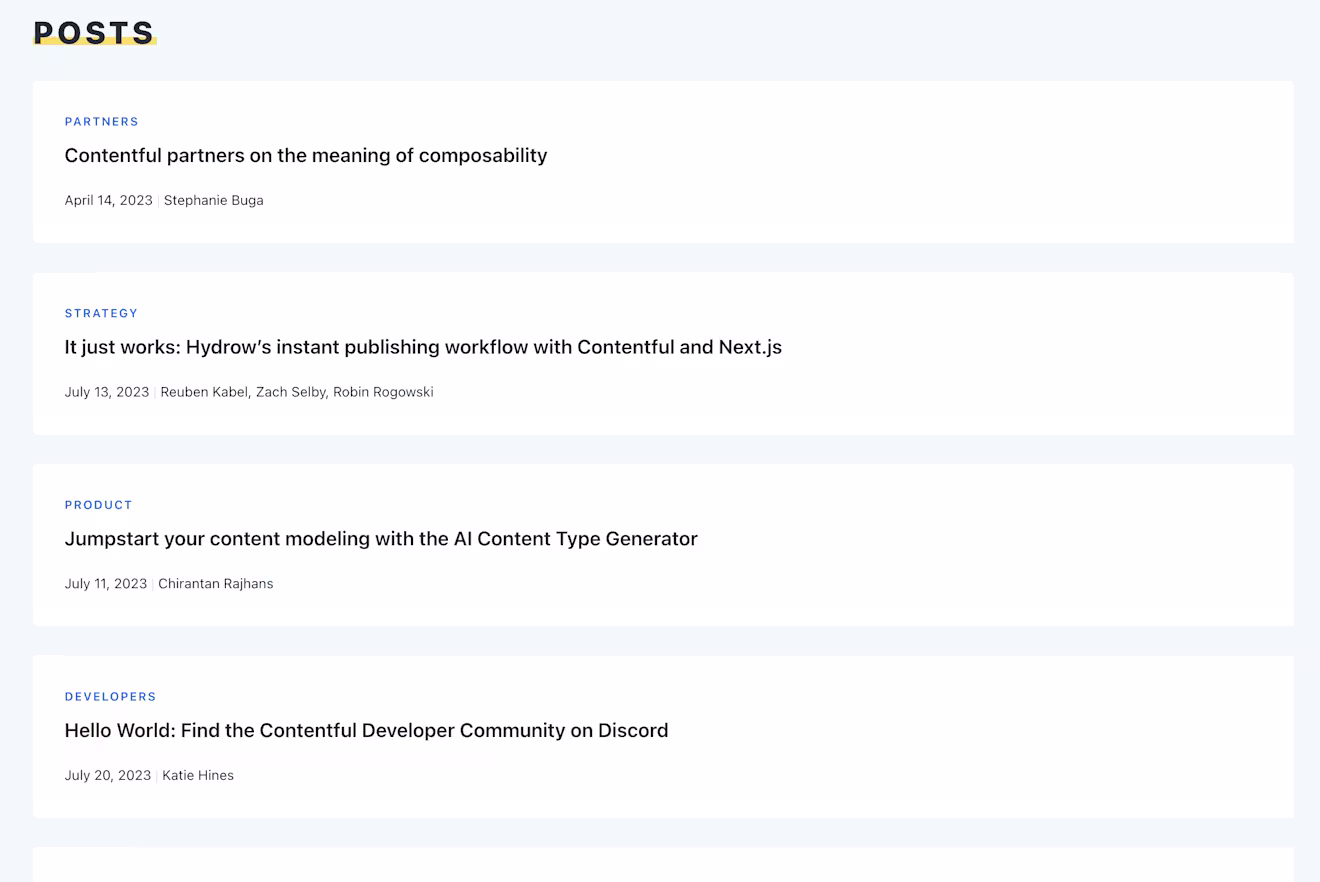
Now if you run the dev server with npm run dev and go to http://localhost:5173, you will see your post entries listed!
Sending queries to the index and refining our results
Now that we’re able to fetch our posts, a really nice feature that Algolia provides us is performing a search against our index blazingly fast! In order to get the most from our searches, we need to add some configurations into our index.
Go to your Algolia dashboard and then to your index settings in the Configuration tab. Then click on Searchable attributes and add fields.title.en-US and fields.category.en-US. With this, we’re telling Algolia to only search for matches within these two fields, improving the performance of the search. Don’t forget to click on Review and Save Settings to save these changes!

Now let’s modify our App component. Let’s add a search input and some states:
Also add the styles for our input in the App.css file:
Now we can type some query and update our results! We can search for words within the title of our posts or for categories. If I type Developers, the posts will be filtered and those with that category will show up.

Filtering posts
Let’s dive into another great Algolia feature: filtering. We first need to understand the concept of facets. They basically allow us to add categorization to our search results using some of the attributes our data has. For example, we can define the category field of our blog posts as a facet in order to refine our searches using the category value our entries have.
Let’s modify our getPostsData function a little bit:
If we print the result of our posts variable, we’ll get something like this:
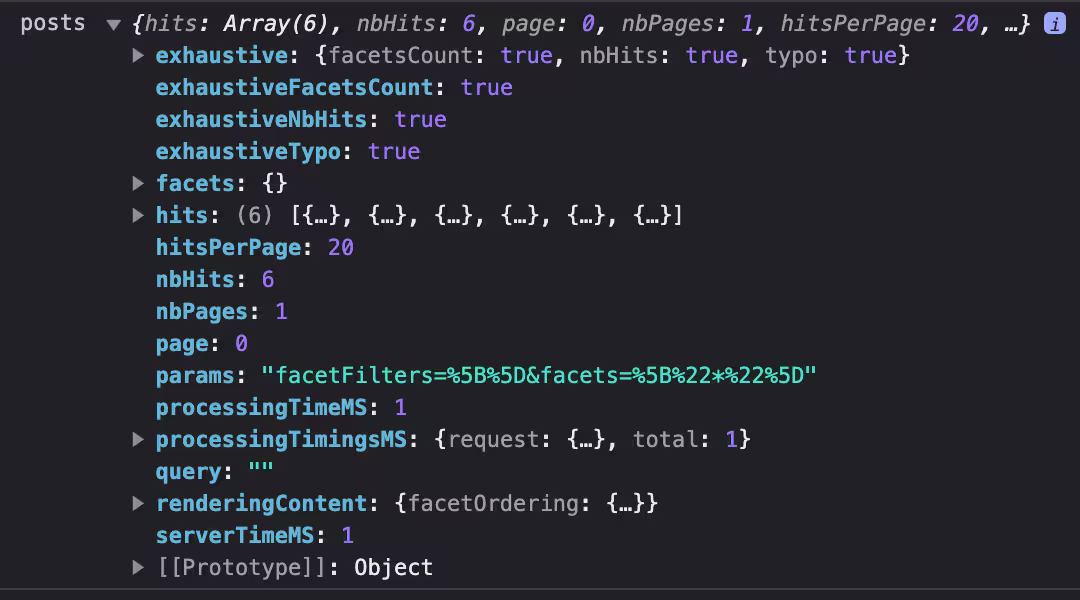
As you can see, we’re receiving an empty facets object. In order to configure them, go to your index settings in the Configuration tab, search for Facets and click on the + Add an Attribute button to add the fields.category.en-US attribute, and save the changes.

Now if we print the value of posts.facets again, we’ll see the fields.category.en-US key with the respective amount of records each category value has. In my case, I had three Developers blog posts, one Partners post, one Product post and one Strategy post.
Now that we know which categories we have and the exact amount of records that match each category, we can create a filters sidebar to show them. Let’s first create our Facet component in the Facet.jsx file inside the src folder:
Let’s also add this line at the top of our App.jsx file: import { Facet } from './Facet', then update the app component as follows:
Now we’re using the posts.facets object to render our filter list. The facetFilters and facetFiltersMap variables help us to store the information of which facets have been already selected.
Last but not least, let’s add this CSS to our App.css file:
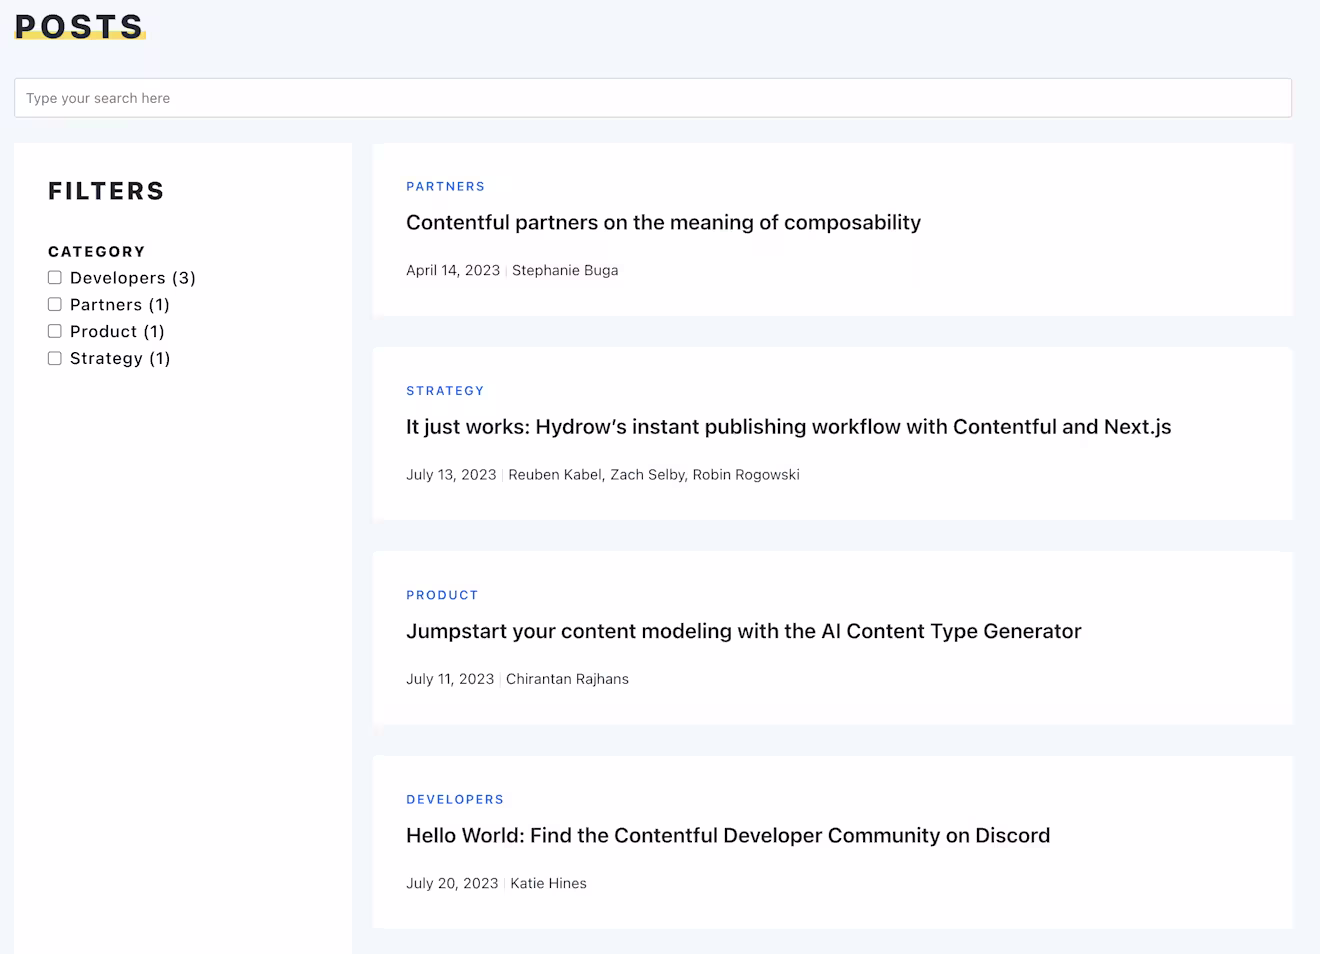
Here’s the final result! We’re now able to filter our results based on the Category field and also type a text query to search for matches in both the Title and Category fields.
Wrapping Up
And that is all! We’ve just created a Contentful-Algolia integration which keeps our index updated with data being served from Contentful, and we’re able to fetch and filter the data incredibly fast using the Algolia API.
You can continue playing with this project, adding more facets or syncing more fields from Contentful, because the search UI can be extended to fit a lot of your needs.
You could also create your own webhook, instead of using the template that Contentful provides, and apply some business logic to the data you want to store. You might also want to flatten the entry to only save the fields.
While this tutorial focuses on some basic Algolia features, it provides a lot more, such as sorting, search recommendations, ranking, pagination, and, of course, AI search! I encourage you to continue learning and get the most from the Algolia engine to achieve the desired user experience.
Happy coding, everyone!

Inspiration for your inbox
Subscribe and stay up-to-date on best practices for delivering modern digital experiences.
Meet the authors

Ignacio is a Contentful Developer Hero! He's also an informatics and computing civil engineer. Ignacio likes videogames, CELTA and electro music, and he loves to learn about new technologies.
Related articles

Using React with Node.js
February 6, 2025

Model Context Protocol: The new AI connection standard
August 7, 2025

The ultimate guide to CSS frameworks in 2025
April 9, 2025
