Integrating Contentful with Eleventy to create static sites
Published on July 28, 2020


Inspiration for your inbox
Subscribe and stay up-to-date on best practices for delivering modern digital experiences.
Eleventy (11ty) is a powerful yet simple static site generator. It focuses on producing HTML, which reduces complexity and improves performance. Taking a look at the 11ty leaderboard — over half of the sites submitted have received a perfect score in Lighthouse for either performance or accessibility.
Static site frameworks such as Next, nuxt and Gatsby produce sites that transform into single page apps (SPAs) using an isomorphic JavaScript approach — meaning that JavaScript works in the front end and backend.
But because 11ty is a generator written in node rather than a JavaScript framework, you’re able to take advantage of everything in Node Package Manager (NPM). That means you can integrate it with Contentful with only a few lines of code.
To skip the tutorial and dive straight into code, see my example repo on GitHub.
Prerequisites
This tutorial assumes that you have a familiarity with Contentful and content models, and have finished the level one and level two tutorials from the 11ty documentation.
If you want to skip the level two tutorial and get started with this tutorial, Zach, the creator of 11ty, has a finished level two example that you can grab from GitHub. To get it, navigate to where you want to store your code in your terminal.
This will download the giffleball repo and then switch to the finished level two tutorial. npm install will take care of installing all of your dependencies, and then eleventy --serve will build and serve the website on port 8080. The --serve argument will additionally keep an eye on the directory and cause the site to rebuild when you save changes.
Getting data from Contentful into 11ty
11ty comes with support for getting data in a few different ways. We’ll be using 11ty’s JavaScript data files (https://www.11ty.dev/docs/data-js/) to enable you to reach out to Contentful, pull in all our content and then format it so that 11ty will be able to build your site.
To get started, create a _data directory similar to your img directory for your project. Inside, create a javascript file such as contentful.js.
Let’s use one of 11ty’s examples from their documentation for JavaScript data files as a starting point:
Add this JavaScript snippet into a new contentful.js file to make use of this array in our templates. Insert {{ contentful }} into the index.html file. As long as eleventy --serve is still running, it’ll understand that the index.html file has changed and you’ll get an output of that array object.
Now that data is being pulled in from the contentful.js file, the next step is to replace our dummy data with real data from the Contentful API.
Part of what makes me so excited about 11ty is how little configuration it takes to get this all working. I’ve created a space that you can use for this tutorial. If you’d like to import the space into your own Contentful organization you can do so by following the instructions over the finished GitHub repo for this project.
Before pulling in any data, let’s take a moment to look at the Content model for this tutorial. This example has a few different content types appended with the word Block. bannerBlock, cardBlock, contentBlock, featuretteBlock and footerBlock all represent individual components used to create a page. You can create as many of them as you'd like.
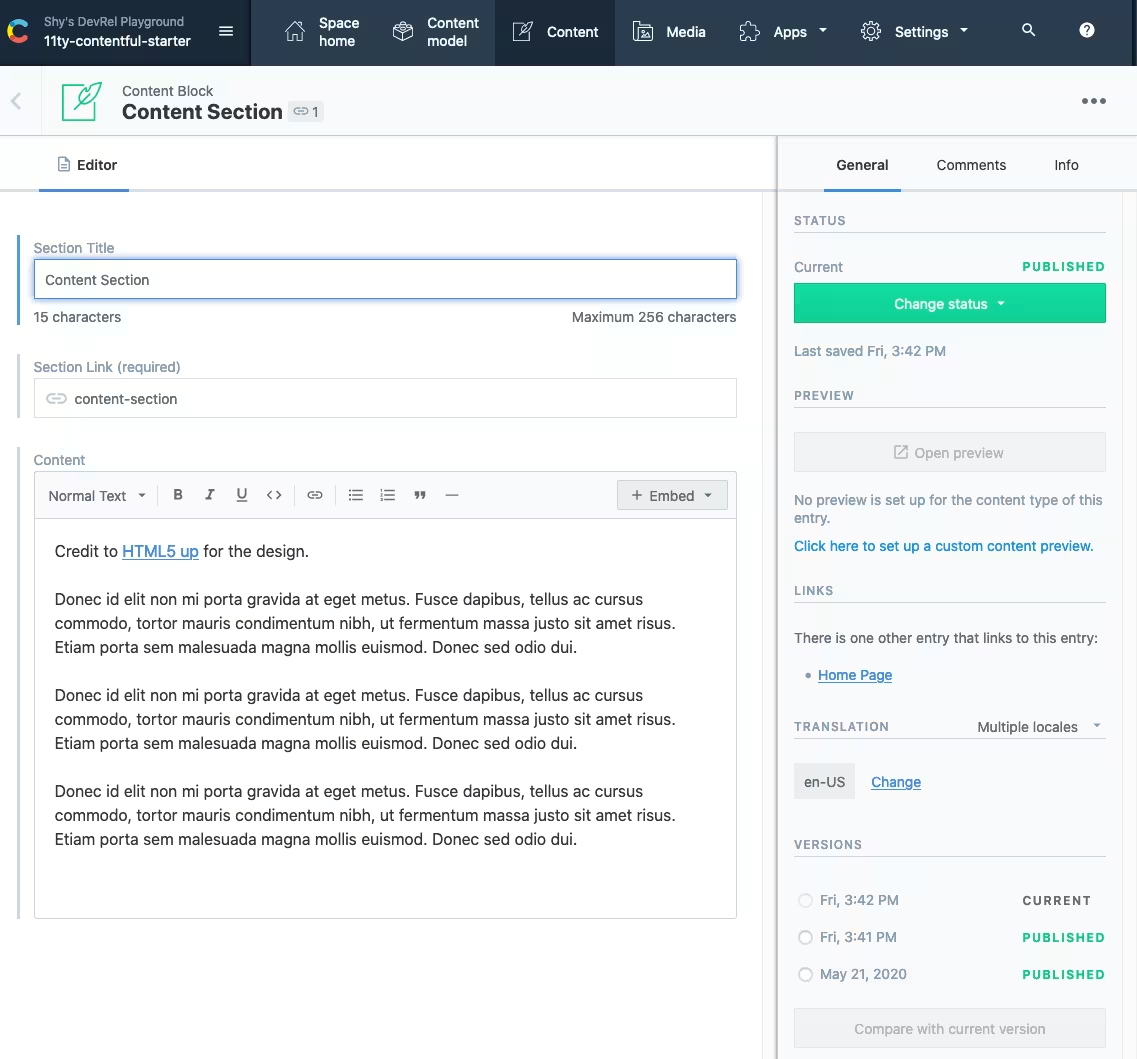
The page content type is used to manage the layout for individual pages and also build the routes for the site. You can add individual Block content to create the page layout. You can adjust the order of the page itself by rearranging the blocks. The slug style section link is used to manage routing on the site. You can have multiple instances of this content type.

Create a .env file in the root directory of your project. Add the API keys for this project in that file.
If you’ve imported the content model into your own organization, replace them with the space and access tokens from your Contentful account.
Next, add Contentful and Dotenv to this project. Dotenv will be used to pick up our newly configured environment variables and make them accessible in Node.js' process.env. To take advantage of Contentful install the Contentful Javascript SDK. Navigate your terminal to the project directory and run:
Import dotenv by adding require('dotenv').config(); to the top of your .eleventy.js file.
Let’s query the Contentful API with a filter for our page content type. In your contentful.js replace the contents of the file with the following:
This code is almost identical to our query entries example in our API reference. This JavaScript function reaches out to the Contentful API, requests all entries of type page and then uses a map function to create a json object. The map function will format our data, before passing this over to an 11ty layout file.
11ty uses the date field to determine how a collection of data is sorted. By default this is set to when a file was created (https://www.11ty.dev/docs/data-eleventy-supplied/#page-variable-contents), but since files aren’t being created, page.fields.date will set that field. Without this, 11ty would throw an error because it won’t know what order to create the pages in.
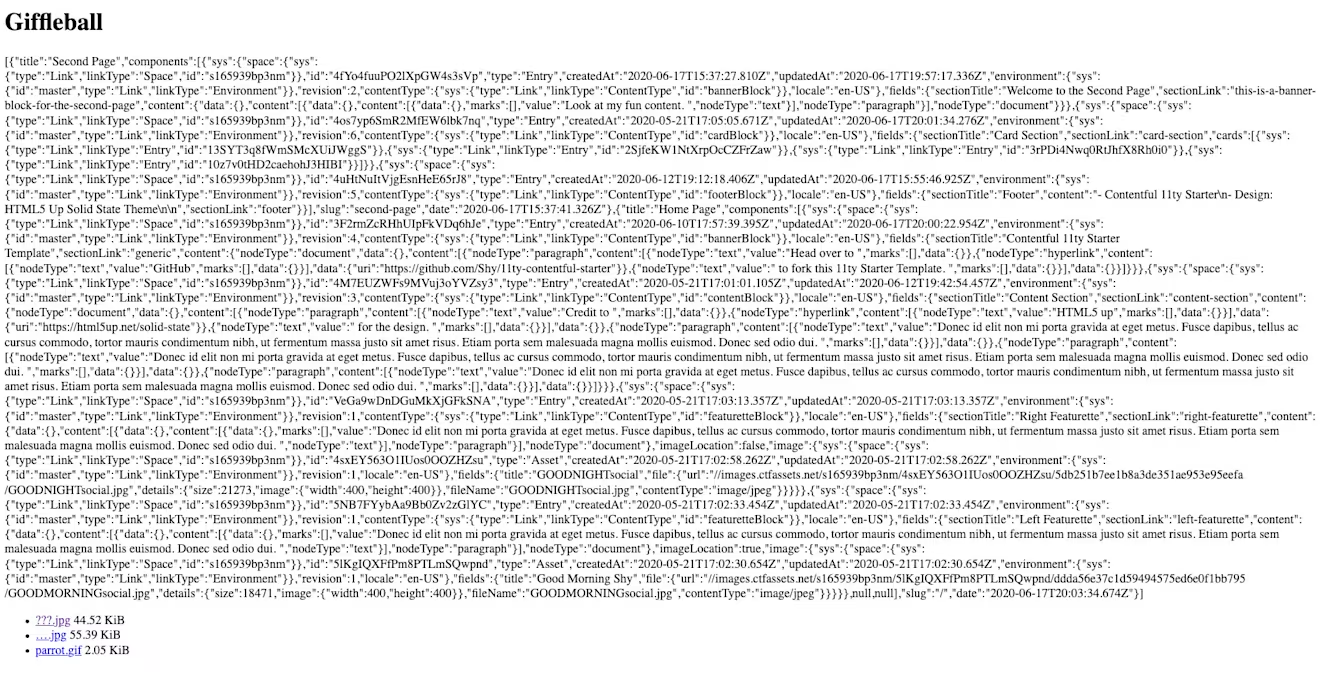
When you hit save, 11ty will get a JSON blob with all of our Contentful data and output it into your index page.
Create pages from our data
Content represents pages and components within those pages in this content. Currently this tutorial has only one page, the index.html file. That index.html file won’t look too great since it’s only JSON data.
With 11ty’s pagination features, you can create multiple pages from one source of data. We’ll create a template file that we only need to write once, and it’ll be usable by every page. If you decide to change the design to personalize this project, you can change the layout file and those changes will percolate across every single page.
To get started, delete the index.html file and replace it with pages.liquid. This tutorial uses Liquid, but 11ty supports a few different templating languages. Liquid uses a combination of tags, objects and filters (https://shopify.dev/docs/themes/liquid/reference/basics) to load dynamic content. Our pages.liquid file will be able to take the data from the contentful.js file and create every page for us!
In your pages.liquid file include the following:
Let’s dive into this code using the data fetched in our _data/contentful.js file. Contentful will provide a JSON object that contains all of the information for each page. We’re letting 11ty know that for each entry in the JSON we should create a new page. Think of pagination like running a for each loop with us able to set the alias used to access each entry.
permalink: "{{ page.slug | slug }}/" establishes a slug for each page in our Content model and sets what the routing should be in 11ty.
We also need to set a layout to be reused on each page. Let’s create that file.
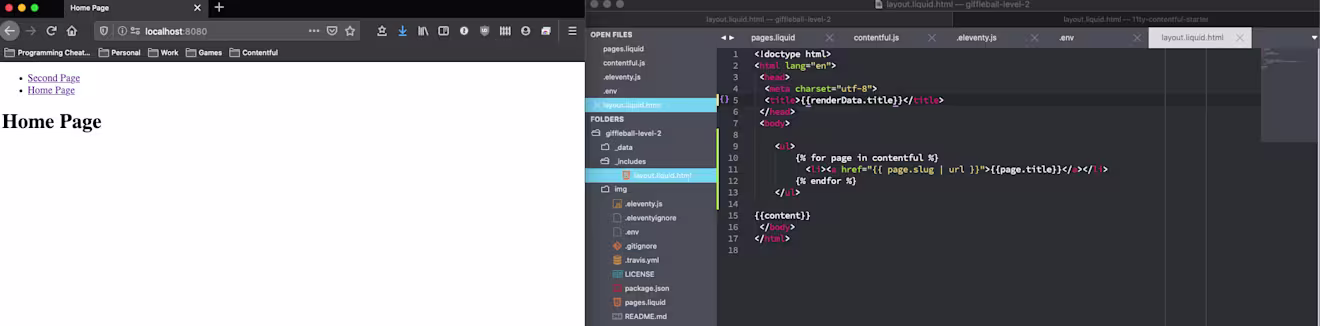
Make a new directory called _includes and, inside that, a file called layout.liquid. For now reuse the code from our index.html example and replace the content with {{content}}. When pages.liquid reaches out to the layout.liquid file, it’ll know to replace the content block with the page it produces. Next, add a loop that takes our Contentful data object and iterates over it to create a list of links to each page.
The 11ty server will pick up these changes when you save, resulting in something like this:
This is great. We’ve created pages for each instance of our page content type. In each of those pages, we’ve set a title and built a small menu. Now let’s start rendering some data and add support for rich text.
Rendering content
Thus far, we’ve fetched content and used that content to create individual pages. The last thing you need to do is render your content on each page. In this example, you have five types of blocks that you can use in each page. At a high level, each block has a title and rich text field that will need to be rendered on each page.
To get started, add support for the contentBlock. In your page.liquid file, add a loop that parses through all of the components in your page. Use a shortcode that will create the html template for our componentBlock. For now, ignore the rest of our Block types. We’ll fill them all in later.
Install the Contentful rich text render with npm install --save-dev @contentful/rich-text-html-renderer in your terminal. Next, in your .eleventy.js configuration, import the rich text render. Under your dotenv file add the following:
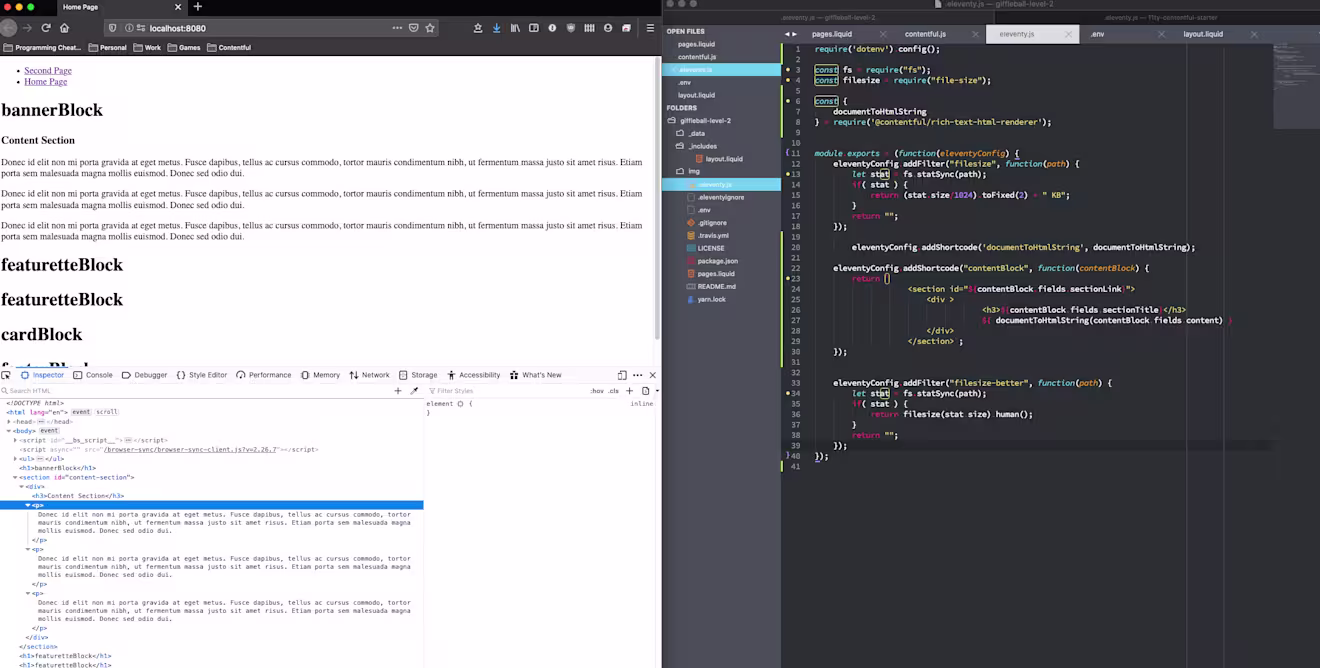
Below where you set the eleventyConfig, add a shortcode, which will let us access the document to HTML String functionality.
Lastly, add a shortcode to support your content Block.
This shortcode will take the component passed to it in our page.liquid file and return formatted HTML for us. It’ll make a call to our previous documentToHtmlString to take our rich text field and render that out into usable HTML for us.
Head over to port 8080 to see a page that includes your content. If you look at the source code for that page, you’ll see that our rich text renderer has successfully taken your content and converted it into HTML!
Next steps
We’ve successfully taken content from Contentful, used it to create pages within 11ty and created shortcodes that we can use to render content on each page. Moving forward, we’d want to create filters for each of our block types and start adding in CSS.
If you want to learn more, head over to the GitHub repository that we’ve created, which has a fully functional example with all our filters created and styling implemented. Don’t forget to check out our previous articles on deploying static sites to GitHub Pages so once your project is ready you’ll be able to get it deployed, hosted and have updates triggered when you publish on Contentful.
Check out the completed project on GitHub.

Inspiration for your inbox
Subscribe and stay up-to-date on best practices for delivering modern digital experiences.
Meet the authors

Shy Ruparel is a Python developer by heart with a passion for day long board games, good jokes and the staying power to wish you a great day on [Twitter](https://twitter.com/shyruparel?lang=en), every single day.
Related articles

GraphQL pagination: Cursor and offset tutorials
October 28, 2024

Effortless automatic content linking in Next.js using Content Source Maps
September 30, 2024

HTMX vs. React: Understanding their strengths and use cases
January 9, 2025
