How to add Algolia InstantSearch to your Next.js application
Published on July 2, 2021


Inspiration for your inbox
Subscribe and stay up-to-date on best practices for delivering modern digital experiences.
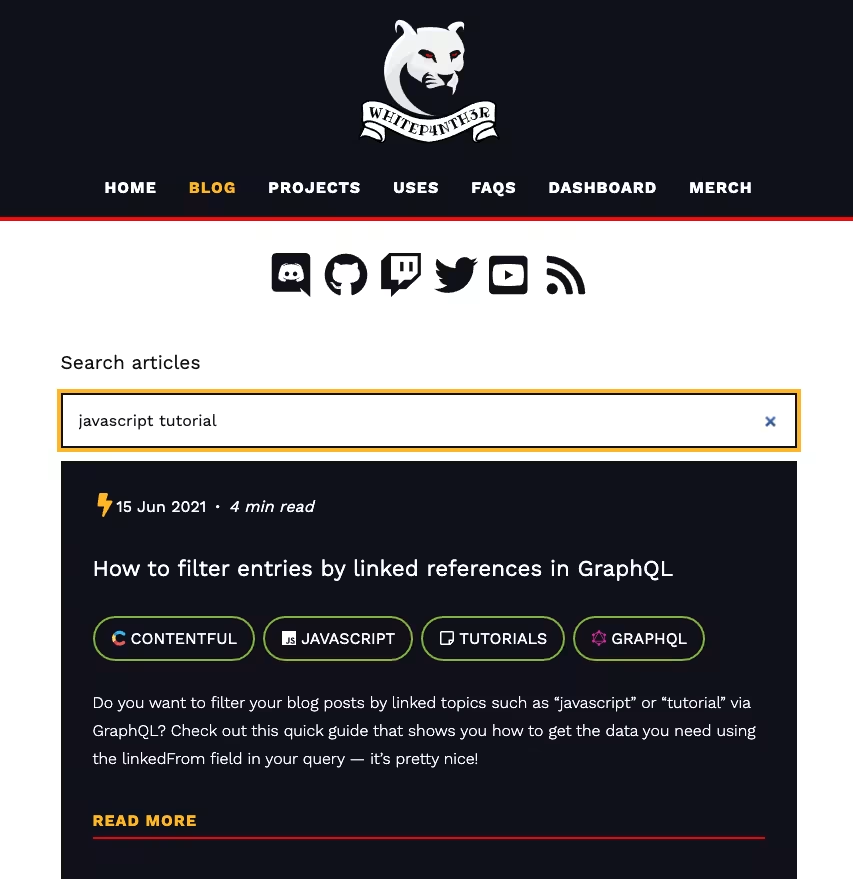
By the time I had written 15 blog articles on my website, it was getting a little tricky to find what I was looking for in a hurry! So I set out to implement search functionality on my blog.
After researching my options, I decided to try out Algolia. Algolia is a flexible hosted search and discovery API that comes with a generous free community plan. It provides up to 10,000 search requests per month, pre-built UI libraries (which we’ll use in this tutorial), natural language processing and many other features.
What’s more, the engineers at Algolia are wonderfully helpful! I’d especially like to extend a huge thank you to LukyVJ, who showed up while I was learning about Algolia live on Twitch and helped me navigate the docs for the UI library.
What we’ll do in this tutorial
Set up Algolia to receive data to power search results on a web application
Create a custom script to transform and send the data to Algolia
Build out the search UI in a Next.js application using the Algolia React InstantSearch UI
While the content on my blog site is powered by Contentful, the following concepts apply to any data store or headless CMS out there — even if you store your blog content as markdown with your code. All you need is a Next.js application and some content!
Let’s get started!
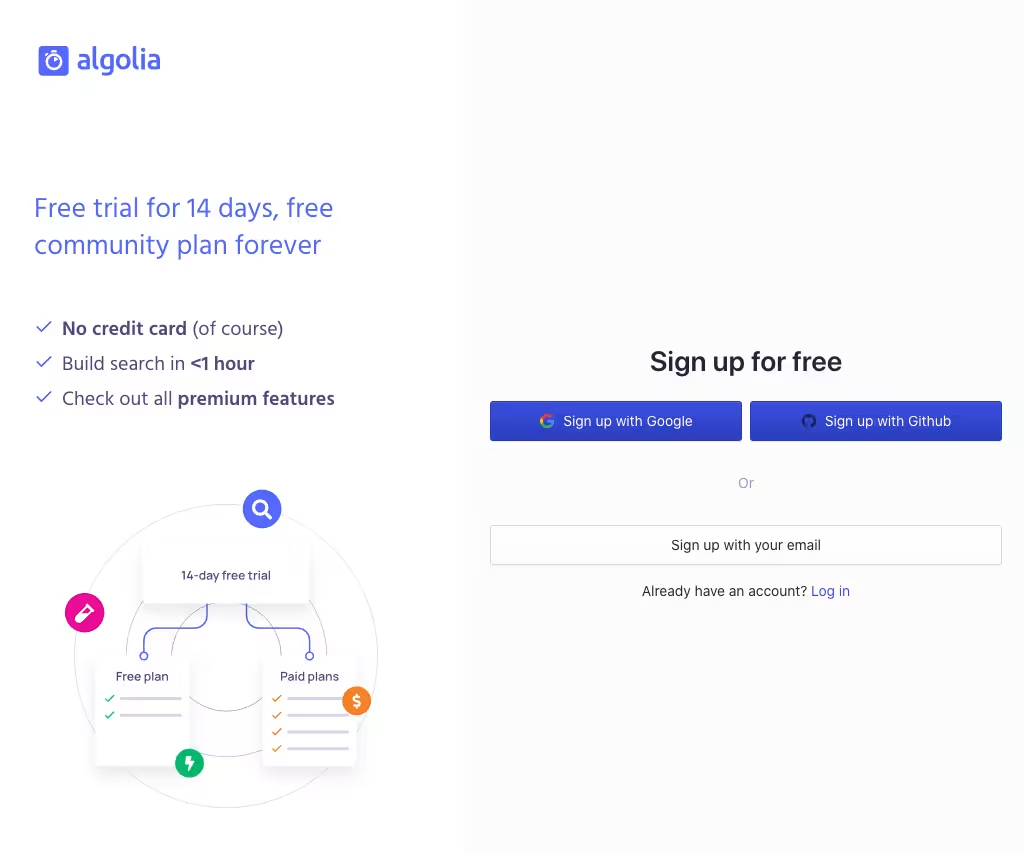
Sign up for Algolia
Head on over to Algolia to sign up. You’re invited to a free standard trial for 14 days, after which the plan will be converted to the Community plan automatically.
Algolia does a really nice job of guiding you through the onboarding process. Follow the instructions until you land on the Get Started screen!
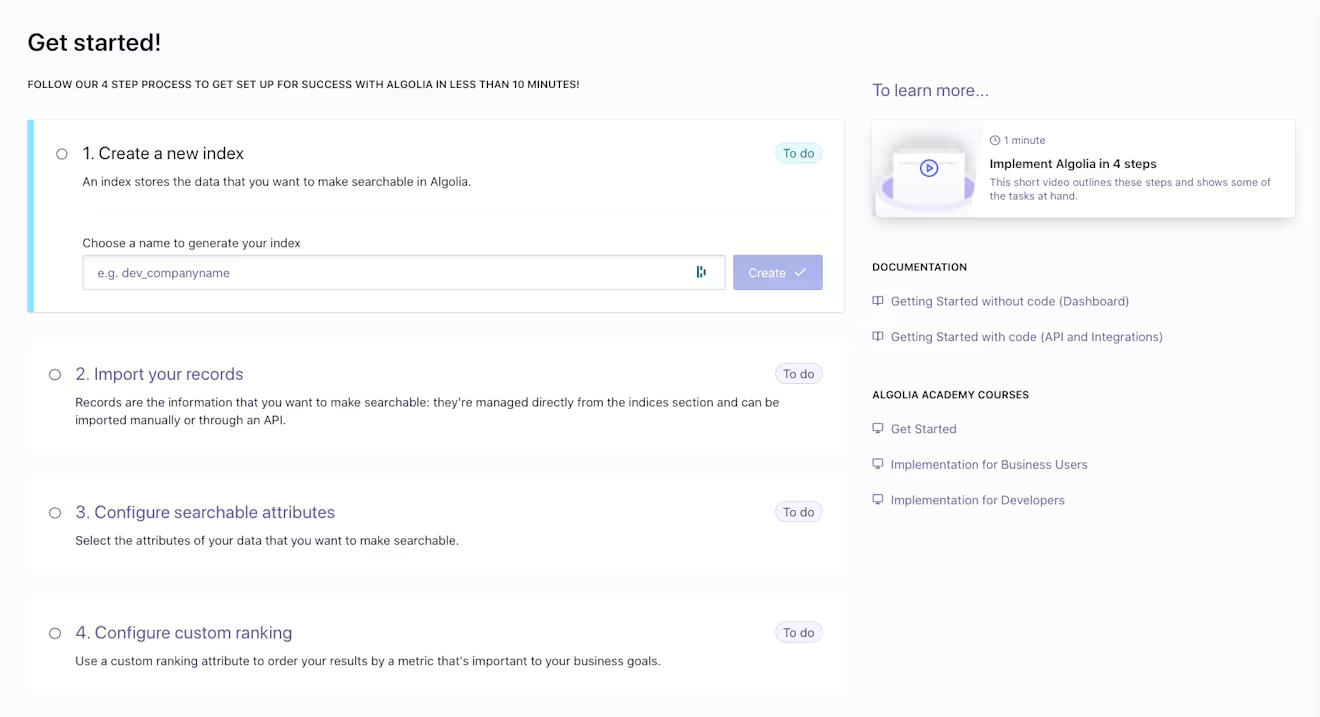
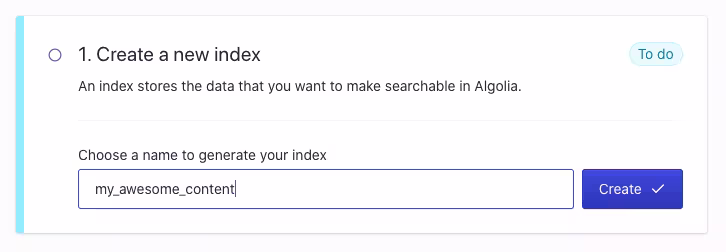
Create a new index
The first step in your search journey is to create a new index in Algolia. An index stores the data that you want to make searchable in Algolia. I like to think of it as a NoSQL document that stores JSON objects of your content. Read more about this on the Algolia docs.
Grab your API keys
Next, you’ll need three API keys from your Algolia account. Navigate to the API Keys area via the sidebar menu.
Find your Application ID, Search-Only API Key and Admin API Key. In your .env file in your Next.js application, add the following environment variables.
To initialize InstantSearch on the front end, we need the Application ID and the Search API key to be publicly available on the client-side. Make sure to preface these two variables with NEXT_PUBLIC_. Just like the Contentful Content Delivery API keys, these keys provide read-only access to your search results, so it’s okay to expose them.
We’re going to use the Admin API Key on the server-side only as part of the script to send data to the Algolia index. This key provides write-access to your Algolia index. Be sure to keep the Admin API Key a secret and do not expose it to the client with the NEXT_PUBLIC_ prefix.
That’s the setup! It’s done in just three steps! Now it’s time to write some code.
Write a custom script to build your data for your Algolia index
Let’s create a custom script to fetch our data and build up an array of objects to send to our Algolia index. I would recommend working in a script file that’s separate from the Next.js application architecture, which we can call with the postbuild command via the package.json scripts.
1. Create the script file
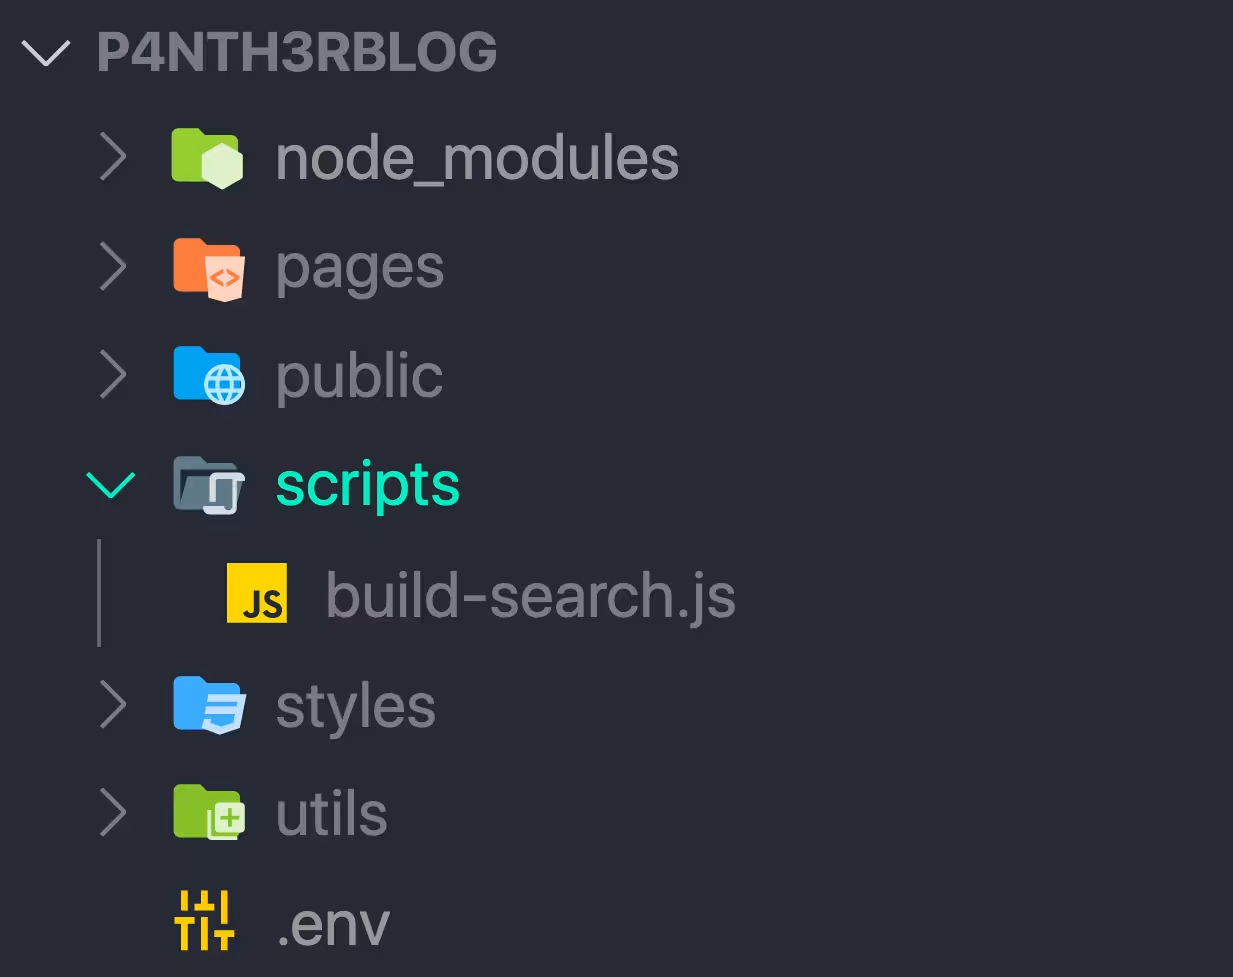
Create a directory called scripts and create a new file within it. I named my file build-search.js.
To your package.json file, add the postbuild command to run the script. This will run node build-search.js in the build pipeline after the build command has completed.
2. Install dependencies
Let’s install the following dependencies from npm:
algoliasearch — to connect to the Algolia API
dotenv — to access environment variables outside of the Next.js application
Run the following command in your terminal at the root of your project:
A note about Contentful Rich Text: The final implementation on my website handles adding a Contentful Rich Text field response to my search index as plain text. To reduce complexity, we won’t cover Rich Text in this post. But if you’re curious, find the code to handle Rich Text on GitHub.
3. Set up the script with an Immediately Invoked Function Expression
The script should perform several asynchronous operations, including fetching data from Contentful, transforming it and sending it to Algolia. To make the code more readable and to use async/await, we’re going to wrap everything in an async Immediately Invoked Function Expression (IIFE).
Run your script from the root of the project on the command line to test it out:
4. Fetch your data
Fetch your data however you need to. View the full build-search.js file on GitHub to check out how I used the Contentful GraphQL API and node-fetch to grab my data for processing.
5. Transform your data for Algolia
Transforming your data for Algolia is as simple as creating an array of objects that contains the data you want to be searchable!
Algolia search records are flexible and exist as objects of key-value pairs. Values can be added to the index as strings, booleans, numbers, arrays and objects. Attributes don’t have to respect a schema and can change from one object to another. For example, you could include a large recipe object or a smaller ingredient object in the same index! Read more on the Algolia docs about preparing your data for an index.
Here’s how I transformed my blog post data into an array of objects for Algolia. You can choose whether to provide an ID for each object, or have Algolia auto-generate an ID. Seeing as I had the sys.id from each blog post in Contentful, I chose to insert the posts with the IDs I had to hand.
I also included a little extra data in my search objects, such as readingTime, topics and date to display an already-existing UI component in my search results on the front end (we’ll look at this later). This is the beauty of the flexible schema of the search objects!
Now we have our data records transformed for Algolia, let’s send them to the index!
Import your records programmatically to Algolia
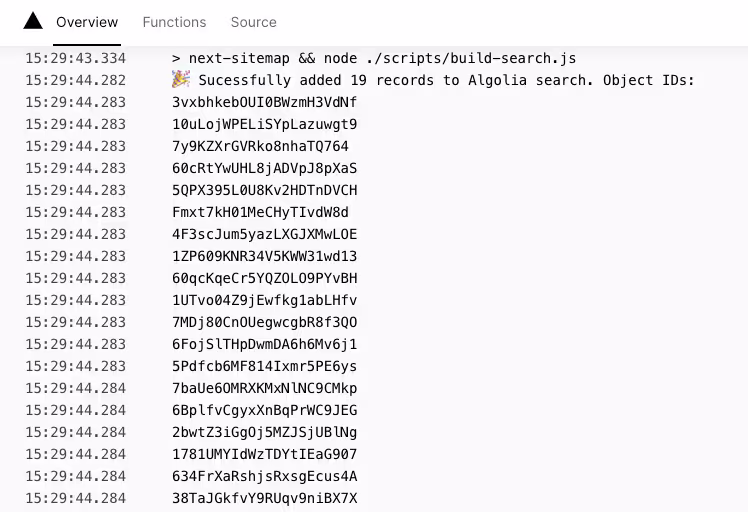
After the content has been transformed, let’s initialize a new algoliasearch client with the environment variables we added earlier. Then, initialize the index with the name of the index you set up when you onboarded to Algolia, and call the saveObjects function with your transformed data. Make sure to import the algoliasearch dependency! Also, let’s log out the objectIDs from the response to make sure everything has gone smoothly.
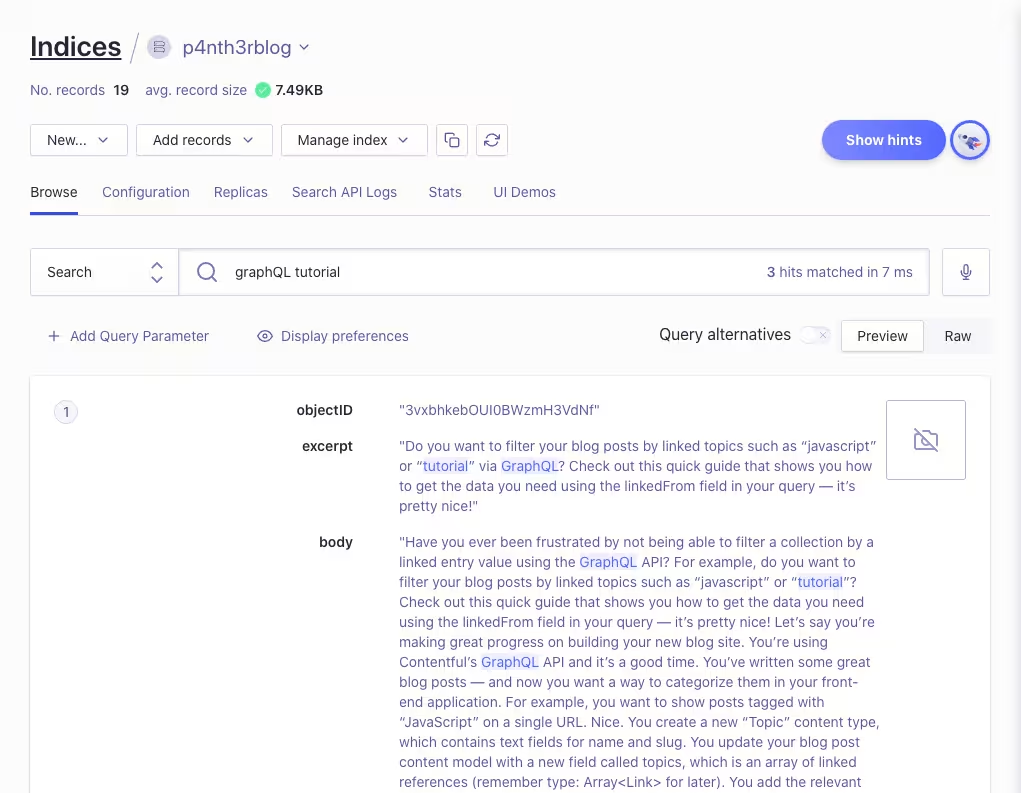
After the script has executed successfully, head on over to your Algolia dashboard, and you’ll see your index populated with your search objects. 🎉 You can also preview the results of the search algorithm — right there in the UI!
Given that you added the postbuild command to your package.json file, you are safe to commit these changes to your project. If your project is live and hosted on a hosting provider like Vercel, check out the build console to confirm the search results are sent to Algolia after your project has been built.
Now our search data records are safe in Algolia, let’s look at how we can use the React InstantSearch UI library to search records in our Next.js application.
Install InstantSearch dependencies
InstantSearch is Algolia’s front-end library. I always thought it was just a search box — but it’s so much more! It provides a library of pre-built and customizable components to build up a full-page UI on your front end — complete with super-fast filtering. Check out this React InstantSearch demo from Algolia on CodeSandbox.
In this tutorial, we’re going to use the React InstantSearch DOM library to build a simple search box that displays search results when a search term is provided. We’re also going to use some of the provided higher-order components from the library to allow us to build some custom UI components.
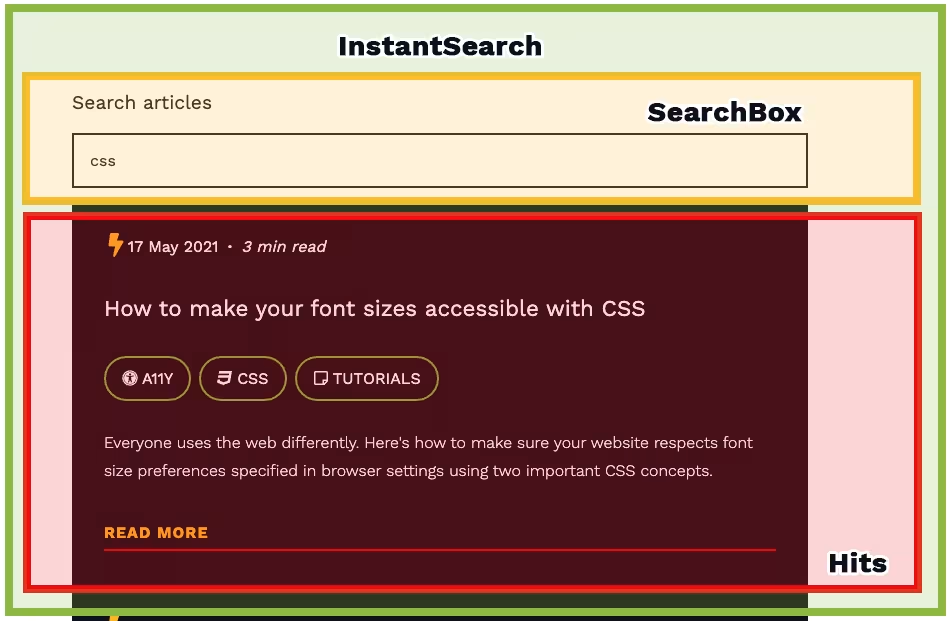
Here’s a breakdown of the components we’ll be using and customizing.
Let’s get started by installing the dependencies. We’ll need algoliasearch that we installed earlier and react-instantsearch-dom. Run the following command in your terminal at the root of your project.
Using the default InstantSearch components
Create a new component file for the InstantSearch code and import the algoliasearch dependency.
InstantSearch works nicely with server-side rendering so we’re safe to use the new component on Next.js page files out of the box. Import the new component to your existing blog index page.
In your new search component, initialise a new algoliasearch client with the public environment variables you set up earlier.
Import the InstantSearch, SearchBox and Hits UI components and render them in the component as follows. Pass the searchClient and the indexName you set up with Algolia as props into the InstantSearch component.
You’ll now see something like this on your blog index page. Type into the search box to watch your InstantSearch results update — instantly!
That’s InstantSearch connected to our Algolia index, displaying and updating search results in real time. Now, let’s look at creating some custom components to give us more control over the UI and CSS, and to only render the search results when there’s a search query present in the input field.
Create your custom components
1. CustomSearchBox.js
Create a new file inside your Search component folder called CustomSearchBox.js. This will be a new custom form that will perform the search.
Import the
connectSearchBoxhigher-order component fromreact-instant-search-dom— this is the function that will connect the custom search box to the InstantSearch client. Read more about higher-order components in React.Build your HTML form using the available
refineprop to manage theonChangeof the input field. I chose to add a label element alongside the input field for accessibility reasons.Export your custom component wrapped with
connectSearchBox.You’re free to style the form with standard CSS classes, CSS Modules, Styled Components and so on.
Import and render the CustomSearchBox component as a child of the InstantSearch component, like so.
Next, onto the custom hits component.
2. CustomHits.js
Create a new file inside your Search component folder called CustomHits.js. This will be the component that processes the logic to only show our search results when a search query is present in the input field.
Import the
connectStateResultshigher-order component fromreact-instant-search-dom— this is the function that will connect the custom hits to the InstantSearch client.Capture
searchStateandsearchResultsas props in the component function declaration.Build your HTML output using the available
searchResultsprop to manage theonChangeof the input field.Export your custom component wrapped with
connectStateResults.You’re free to style the form with standard CSS classes, CSS module styles, Styled Components and so on.
You’re free to render another custom component to display the
searchResults.hits. I used the same component that displays my recent blog posts on my home page!Optional: use
searchState.queryto process some logic to only render results to the DOM if the length of the search query is greater than or equal to three characters in length.
Import and render the CustomHits component as a child of the InstantSearch component.
And there you have it! Now you’ve got InstantSearch hooked up with your custom components, you’re now free to style them up to your heart’s content!
Click here to see the full code example, complete with styles using CSS Modules.
Is there something you’d like to learn more about to get the most out of Contentful? Come and let us know in the Community Slack. We love meeting new developers!

Inspiration for your inbox
Subscribe and stay up-to-date on best practices for delivering modern digital experiences.
Meet the authors

I help developers build stuff, learn things and love what they do. I code live on Twitch. I'm a teacher, musician, and a front end fanatic with a fierce mission to promote accessibility and inclusivity in technology on planet earth.
Related articles

Design tokens explained (and how to build a design token system)
May 16, 2024

How to generate types with cf-content-types-generator
March 25, 2026

Introduction to Fastify: A practical guide to building Node.js web apps
June 23, 2025
