Build a blog with Next.js, Tailwind CSS, and Contentful
Updated on July 24, 2025


Inspiration for your inbox
Subscribe and stay up-to-date on best practices for delivering modern digital experiences.
Creating a modern blog doesn’t have to involve building everything from the ground up or managing a complex back end. This tutorial takes you through building a fast, statically hosted blog using Next.js for the front end, Tailwind CSS for the styling, and Contentful as the headless CMS to manage your content.
We’ll use step-by-step instructions and full code examples to show you how to build, style, and host a responsive blog, which delivers your posts through a truly scalable, content-first workflow, with great performance and an enjoyable developer experience.
Next.js blog tutorial prerequisites and project setup
Before you get started, you'll need to install the following tools:
If you want to jump straight to the completed code, take a look at the GitHub repo.
Here's a quick overview of the technologies used in this tutorial, if you're unfamiliar:
Next.js as the powerful, React-based framework, with support for static rendering.
Tailwind as the CSS framework. Tailwind is a utility-first CSS framework that enables you to create custom designs directly in your markup.
Contentful as the user interface and content delivery CDN for creating and managing blog posts, providing you with a modern headless content management system (CMS) to create, manage, and distribute content.
It's also helpful to understand the basics of content modeling: This involves defining the structure and organization of your content (like blog posts and media) in a way that aligns with your project's goals and user needs. A clear content model establishes relationships between different content types, defines fields and attributes, and makes it scalable for future needs. Contentful includes a visual modeler to help you build and iterate on your content models collaboratively.
Now that you have an overview of what you want to build, you'll need a new Next.js project to build your blog with. You can bootstrap a Next.js project with Tailwind in the terminal with this command:
npx create-next-app@latest next.js-blog-tutorial --app --typescript
When prompted, answer the Next.js project setup questions as follows:
At the time of writing, the current version of Next.js is 15.3.4. If you want the exact version used in the GitHub repository, you can run this with your intended version:
npx create-next-app@15.3.4 next.js-blog-tutorial --app --typescript
After the installation, go to the newly created directory (next.js-blog-tutorial) and run npm run dev to run your Next.js project locally. Open your web browser and navigate to http://localhost:3000/ to view it. If everything worked as expected, you should see this default page:
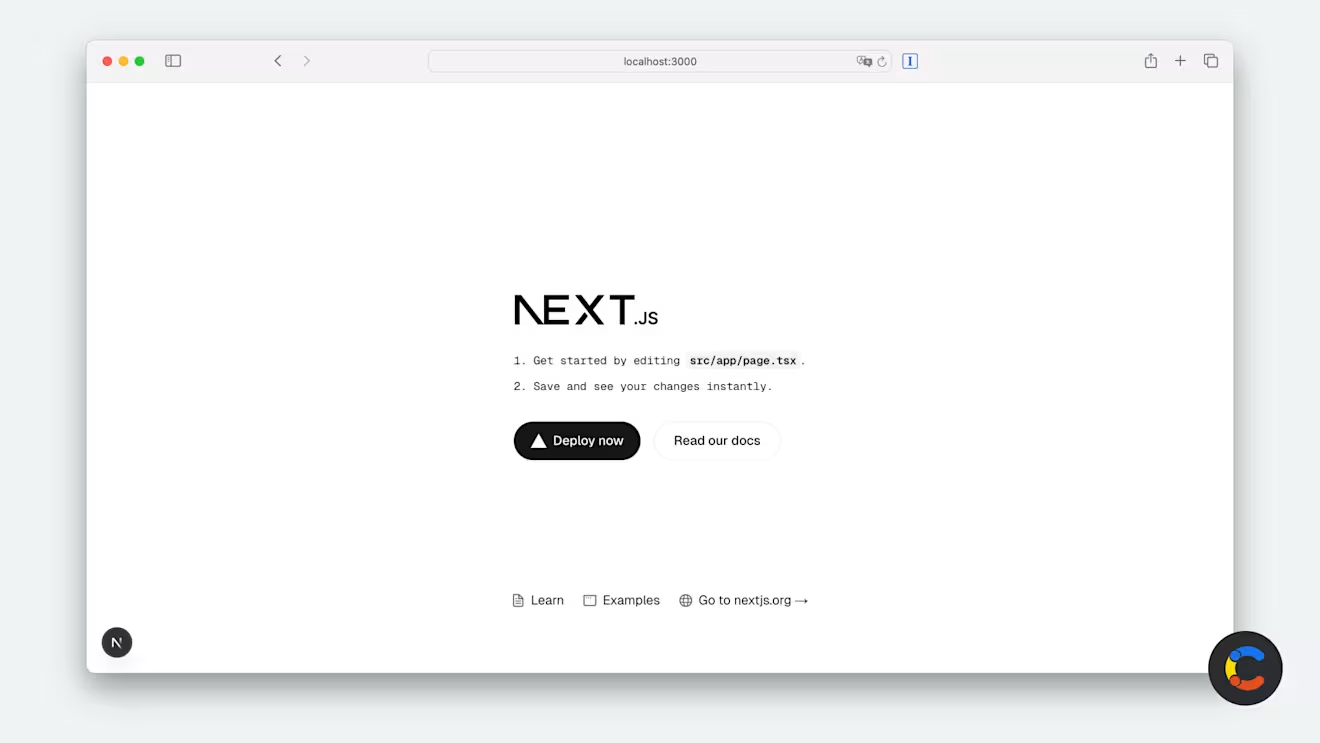
With your Next.js website project set up, you're ready to start building your blog.
Step 1: Setting up Contentful as your backend CMS and CDN (and more)
Your app will manage all blog content through Contentful and load it using the Contentful SDK and API.
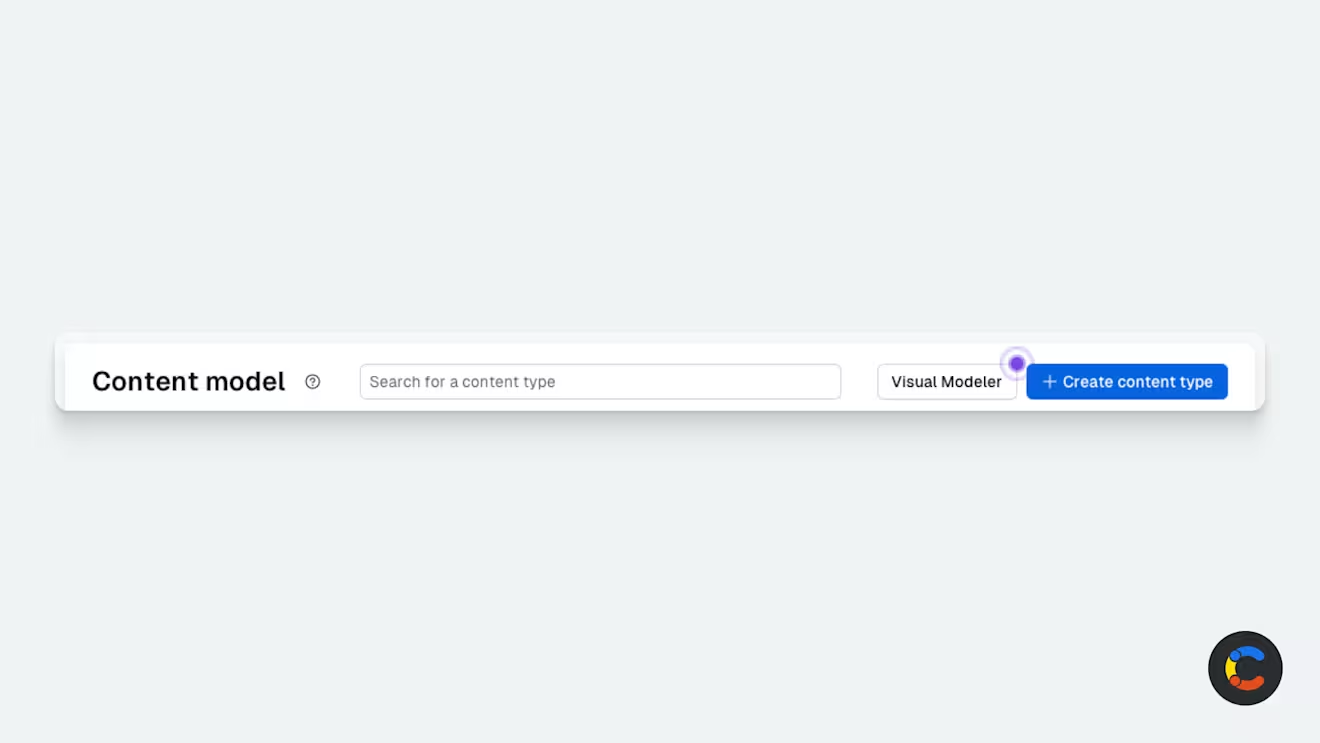
The first thing you need to do is create a content model for your blog posts. Once you've logged into your Contentful account click on the “Content model” tab on the top menu.
This content model editor is an easy-to-use interface for defining the structure of the data for your blog post entries. This includes titles, publication dates, and author names.
If you don’t have any pre-existing content types stored in Contentful yet, click on “Design your content model.” Otherwise, click on “Create Content Type” in the top right.
When asked to choose a name for your content model, enter “Blog Post.” The app will automatically populate the “API Identifier” field for you. You can also optionally add a description.
Next, define the fields for the blog. Click on “Add field” and select the type of field to create. Below are fields that you'll need and their types.
Name | Field ID | Field Type | Notes |
|---|---|---|---|
Title | title | Text (short text, exact search) | Make sure to check “This field represents the Entry title“ in the field properties. |
Slug | slug | Text (short text, exact search) | In “Appearance,” make sure that “Slug” is selected. In “Validation,” check the “Unique Field” checkbox. |
Date | date | Date and Time | |
Content | content | Rich Text |
Now that your content model is ready, you can use the Contentful interface to create and edit blog posts. Click on the “Content” tab in the top menu, then:
Create blog posts by clicking “Add entry” when the “Blog Post” content type is selected.
Click on the three-dots menu icon next to a blog post entry to edit or delete it.

By using Contentful, you get to skip all of the work of hand-coding your own backend management interfaces and focus on building your bespoke front end.
Step 2: Install and configure the Contentful client
To connect your Next.js blog to Contentful, you'll need to create an API key for retrieving blog content created in the Contentful interface.
Install the Contentful Node.js library in your Next.js project by running the following:
npm i contentful
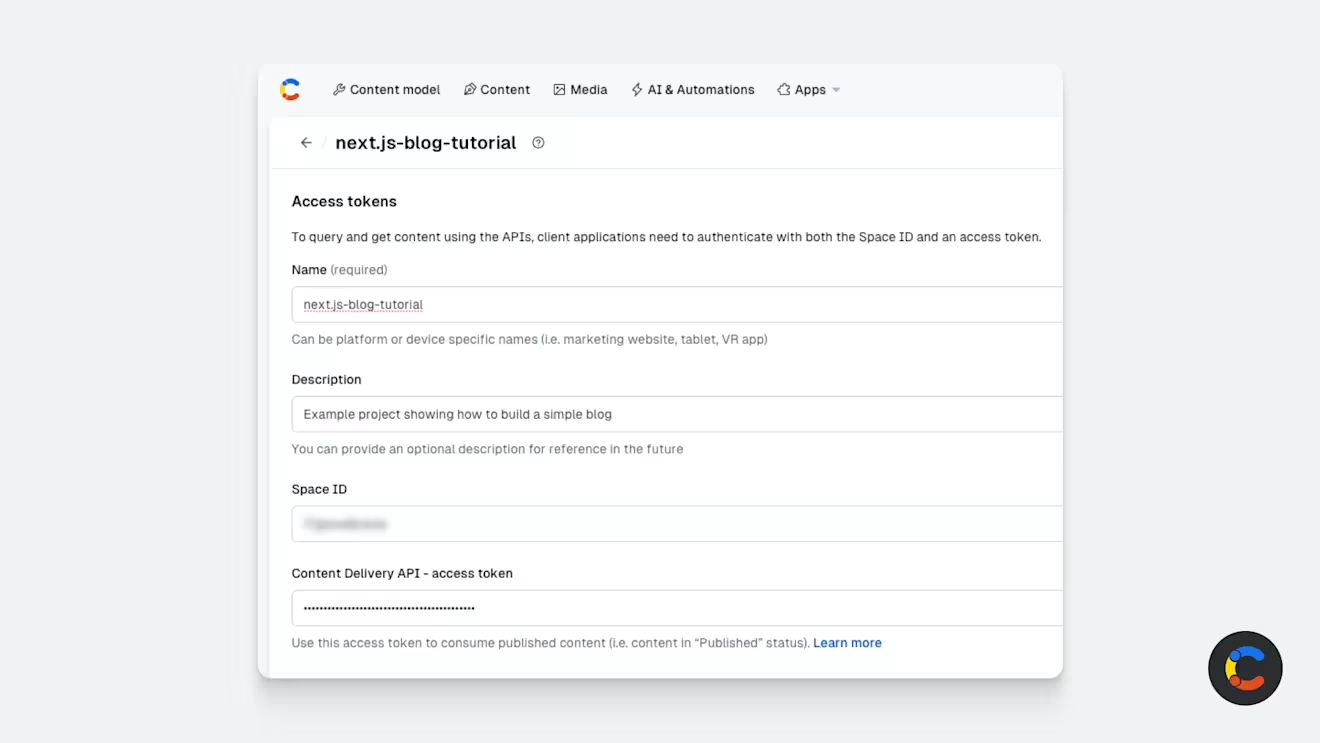
Go to “Settings” > “API keys” > “Add API key.” Give it a name (for example, "Blog API key") and then click “Add API Key.” You'll need to take note of these credentials for future use:
Content Delivery API (access token)
Next, create a file named .env.local at the root of your project and put the credentials (the Space ID and access token you created above) in the file like so:
Note: “Content Delivery API” is the first “access token.” Make sure you don’t copy the token for the Content Preview.
Step 3: Create your main blog page
Replace the default contents of the file located at src/app/page.tsx in your project directory with the following code:
This file will become the main page of your blog. Note that the browser has imported the Contentful library and has created a client instance using the credentials stored in the .env file.
You'll see a few CSS classes sprinkled around the code — these are for Tailwind CSS and you’ll use them later in this tutorial.
Step 4: Load blog posts from Next.js
Immediately below this and above the Home React functional component, create the utility for fetching the data so that the page.tsx file looks like this:
As you can see in the getBlogEntries function, you used “blog” as the content type because this is the name that you defined earlier when you created the content model on Contentful.
Note: The content type IDs use camel case and are directly created from the name you give them. So you have a content type named “Blog,” meaning the generated ID the Contentful system gives it is “blog.” If it were called “Blog Post,” the ID would have been “blogPost.”
Now you need to invoke this new function. Since your function is asynchronous, you need to make the Home component asynchronous as well.
The code you ran before was:
export default function Home() {
Now it will update to:
export default async function Home() {
Now that Home is asynchronous, you can invoke the getBlogEntries method just before the return statement. You also want to make sure that it’s working, so add a temporary console log there:
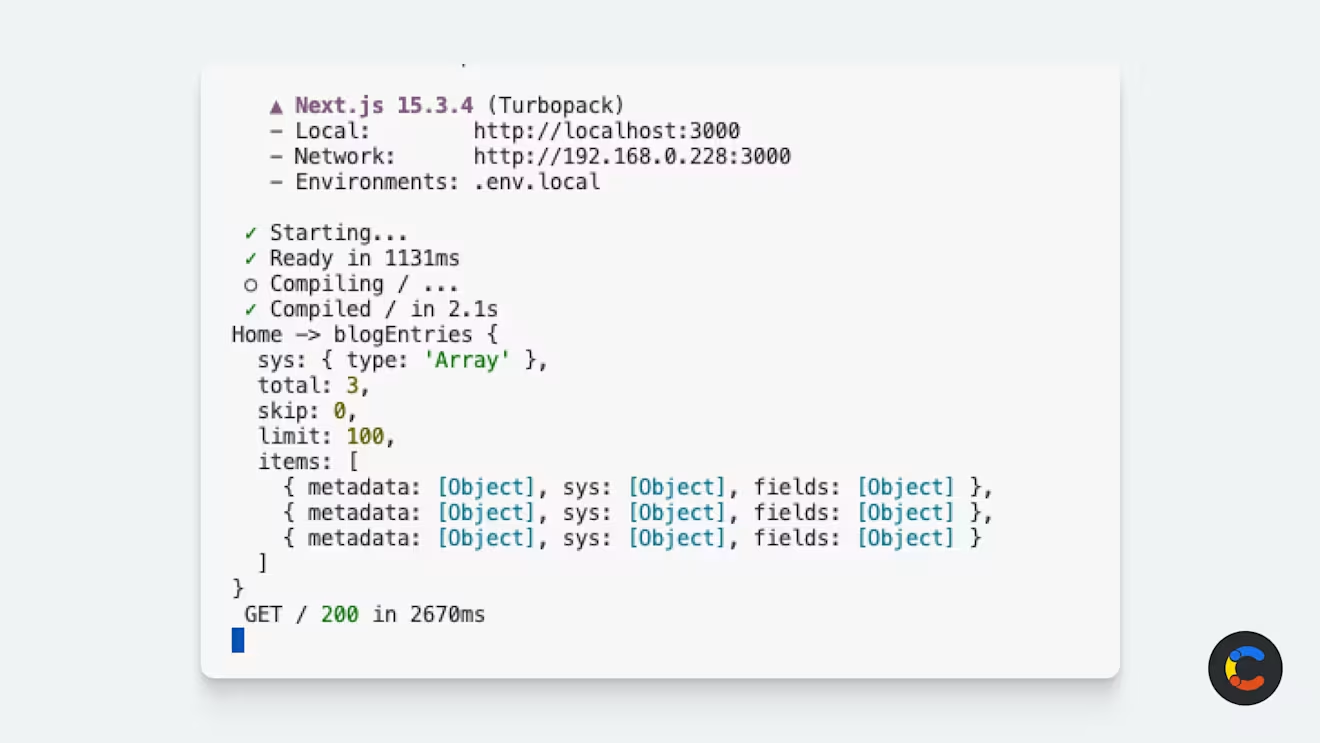
Time to check if it all works. Keep in mind that data fetching is not happening in the browser but in the Next.js local development server. As mentioned at the beginning of the article, you're taking full advantage of the Static Rendering capabilities of Next.js and pre-rendering this page at build time.
Therefore, your console log is not going to be shown in the browser console, but in the terminal console.
Adding type safety with TypeScript
Contentful uses rich text, a node-based JSON format for storing formatted text. By installing the rich text TypeScript type definitions, you can use rich text directly from Contentful with type safety, reducing the chance of errors when passing rich text to rendering functions (as you’ll do later in this tutorial). Install the rich text type definitions by running:
npm install -D @contentful/rich-text-types
Create a new file called types.d.ts inside src/app/ and then define the types for the blog posts data structure:
Now you can use BlogQueryResult as the return type for getBlogEntries. Keep in mind that this function is asynchronous, so the return type will be a Promise. Update the function signature of getBlogEntries in page.tsx to this:
const getBlogEntries = async ():Promise<BlogQueryResult> => {
The type BlogQueryResult needs to be imported from types.ts. If your IDE does not add the import automatically, add this at the top of the file:
import { BlogQueryResult } from "./types";
Step 5: Rendering blog posts using React
The connection to Contentful works, and you've typed your custom data structure. It’s time to output this data into the page and define the basic markup. For now, don’t worry about styling.
Where you previously put the <p>blog listing goes here</p> placeholder is where you'll do your actual iteration of content. To do that, you'll use the .map function, then inside the map, extract the fields that you need.
Finally, you'll output the preview of your blog post with the return statement.
Your page.tsx should now look like this:
If Link is underlined in your IDE, add this import to the top of the file:
import Link from "next/link";
Here’s what you’ve just done:
You’re using
slugas the key. React requires you to specify a unique key prop when you use JSX elements inside a loop, andslugis a unique identifier of the blog post (as defined in your content model as well).You are using the
Linkcomponent from Next.js that you’ll need to navigate between routes. You are pointing to a route that doesn’t exist yet (/articles/{{slug}}), but you’ll fix that in a bit.Since
dateis of typeDate, you’re converting it to a readable format (like, for example, “August 17, 2023”) usingtoLocaleDateString.
Of course, the page looks a bit boring without some style. It's time to make it look nice.
Step 6: Adding Tailwind CSS
The initial Next.js project already includes Tailwind (so there's nothing more to install), but you also need its config file tailwind.config.ts. Create this file in the project root and copy and paste in the following:
Step 7: Styling the listing page with Tailwind
Currently, the page is distributing the blog posts in a strange way because of the Tailwind classes items-center and justify-between assigned to the <main> element in the default project.
Since the flex direction of the element is column, the content is horizontally centered and vertically equally distributed on the page.
Get rid of those two classes, and leave all the other ones so the element looks like this:
<main className="flex min-h-screen flex-col p-24">
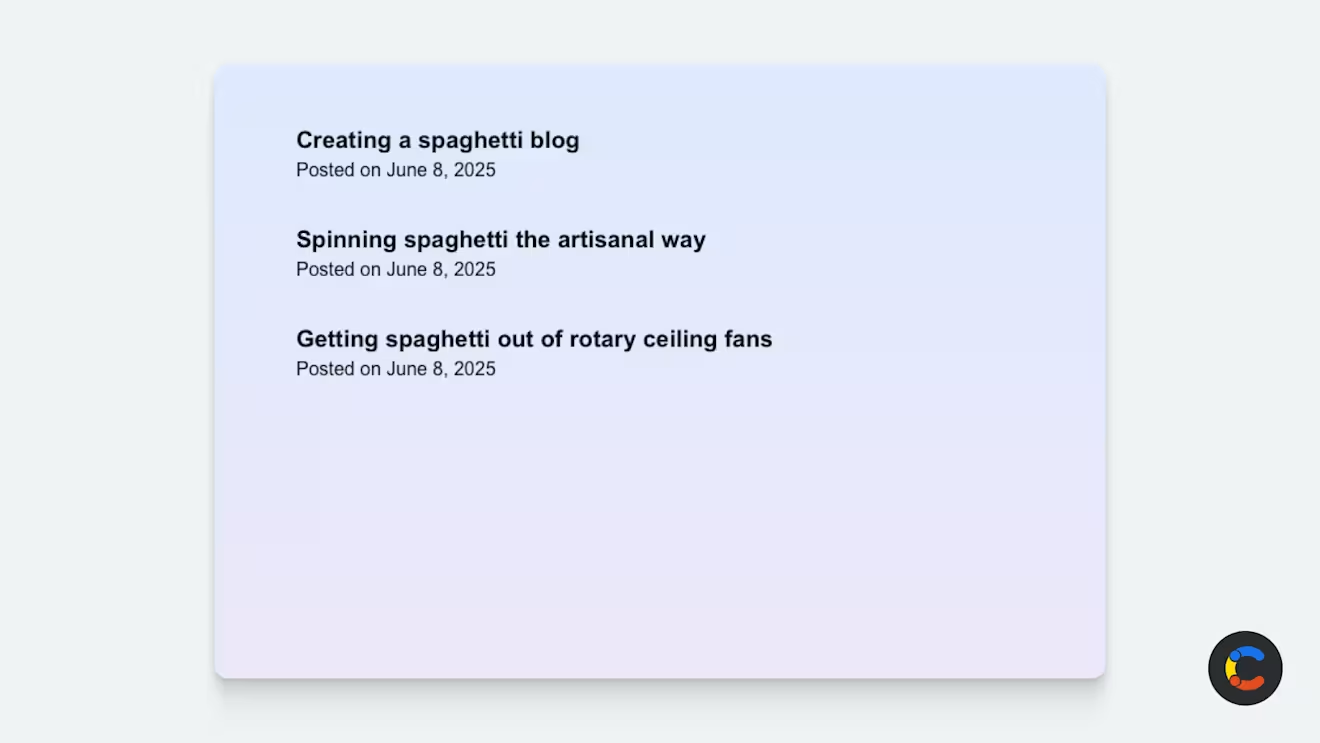
The content will now be aligned on the top left, and you can proceed with styling the individual elements.
If you use Visual Studio Code, it’s highly recommended to install the Tailwind CSS IntelliSense extension. This helps with autocompleting and syntax highlighting.
The blog entries are now all collapsed without margins. Since you're working with flex, the ideal solution is to use the row-gap property. You will therefore use the gap-y-8 class from Tailwind.
<main className="flex min-h-screen flex-col p-24 gap-y-8">
Let’s add a little color to the page by adding a gradient fill to the background.
<main className="flex min-h-screen flex-col p-24 gap-y-8 bg-gradient-to-b from-blue-100 to-pink-100">
Now go to the h2 element, which is used for the post title. You want to make this text bold and bigger:
<h2 className="font-extrabold text-xl">{title}</h2>
Interactivity with Tailwind CSS
It’s already looking way better, but an extra touch can make it more visually appealing: Changing the color of the title when it’s hovered over. In standard CSS, you would use a child selector to do this, but how do you do that in Tailwind?
It’s actually quite simple: You just need to add a group class to the Link component:
<Link className="group" href={`/articles/${slug}`}>
Then add the following class in the h2 definition:
group-hover:text-blue-500
In this way, you're telling your title element to change color when the cursor is hovering over its parent element.
You’ll also want a smooth hover transition, so add the transition-colors class to the h2 as well.
The h2 element should now look like this:
And this:
Step 8: Creating the article page
You have successfully created your blog listing page. Now it’s time to create the article page. As you saw earlier, when using the Link component, you want the page to be available at this URL path:
/articles/{article slug}
In order to do this, you need to use a feature of Next.js called Dynamic Routes.
Create a new file at this location: src/app/articles/[slug]/page.tsx. Notice the square brackets on the folder name. This creates a dynamic route. Your component will receive a prop called slug, which will contain the dynamic part of the route.
Now create a very basic article page:
Navigate to http://localhost:3000/articles/this-is-a-test.
As you can see, slug is received as part of the props, and is therefore based on the route. In this specific case, it will be “this-is-a-test.”
However, since this is a server component, you have an issue: as long as you're in development mode, every route (regardless of whether the slug exists or not) will work. However, at build time, Next.js will not know which routes to create, so it will not generate any of these pages at build time.
generateStaticParams
This is where generateStaticParams comes into play. This Next.js function, used in combination with dynamic routes, allows you to statically generate routes at build time. Add this code at the top of your /src/app/articles/[slug]/page.tsx file:
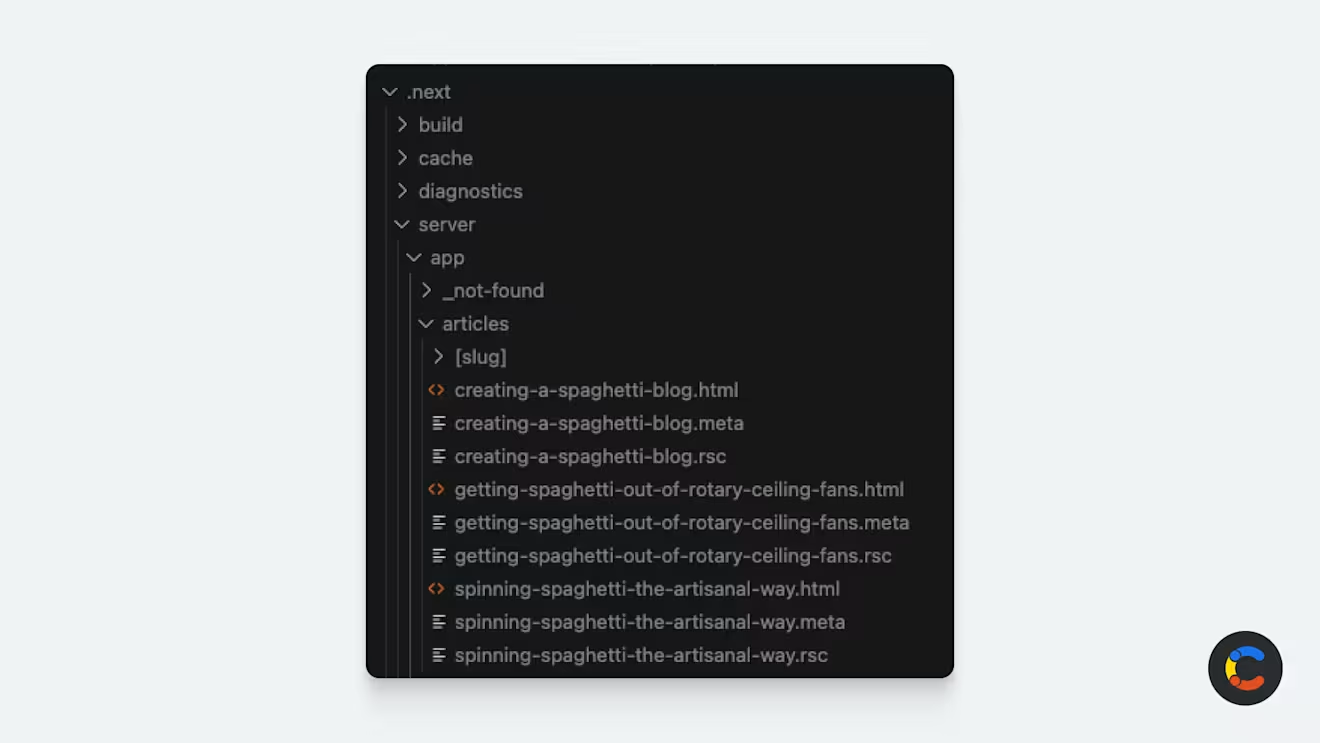
You can test if this works as intended by running npm run build and then checking the generated content for those *.html files inside the /.next/server/app/articles folder.
Back to the /[slug]/page.tsx file, you now need a function for fetching the content of a single blog post, based on the slug. Be sure to add an import to the BlogItem type if the IDE doesn’t do it for you.
You can add the fetchBlogPost function before the return statement. You can also replace the content of the h1 tag to show the actual article title.
You obviously also want to render the content. Since you used the rich text format, this data is not received as a string, but as a structured object. Contentful provides a utility for transforming this data structure into actual JSX.
Install it in the project:
npm install @contentful/rich-text-react-renderer
And import it at the beginning of the /[slug]/page.tsx file. You can now use this to render the article content right below the h1 title. The BlogPage function in the /[slug]/page.tsx file should now look like this:
Making your Next.js blog shine
The article page is lacking a background color to match the list page, so add that to the main element’s className.
<main className="min-h-screen p-24 flex justify-center bg-gradient-to-b from-blue-100 to-pink-100">`
The h1 element for your article title is currently unstyled, so it doesn’t stand out from the rest of the article.
Add some Tailwind classes to make it look bigger:
<h1 className="font-extrabold text-3xl mb-2">{title}</h1>
You are also not rendering the post date at the moment. You can do so like you did on the listing page by inserting it between the h1 element and the documentToReactComponents(content) content, like this:
Since Tailwind is resetting all the browser default styles, the article content doesn’t have any formatting.
You can’t use inline styles here, because the html elements (h2, p, etc.) are rendered by documentToReactComponents. However, Tailwind allows you to target the children of an element with a special &> selector.
Wrap the content in a div and use this syntax:
As you can see, you're targeting the children and assigning a margin-bottom to all p elements and making all the h2 elements bold.
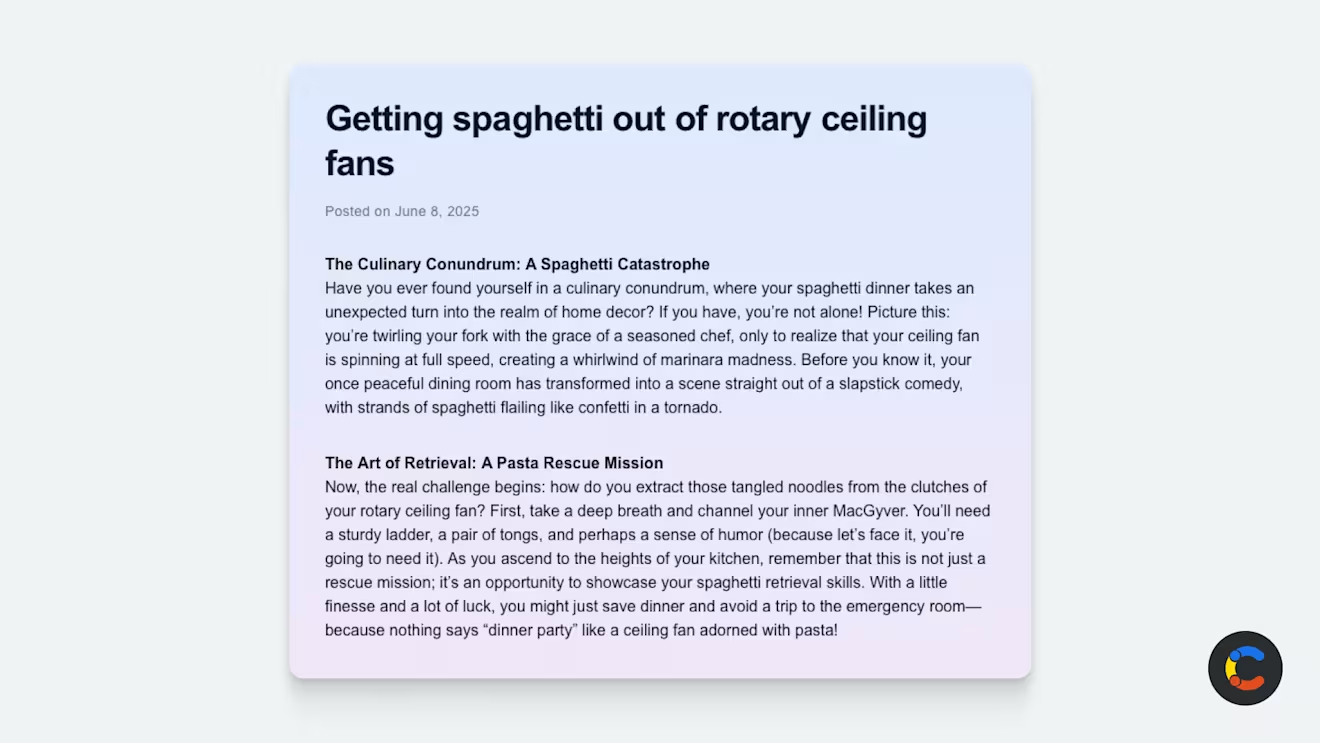
Finally, take a look at the article page:
How to deploy your Next.js blog to Vercel
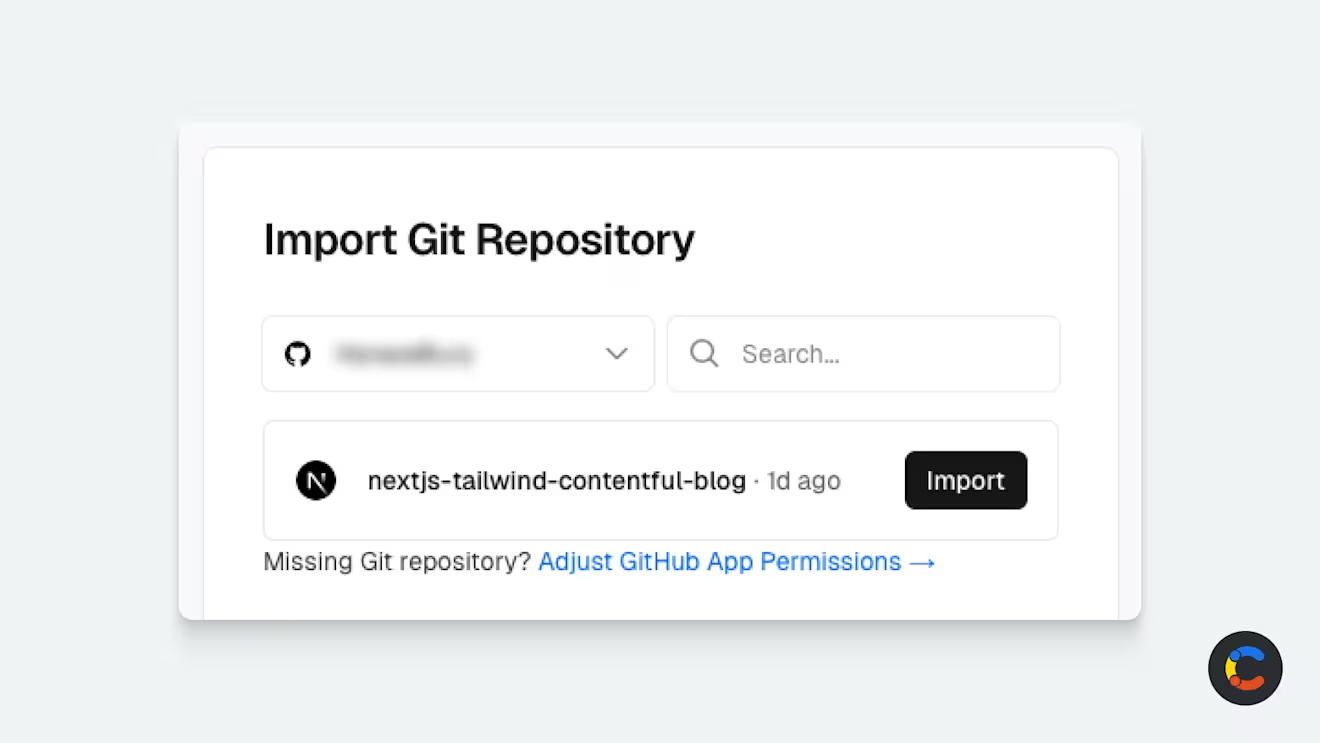
Vercel is a platform for hosting web apps for developers of Next.js applications. First, push the code into a new repository on GitHub. Once you’ve done that, you can head over to https://vercel.com/new (If you don’t have a Vercel account, you can sign up using your existing GitHub account).
Vercel will ask you to authorize GitHub in order to access the blog repository and launch it on the Vercel platform. Once it’s launched, you should see the repository in the dropdown:
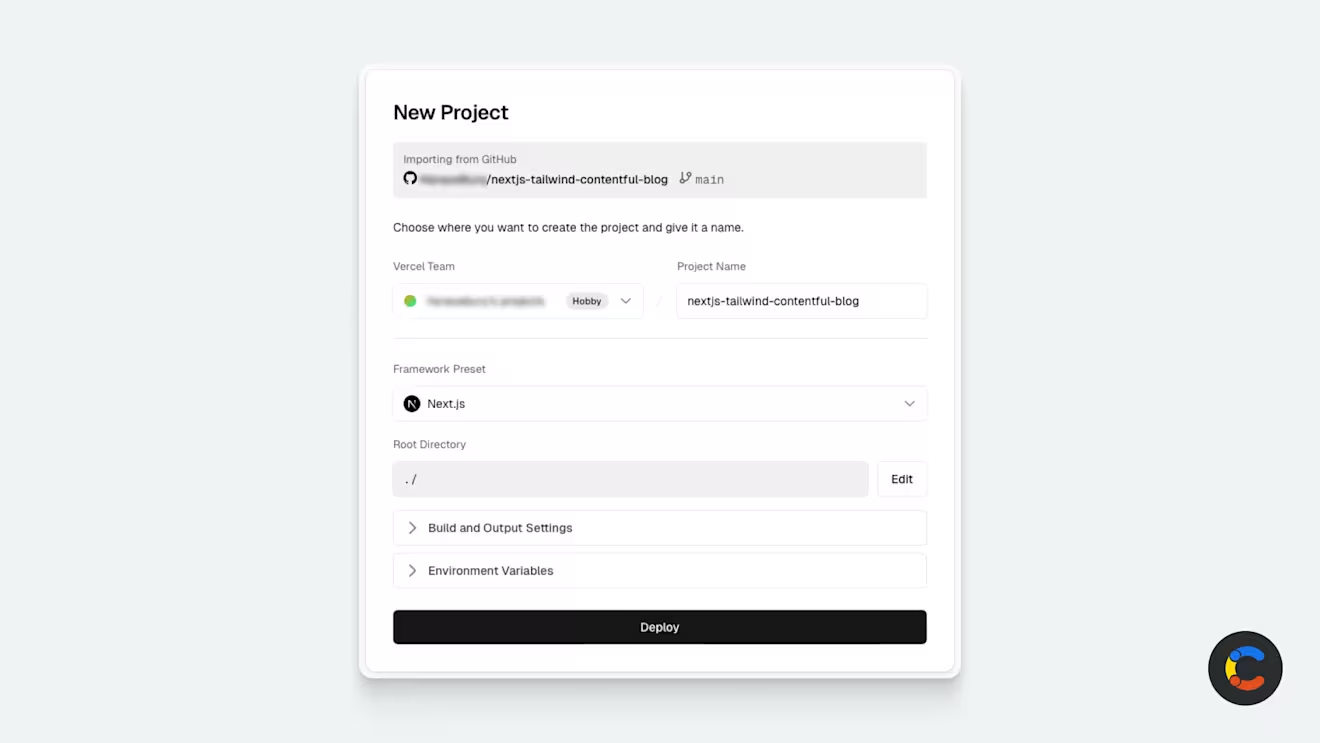
After the import is done, all you have to do is click “Deploy” in the Configure Project panel.
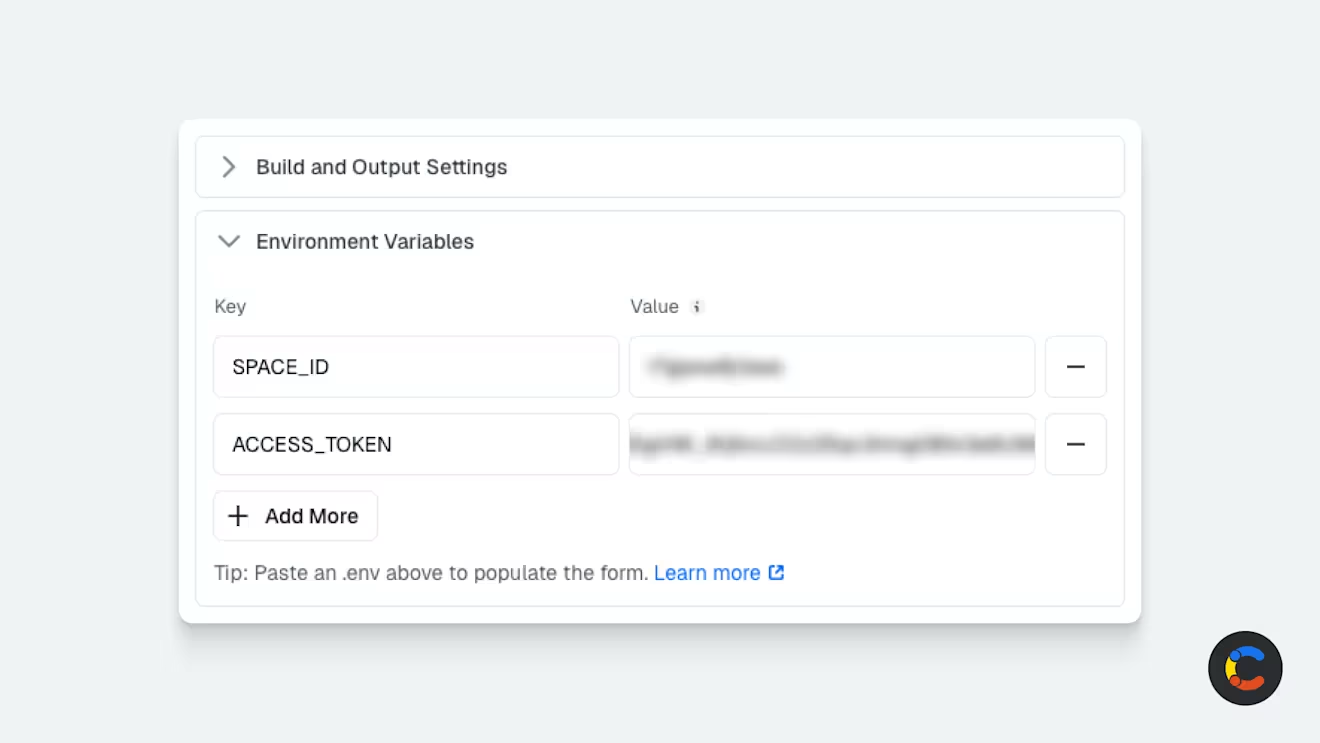
Before clicking “Deploy,” expand the “Environment Variables” section and paste in the key and value pairs from your .env.local file.
That’s it! Just click “Deploy” and wait for Vercel to pull, build, and deploy the repository. If everything works as expected, you should see a message saying “Congratulations! You just deployed a new Project to Vercel.”
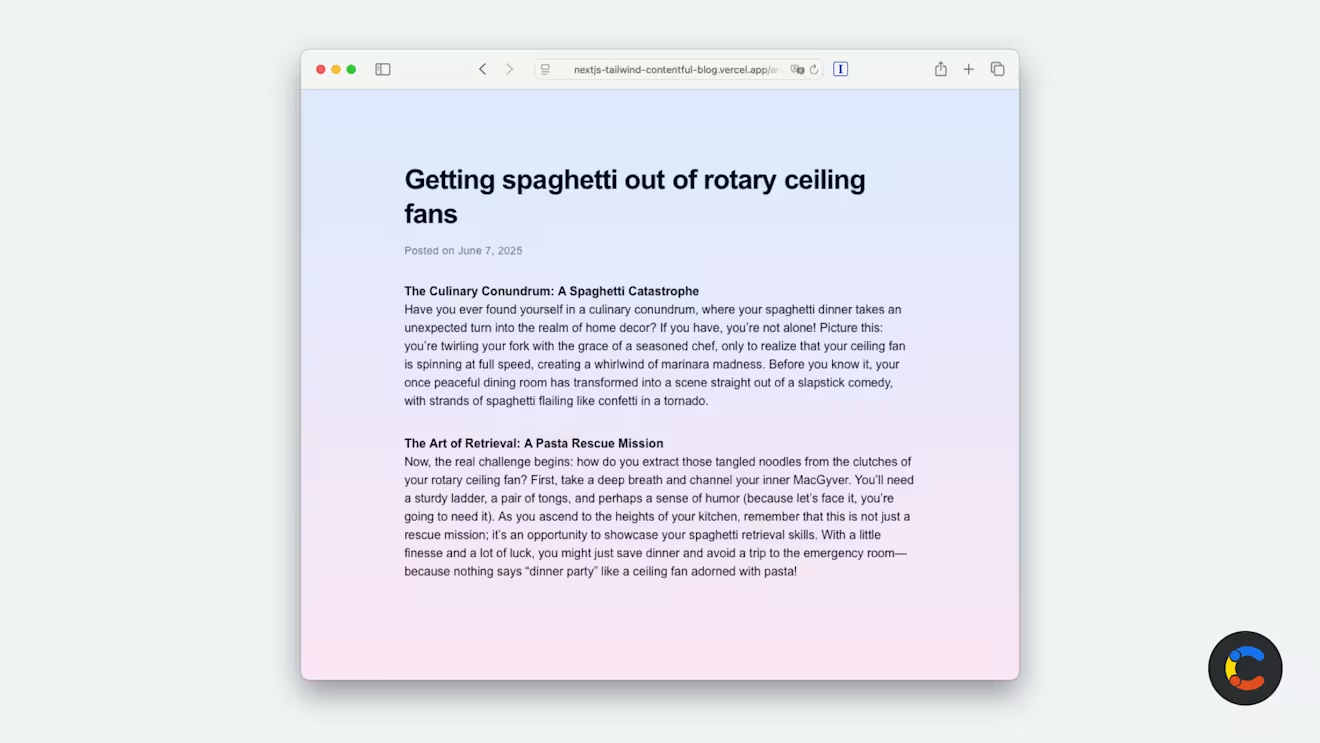
You can navigate to the Vercel preview URL and see your demo blog in action:
Setting up a webhook
You can set up an automation in Vercel to automatically re-deploy your application when content changes. This can be useful for staging content to test environments. In the Vercel dashboard, go to “Settings” > “Git.”
Scroll to “Deploy Hooks.” Here you can create a new hook and give it a custom name and specify a branch.
When you create the hook, you'll get a link. Copy it, because you'll need it in a bit.
Go back to the Contentful dashboard. Then “Settings” > “Webhooks.” Click “+ Add Webhook,” enter a name, and paste in your copied URL.
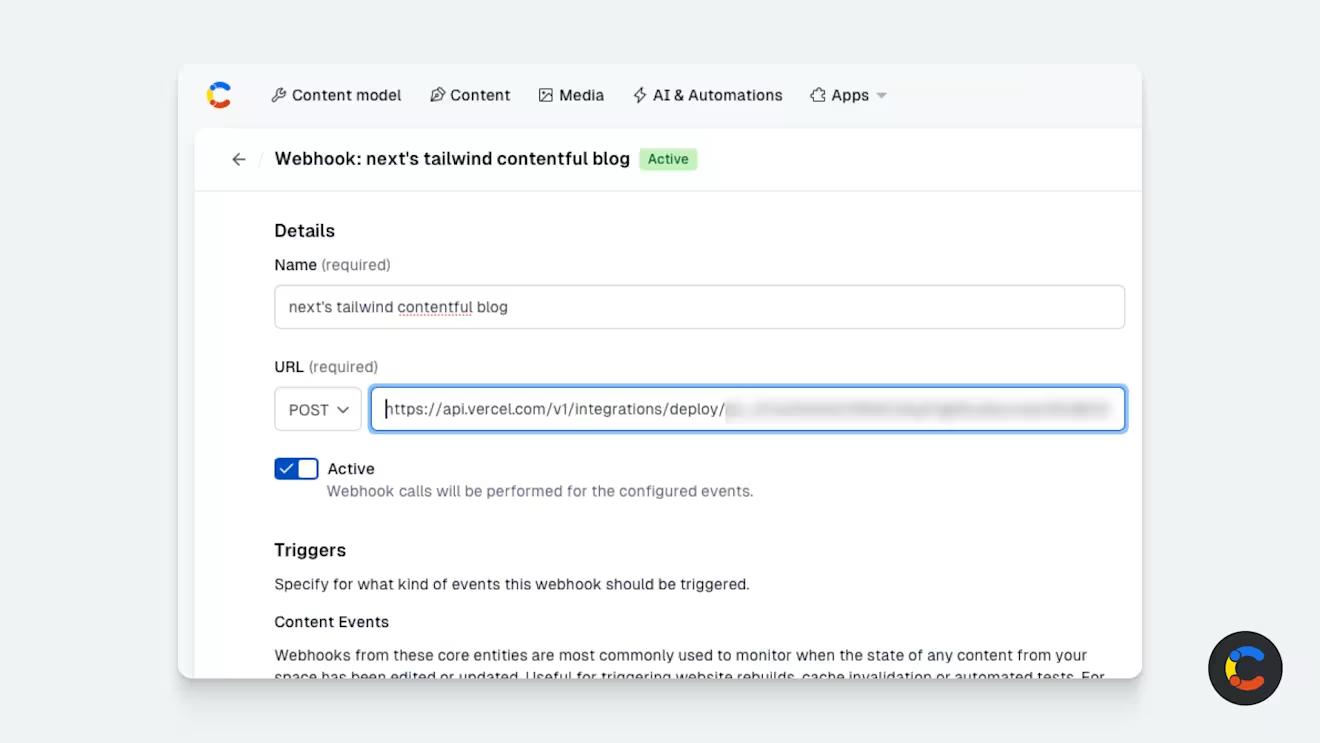
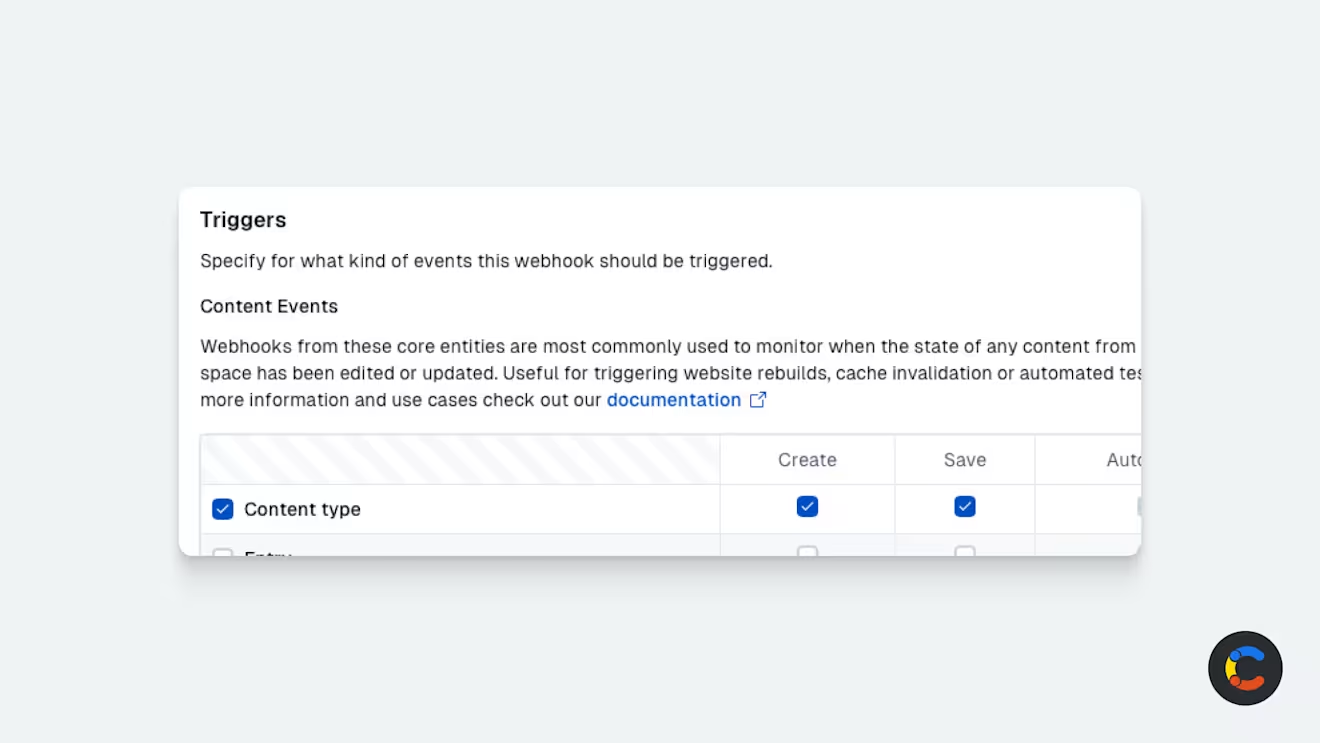
Scroll down a little and check the “Content type” to select each checkbox on that row. Then click “Save.”
The automated deploy webhook is now created. From this moment on, any published change on Contentful will automatically trigger a new deployment on Vercel. You can also check the history of webhook calls in the Contentful dashboard by going to “Settings” > “Webhooks.”
Using your Next.js blog as a template for your next big media project
Your blog is now live and functional, and you’ve just taken a big step in learning how to use Next.js, Tailwind, and Contentful to create a modern, content-driven website. Building on this, you can customize your blog by editing the default layout and styles, adding different content types (like images and streaming video), and setting up live previews in Contentful so you can see exactly what blog posts will look like when published.
Building something bigger? This Next.js blog tutorial can serve as the foundation for any kind of content-driven project: You can build a portfolio website, a product catalog, or even a landing page — while your content management needs are provided for by the market-leading capabilities of Contentful.

Inspiration for your inbox
Subscribe and stay up-to-date on best practices for delivering modern digital experiences.
Meet the authors

David Fateh is a software engineer with a penchant for web development. He helped build the Contentful App Framework and now works with developers that want to take advantage of it.
Related articles

How to query a GraphQL API using Python and Flask
July 31, 2025

Model Context Protocol: The new AI connection standard
August 7, 2025

How to use Yup validation for HTML forms in React
May 2, 2024
