Developer Showcase Spotlight: Dynamic pages with Contentful and Middleman static site generator
Published on December 6, 2022


Inspiration for your inbox
Subscribe and stay up-to-date on best practices for delivering modern digital experiences.
Want to get started with static site generators? Looking to try a new programming language? Have a fascination with red gemstones? Look no further, this tutorial has you covered! The project is also viewable here on the Contentful Developer Showcase, together with several others I've created.
What is Middleman?
Middleman is an open-source static site generator implemented in the Ruby programming language. Middleman is developed and maintained by Thomas Reynolds and the core team.
Building upon other open-source projects such as the Sinatra and Padrino frameworks, Middleman strives to provide all the shortcuts and tools expected in modern web development. In addition to an active community, Middleman is the epicenter of an entire ecosystem with hundreds of extensions available as Ruby gems.
While Contentful and Middleman are no strangers to each other, prior methods of combining the two typically involved exporting entries as a JSON file. The dynamic page approach, however, expedites the development process by querying content in real time via the Contentful Delivery API without the need for exporting files or additional libraries — thus resulting in a more streamlined application and build process.
What is Ruby and why use it?
Ruby is a general-purpose programming language developed by the Japanese computer scientist Yukihiro "Matz" Matsumoto. Ruby supports multiple programming paradigms, including procedural, object-oriented, and functional programming. Ruby has a powerful yet human-readable syntax that makes it user-friendly and productive for beginners and experienced developers alike.
As I’m sure most of you know, JavaScript is all the rage in web development right now. New, paradigm-shifting frameworks pop out left and right. In the Ruby land, however, the focus is on steady, gradual development to make the existing frameworks ever better. If you’re feeling a bit overwhelmed by the current state of JavaScript, Ruby just might be the change of pace you need.
Not only is Ruby a mature and stable language and ecosystem where conventions and skills are largely interchangeable between frameworks, Ruby is also well supported by Contentful. No matter if you choose to build your web application with Middleman, Rails, Sinatra, or Roda, all the key SDKs such as the Delivery API, the Management API and the Rich Text renderer libraries are at your disposal.
What are static site generators?
A static site generator is an application that creates HTML pages from templates or components and a given content source — such as Contentful.
Broadly speaking, server-side and client-side rendered web applications fetch content, merge content with a template and generate an HTML page on every HTTP request.
Static site generators, on the other hand, generate HTML pages during a build process. These generated pages are then deployed to a web server. When the server receives a HTTP request, it responds with a static, pre-rendered HTML page.
Why should I go static?
Because static site generators create websites in advance instead of on demand, the static websites are blazingly fast. Furthermore, static websites are lightweight and require little-to-no code to run on the server side, resulting in a drastically simpler and more affordable infrastructure.
In addition to performance gains, static websites are inherently more secure due to the fact that static files have much less surface area for potential attacks compared to server-side code. That’s not to say all threats come from the outside. Human errors happen all the time, such as accidentally pushing faulty code to production.
Given that static websites are just a collection of HTML, CSS, and JavaScript files, the entire website can be version-controlled via tools like Git or SVN. Having a problem with the latest build of your website? No problem — just roll back to the previous version in seconds!
Getting started with Middleman and Contentful
To help you get started, I have written a step-by-step tutorial and a code example which can be found at this GitHub repository. Please bear in mind that the tutorial and repository are boilerplate code and not by any means a comprehensive guide to Middleman and Contentful.
Furthermore, it’s worth pointing out that while the dynamic content query method illustrated in this tutorial does query entries from Contentful in real time, it only does so in Middleman’s development mode. Once the app is built into a static site, it will no longer query content from the Delivery API until a new build is initiated. Images and other static assets, however, will be queried in real time as usual.
Install Contentful CLI
Contentful CLI is a command line tool for managing your spaces and environments, executing migrations as well as importing and exporting content.
1) Ensure you have Node.js installed. If Node.js is not yet installed, you can install it either by downloading the installer from the website or via package manager such as Homebrew or apt.
2) Install Contentful CLI using NPM (Node Package Manager).
Import example content
In order to be able to build any kind of website, we have to have content, so let’s log into our existing Contentful account and space via the Contentful CLI in order to import example content. If you don’t yet have an account, you can sign up and test Contentful free of charge. Please see Contentful’s documentation for instructions on how to set up a new space.
1) Login to Contentful CLI and select the target space.
2) Download the example content file and import content model Page and example entries to target space.
Ruby & RVM setup
RVM (Ruby Version Manager), much like its Node.js counterpart NVM, makes installing and managing various Ruby versions a breeze. RVM enables you to use different Ruby versions in different projects to ensure maximum compatibility and stability.
1) On macOS- and Linux-based operating systems, you should be able to install RVM by executing the following command on the terminal. Please see RVM’s installation instructions for troubleshooting and further details.
2) Once you have RVM installed, install Ruby 3.1.2 and set it as the default version.
3) Make sure you have the Ruby version 3.1.2 installed and set as the active Ruby version.
4) Install Bundler. Gem and Bundler are Ruby’s tools for installing and managing packages (aka “gems”) in similar fashion as NPM in the JavaScript land.
Middleman setup
Now that we have Ruby up and running, it’s time to install and configure the Middleman static site generator. Please note, that this tutorial slightly deviates from the standard Middleman installation process to ensure maximum compatibility and hassle-free operation.
1) Install the Middleman gem.
2) Create a project directory, select the directory and create a Gemfile. The Gemfile serves a similar purpose as the package.json typically found in JavaScript projects.
3) Modify the Gemfile by adding the source, Ruby version, and required gems as shown below. Using exact gem version numbers is a precaution to ensure this tutorial works exactly as intended.
4) Install all the gems defined in the Gemfile by executing Bundler.
5) Set up Middleman by executing the initialize command in the project directory. When asked if you wish to overwrite the Gemfile, answer no by typing “n”.
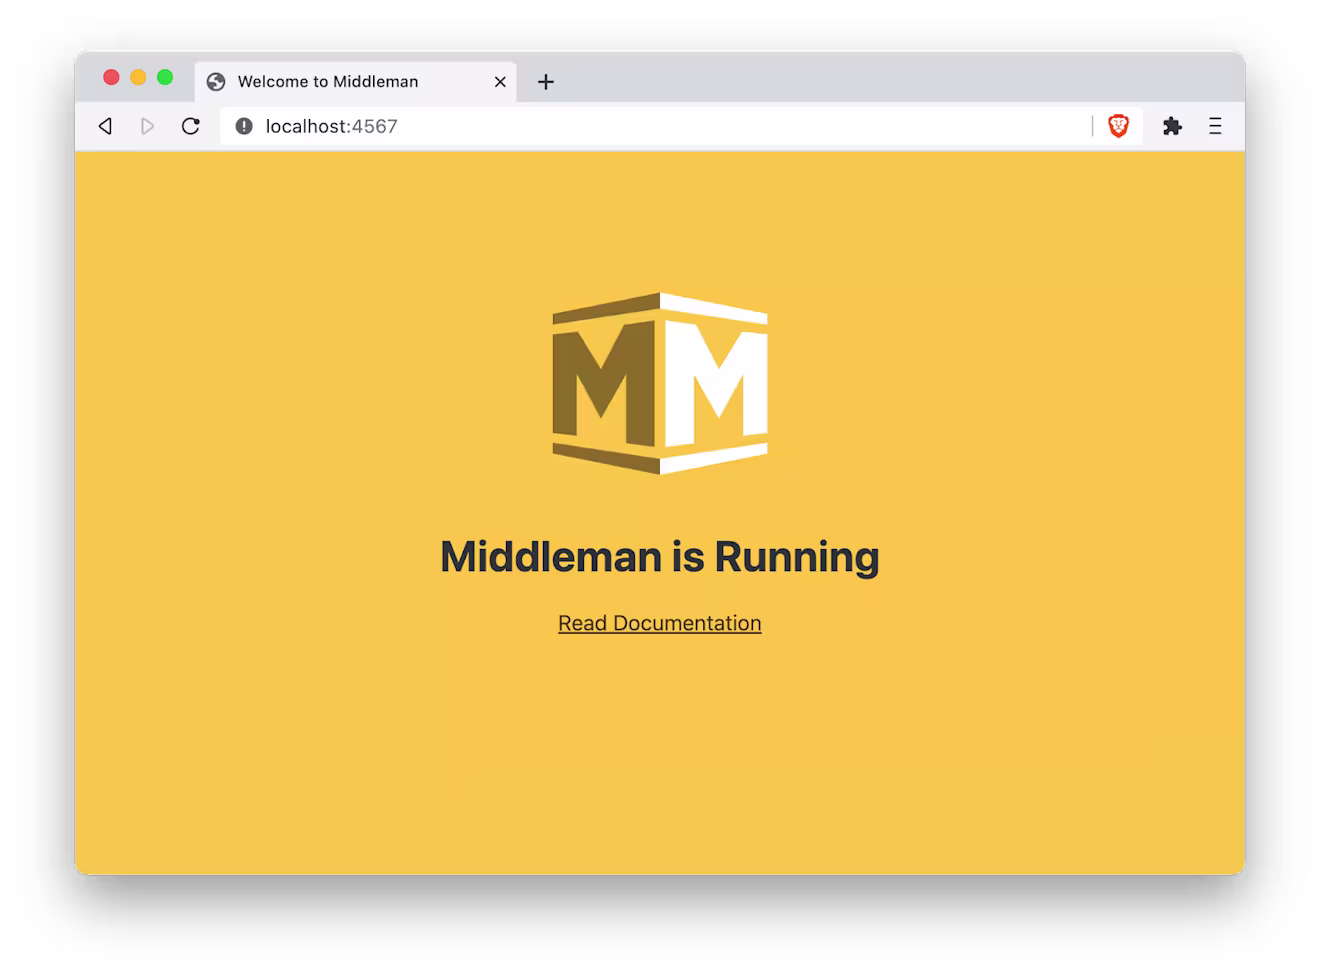
5) Start the Middleman server. You should now see Middleman's default page at http://localhost:4567. By default, Middleman runs at port 4567. You can change the default port using the -p parameter (e.g. middleman server -p 9292).
Delivery API client and custom helpers
To be able to query entries from Contentful, we need to configure the Delivery API client. Furthermore, to render Rich Text and Markdown into HTML, we need to create custom helper methods by utilizing the Rich Text renderer and Redcarpet gems we added to our Gemfile in the previous section.
1) Add .env to the .gitignore file in the root of your project directory. It should look like this.
2) Create a .env file to the root of your project directory and insert the Delivery API key and Space ID. See Contentful's authentication documentation for instructions on how to set up API keys.
3) Require the Contentful Delivery API client, Rich Text renderer, and Redcarpet gems in the config.rb file.
4) Create a new instance of the Contentful Delivery API client in the config.rb file. Delivery API key and Space ID will be loaded from the .env file.
5) Add custom helpers to config.rb. This example uses the Rich Text renderer library's default settings. See Rich Text renderer documentation for more details how to create custom renderers for various embedded entry types, or see Redcarpet documentation for more details about rendering options.
Template and dynamic page proxy
First, we’re going to create a template to display our example content and use the custom helpers we created in the previous section to display Rich Text and Markdown content.
Next, instead of having to export entries as a JSON file and use said file as Middleman’s content source, we’re going to configure a dynamic page proxy to query entries directly from Contentful.
1) Create a new directory and template file for the Page content type into the project directory. ERB is a popular templating language that is supported by most Ruby frameworks.
2) Insert the following lines of code to source/pages/page.html.erb. Notice how we are displaying values from both the fields and sys properties of the entry. On the last two lines we are using our custom helpers to convert Markdown and Rich Text into HTML.
However, mixing raw HTML tags and Ruby syntax doesn’t yield the cleanest template code, so, alternatively, you can take advantage of the tag helpers that enable you to generate HTML tags by writing native Ruby. Middleman’s built-in tag helpers come courtesy of the Padrino framework.
3) Add the following code block to config.rb. Here we query the Slug field of every Page entry, map the Slug field values into a flat array, query the corresponding Page entry and set a proxy. See Middleman's dynamic pages documentation for more details about proxies.
4) Add an ignore command to config.rb. This will prevent Middleman from trying to build the Page template into a HTML page. We're already creating paths for the HTML pages via the proxy.
5) The entire config.rb file should now look like this.
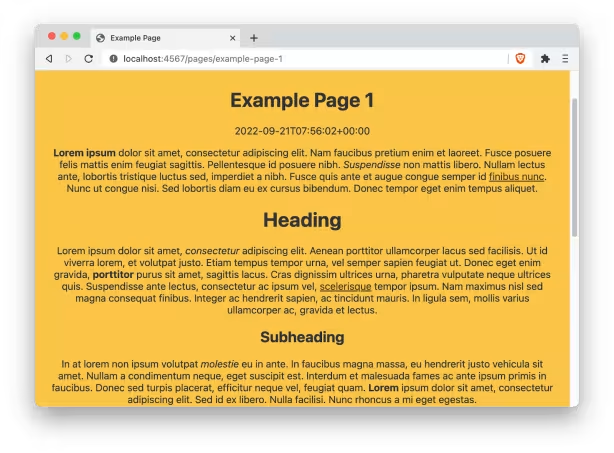
6) Test the proxy at http://localhost:4567/pages/example-page-1. Presto! Entries are flowing from Contentful to Middleman, Rich Text and Markdown are converted to HTML, and we even have a human-friendly URL with a slug.
7) Test building the site. If the build process is successful, your new static site can be found in the build directory of your project. As macOS and most Linux distributions are shipped with the Apache web server built in, it’s a good idea to create a virtual host and map your build directory to a URL such as http://myproject.local.
Deploy to Netlify
Having a website lying on your computer is not much use to anyone, so it needs to be deployed somewhere for the whole world to see. Sure, you could fire up an FTP client and upload your newly built static site to a hosting server, but that would get tedious really fast.
Instead, wouldn’t it be much more convenient if your static site was built and deployed automatically to the public internet every time you push new code changes to your Git repository? Such practice is commonly known as continuous integration.
Netlify is one of the most popular cloud computing platforms that supports continuous integration. Therefore, it’s no surprise that Netlify is popular among Contentful developers as well. To deploy your Middleman site to Netlify, you’ll need a GitHub, GitLab or Bitbucket account.
1) Create a .ruby-version file. This file tells Netlify which Ruby version to use during the build phase.
2) Commit and push your Middleman app into a GitHub, GitLab, or Bitbucket repository.
3) Log into Netlify. Sign up to a new account if you don't already have one.
4) Select Sites → Import an existing project on the Netlify dashboard. Select your preferred Git service provider under Connect to Git provider, insert your credentials and select the repository of your Middleman project.

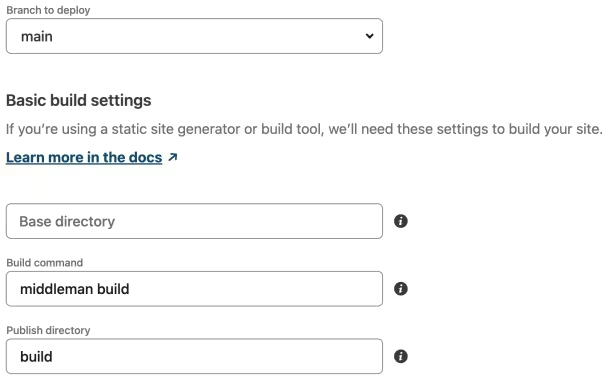
5) Set middleman build as the Build command and build as the Publish directory. You can configure Netlify to use any branch in your repository as the build source. By default, Netlify launches a new build whenever new commits are pushed to the main branch.
6) Select Deploy site to command Netlify to start building your Middleman site. Please note that the build will fail at this point due to missing API credentials, but that is to be expected.
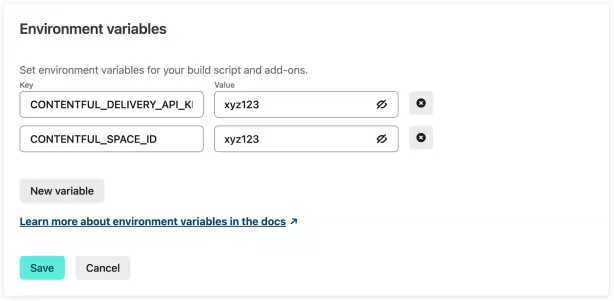
7) Go to Site settings → Build & deploy → Environment → Edit variables and set Contentful Delivery API key and Space ID as environmental variables CONTENTFUL_DELIVERY_API_KEY and CONTENTFUL_SPACE_ID.
Webhook setup
Having your static site regenerated whenever new code changes are pushed to the version control repository is just the first half of the delivery pipeline. Given that static websites are, as the name suggests, static (duh!), the website needs to be regenerated whenever content is updated on Contentful. This is where webhooks come in.
Webhooks enable Contentful to integrate external systems such as Netlify and command them to trigger events such as generating a new build of your static website.
1) On the Netlify dashboard, go to Site settings → Build & deploy → Build hooks → Add build hook and create a new build hook. Name the new build hook Contentful. By default, Branch to build is set to main.
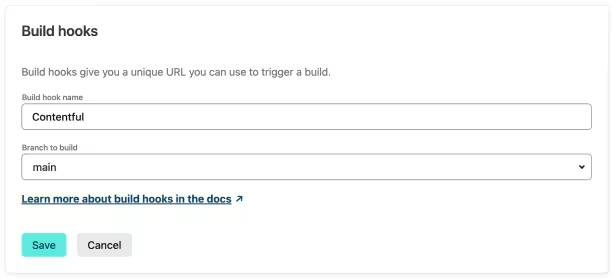
2) Your new build hook URL should look like this:
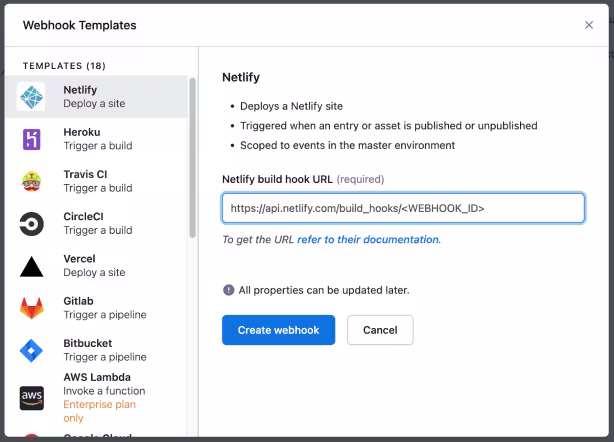
3) On Contentful go to Settings → Webhooks and select Netlify - Deploy a site from the webhook templates list. Insert the URL in the Netlify build hook URL field and select Create webhook. By default, the webhook is set to trigger whenever entries are published or unpublished. You can change this behavior from Webhook settings.
If Netlify is your jam, you might want to take a look at the Netlify app at the Contentful marketplace for even more flexible and versatile control and integration.
What’s next?
What we have here is a nice technology stack and a modern delivery pipeline but not exactly what one would call a complete application. Here are some next steps to further develop your boilerplate into a fully featured website.
Content modeling
Content model is the foundation of your website. Well-planned content modeling is one of the most crucial aspects of any Contentful project and has a significant impact on your site’s usability, maintainability, and life cycle.
Choosing a CSS framework
In this day and age, it doesn’t make much sense to code CSS (Cascading Style Sheets) from scratch since there are so many great CSS frameworks to choose from. Not only do frameworks like Bootstrap or Tailwind CSS offer just about every UI component imaginable, their well-thought-out conventions streamline and unify both the design and development process.
On a related note, Middleman supports the ERB partial system which is a great way to create reusable UI components following the Atomic Design methodology.
Integrating with third-party systems
Contentful doesn’t by any means have to be the only data source to display content on your website. Want to display products from a Shopify ecommerce store alongside Contentful entries? No problem — Contentful and Shopify can live happily side by side, providing a seamless user experience! On that note, be sure to check out the Shopify app on the Contentful marketplace.
Just like Contentful provides Ruby clients for its APIs, Shopify provides Ruby developer tools for accessing the Shopify API in similar fashion. Shopify’s strong Ruby support is no coincidence, since Shopify itself is built upon the Rails framework.
Wrapping it up
Let’s take a moment to recap. After completing this tutorial, you have learned the following steps:
Set up a new Middleman project.
Connect Middleman and Contentful as well as fetch entries via the Delivery API.
Create custom helper methods for rendering Rich Text and Markdown.
Setup a dynamic proxy to enable Middleman to query entries from Contentful in real time without exporting any files.
Deploy the Middleman project to Netlify and set up a Contentful webhook to trigger a new build.
Happy coding — and remember, variety is the spice of life!

Inspiration for your inbox
Subscribe and stay up-to-date on best practices for delivering modern digital experiences.
Meet the authors

Teemu Tammela is a Software Developer working at Kisko Labs. Teemu is also a Contentful Certified Professional and a Contentful Developers Meetup guest speaker as well as a Contentful Developer Showcase contributor.
Related articles

Tailwind vs. Bootstrap: Comparing CSS frameworks
August 15, 2024

MCP vs. RAG: How AI models access and act on external data
December 3, 2025

Combining GraphQL multiple queries to boost performance
February 7, 2025
