5 steps to elevate your Contentful and Next.js workflow with live preview
Published on June 6, 2023


Inspiration for your inbox
Subscribe and stay up-to-date on best practices for delivering modern digital experiences.
If you've followed our ever-popular Next.js tutorial, you'll have successfully spun up a Next.js blog using Contentful. We've shown you how to set up a space, import the content model, and then deploy your Next.js blog. You are the proud owner of a sleek, server-side rendered blog that can be easily managed via Contentful.
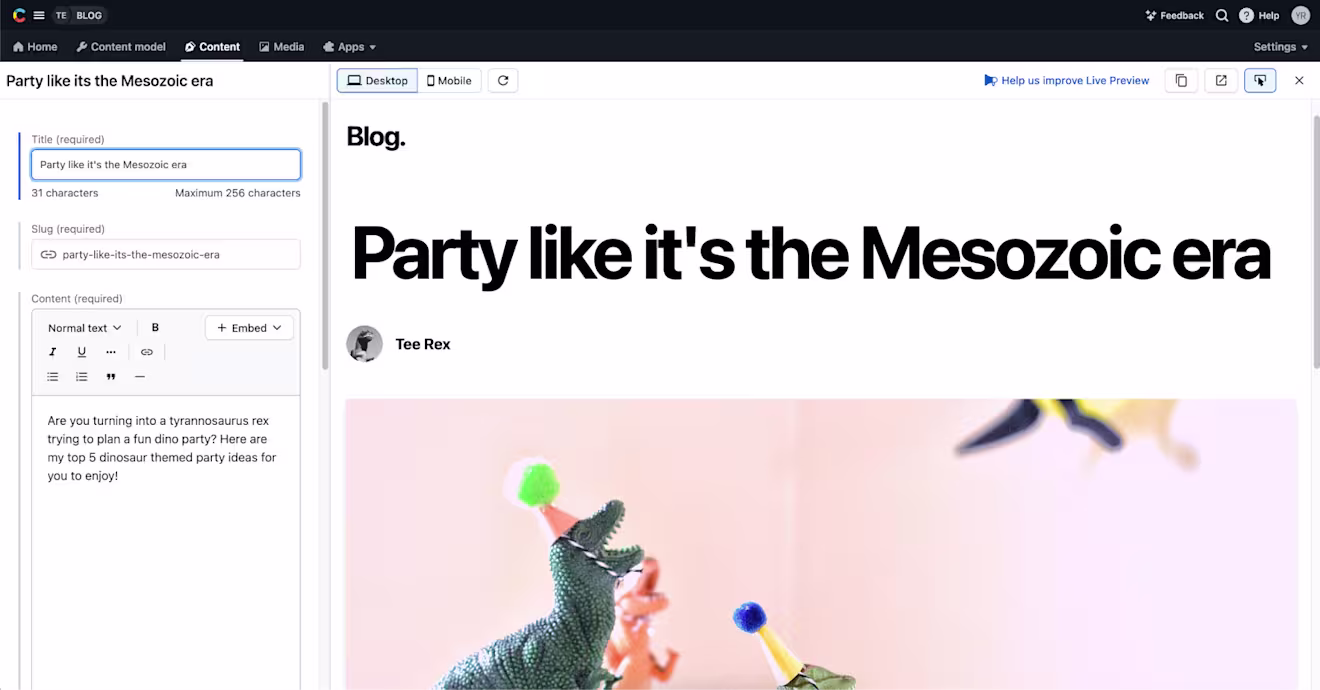
But what if... We could make your content editing process even smoother? Wouldn't that be cool? Enter the new live preview feature from Contentful. This powerful capability allows content editors to see their changes in real time as they edit content, right within the same window.
And that's exactly what we'll be implementing in this tutorial. Follow the steps below and learn how easy it is to enhance your Next.js blog to include live preview using the Contentful live preview SDK.
Editor's Note: There's more than one way to get up and running with live preview. Consult our technical documentation to get the full rundown here.
Prerequisites
This tutorial assumes you've completed the Contentful Next.js tutorial. You should have two already things in place:
a blog made with Next.js
a Contentful account with a linked space
Ready? Buckle up, and let's get started!
Step 1: Setup preview URL and Next.js draft mode
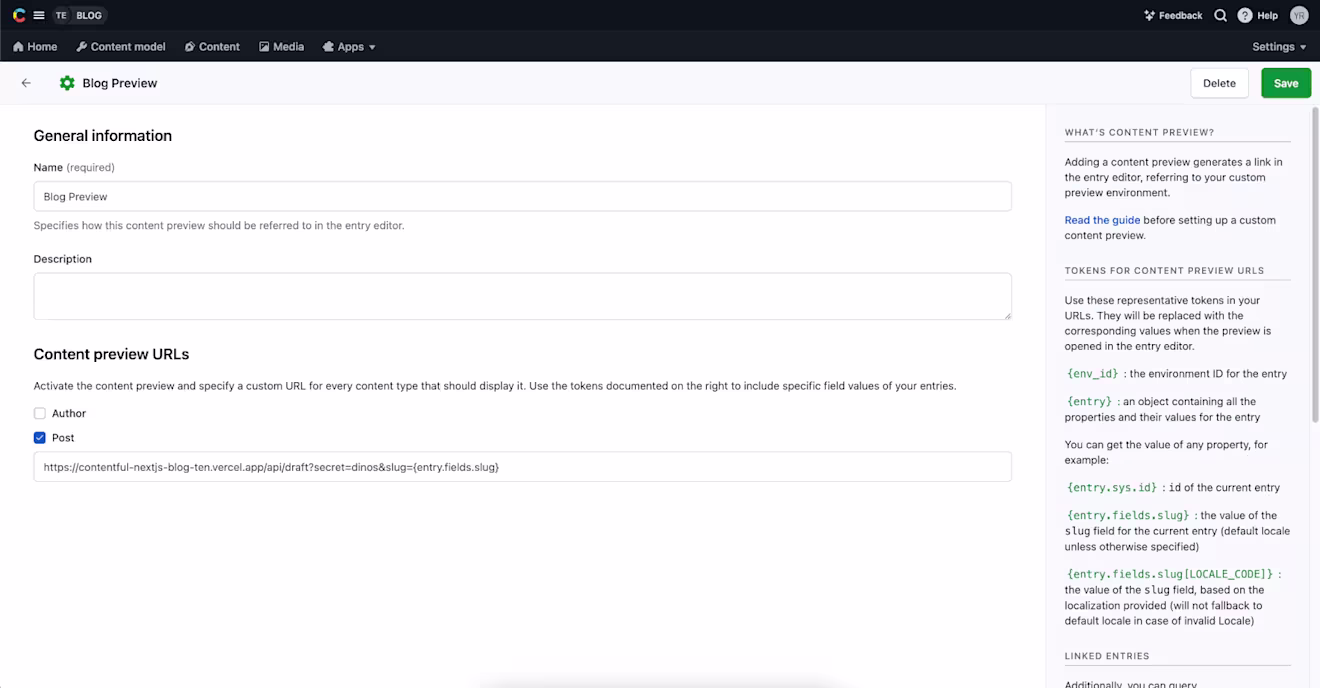
In your Contentful space, go to Settings > Content preview and add a new content preview. The name field may be anything you like, e.g., Blog Preview.
Then, under Content preview URLs, check the Post content type and set its value to:
https://your-blog.vercel.app/api/draft?secret=<CONTENTFUL_PREVIEW_SECRET>&slug={entry.fields.slug}
This tutorial uses a deployed website URL, but you can also use this feature locally.
To set up a local environment, replace https://your-blog.vercel.app with http://localhost:3000 or your preferred localhost port.
Just remember to start your local server before previewing your blog.
Replace <CONTENTFUL_PREVIEW_SECRET> with its respective value in your project’s .env file.
This value can be anything you want. It must however be URL friendly, as we will send it as a query parameter to enable the Next.js draft mode.
This secret prevents people who don’t have access to your space from accessing draft URLs. Make sure the same value for this variable is also stored in your hosting provider.
Step 2: Install the live preview SDK
As a first step to enable live preview, you have to add the live preview SDK to your project.
In your terminal, navigate to your project folder and run:
npm install @contentful/live-preview
Step 3: Initialize the live preview SDK
Now, the live preview SDK needs to be initialized in your Next.js project.
The perfect place for the initialization is in your _app file. Why this file? Because _app serves as the top-level component for all the pages in your Next.js blog, ensuring that the live preview SDK is accessible everywhere it's needed.
Additionally, don't forget to provide the locale to the live preview provider function. In case your website has a language picker, you would pass the selected locale.
If you’re working exclusively with only one locale in Contentful, you can easily find your default locale by going to Settings > Locale.
The live preview SDK is meant to be enabled only for the draft mode. Therefore, make sure enableInspectorMode and enableLiveUpdates are set to pageProps.draftMode.
The SDK should not be included in the production deployment to maintain a secure and efficient workflow.
Step 4: Enable live updates
Now that you've initialized the live preview SDK, you can start enabling live updates in your project.
As an example, let's integrate live updates in the pages/posts/[slug].js file:
Please note that it’s important to implement the useContentfulLiveUpdates webhook on the client side to ensure proper functionality.
It doesn't matter if the data is loaded with getServerSideProps, getStaticProps or if you load it in any other way. It's necessary that the provided information to the hook contains the sys.id for identification.
Also remember that for now, only non-transformed fields can be updated. For GraphQL, this means that field aliasing or filters are not yet supported. When using GraphQL, the __typename needs to be provided.
So, you have to slightly adjust the GraphQL blog query in the lib/api.js file to fetch the sys.id and __typename, like so:
Now, when you make changes to any Post entry in Contentful, you will see those changes get updated live in your preview pane!
Step 5: Enable inspector mode
Finally, we'll look at inspector mode. This feature will power up your editing experience by providing an easy way to locate and edit specific fields directly from live preview. Especially in very nested content models, it can get quite tricky for editors to find and update content.
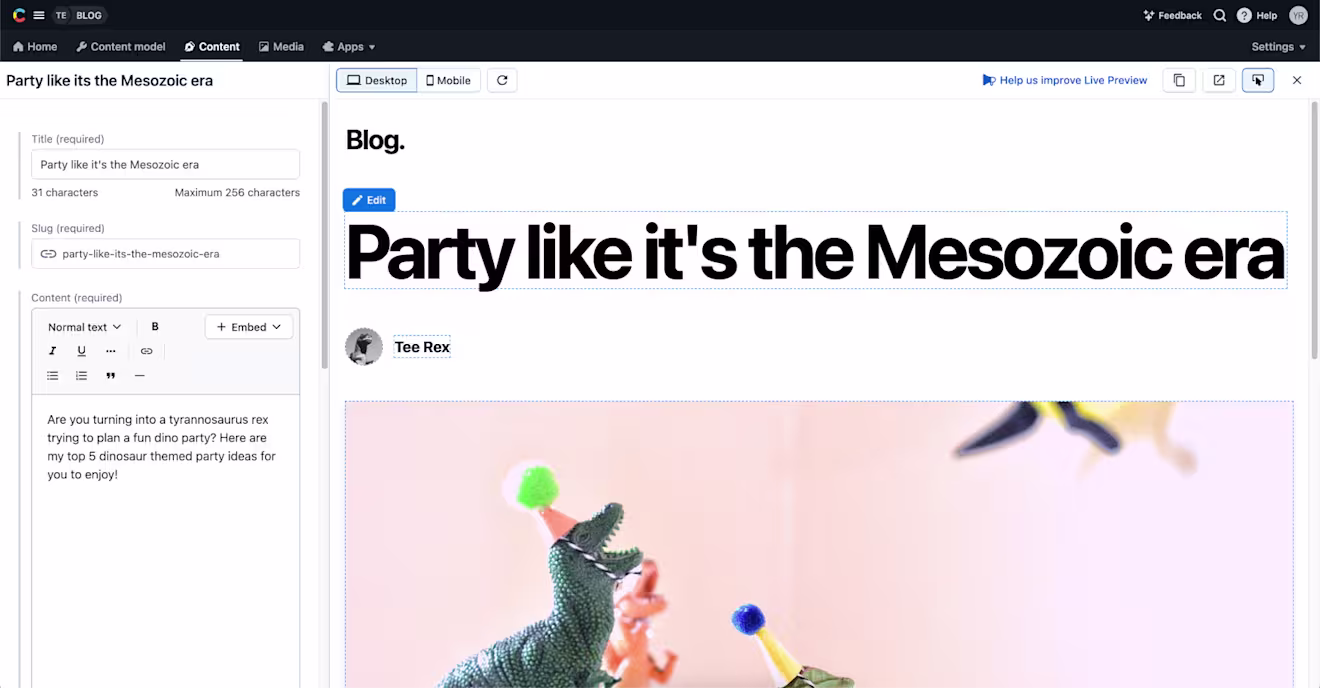
When inspector mode is enabled, each content block within the preview website is accompanied by an ‘Edit' button. Clicking this button brings you right to the corresponding field within the entry inside Contentful. If the field is inside another entry, you will be redirected in the editor to the field in that referenced entry.
Note: This also works after navigating to a completely different URL in the iframe. Hence, you can use live preview to update multiple pages in one go.
As a first step, you have to load the necessary files in order to make inspector mode work. You can load the inspector mode styling by adding the CSS file in _app file:import "@contentful/live-preview/style.css";
Next, you can tag your content using the useContentfulInspectorMode hook. This hook generates special data attributes that need to be passed to the HTML element you want to enable for inspection.
As an example, we will tag the title field of every blog post. For this, we add the entryId and filedId to inspectorProps. Note that we pass these props to the child component (in this case, the component rendering the h1 tag).
Take note: for this to work, the leaf HTML element that displays the field content in your React component tree must have the inspectorProps. In other words, only render the inspectorProps on actual HTML elements.
Now, a blue button will appear when you hover over the title field of any blog post in live preview. When you click on ‘Edit’, the editor on the left side will automatically focus and scroll to the correct title field. It works like magic!

Fixing issues
To fix potential issues when implementing the live preview SDK, you can use the debug mode. Inside the ContentfulLivePreviewProvider you can set the debug mode to true, like so:
Now, you will receive descriptive error messages in your browser console whenever things go wrong.
Wrapping up
And there you have it! You've just supercharged your Next.js blog with Contentful's live preview feature.
Now, when you or your content editors make changes in Contentful, they'll be able to see those changes in real time, right within the same window.
This will not only improve your content editing process but also reduce the chances of errors and the need for constant back-and-forths between the editor and your preview website.
Just remember, while you can view the changes live as you make them, don't forget to publish the content to make your changes permanent and visible to all users.
While this tutorial focuses on integrating the live preview SDK with a Next.js application, the SDK can be used with Vanilla JS or any React framework. For examples with other frameworks, refer to the GitHub repo and our technical documentation.
Happy editing and publishing!

Inspiration for your inbox
Subscribe and stay up-to-date on best practices for delivering modern digital experiences.
Meet the authors

Yves is a frontend developer at Contentful who specialises in web standards, accessibility and creative coding.
Related articles

Blazor vs. React: Choosing a frontend framework
June 16, 2025

Migrating to Contentful from Wordpress is far easier than it may seem
July 10, 2024

FastAPI vs. Flask: Python web frameworks comparison and tutorial
June 12, 2025
