How to get started using Angular with Contentful
Published on September 1, 2022


Inspiration for your inbox
Subscribe and stay up-to-date on best practices for delivering modern digital experiences.
Angular and Contentful are popular tools for creating client-side applications or delivering content creation and management services.
Because of its scalable design and productivity-enhancing capabilities, Angular powers the frontend of Google apps used by millions of users worldwide.
Contentful is a cloud-based content management platform that organizes and manages content that can be accessed via various platforms — including websites and mobile apps. It’s a headless system that provides a project-specific framework for managing website content. It’s independent of the frontend, enabling you to use the backend and content infrastructure with any client-side framework — including Angular, React, and Vue, just to name a few.
Contentful also enables you to add and update information that appears on the frontend of your website or mobile application. Additionally, it saves you the time and effort of developing your own backend — which would otherwise require knowledge of a backend language or platforms like Python or Node.js and database administration — and provides various tools to help developers interface the frontend with the backend.
This beginner’s tutorial will demonstrate how to build a full-stack application using Contentful and Angular. In this demonstration, you’ll create a job listings website for developers. All the sample code is stored on GitHub for reference.
Creating content
Let’s get started with Contentful.
First, sign up for a free Contentful account. Next, create an empty space with a content model called JobListing in the Contentful UI. We won’t be showing a step-by-step guide on how to do this here, but you can refer to this page for a detailed walkthrough of creating a space and a content model.
In this demonstration, the Job model has the following fields and types:
Role: Short text
Description: Long text
HowToApply: Rich text
Organization: Short text
Date: Date & time
Skills: Short Text & list
Populate the fields with 3-4 sample job listings by clicking the Content tab, then Add Blog post. After filling out the fields, click Draft and then Publish.

Now that you’ve created and published your job listings, you’ll fetch them from the API and display them with Angular.
One thing to note is that before you can communicate with Contentful, you’ll need an API key consisting of the Space ID, the Access Token, and the Entry ID. You can get these from your Contentful space.
Create an Angular project
Your Angular project will fetch and display the job listings from Contentful. To do this, you’ll:
Create an Angular project and modify the page to display the retrieved content appropriately.
Create an Angular service that can fetch the data.
Include the routes required to navigate the app.
Connect the service to the page and display the fetched content.
Before you start, you’ll need to set up your development environment properly.
Since Angular requires using Angular CLI to scaffold the initial project files and any necessary artifacts during the project's development, you’ll need to have recent versions of Node.js and npm installed on your development machine.
Installing Node and Angular CLI
There are various ways you can install Node.js on your machine. You can pick one of the following options here:
Obtain an installer compatible with your operating system from the official website.
Make use of the official package manager of your system.
Use a Node version manager such as NVM, which allows you to manage multiple versions of Node on your development machine. We recommend using NVM.
While this article is accessible to anyone, it helps to have an understanding of TypeScript and Angular.
If you already installed Node on your system, head to a terminal and install Angular CLI. This tutorial uses Angular CLI v13.3.7.
If you want to use the same version as this tutorial, you simply need to specify the version when installing the CLI. Open a command line and type:
npm install -g @angular/cli@13.3.7.
After the installation, you’ll be able to use the ng tool from your terminal.
Getting started with Angular
Now it’s time to create our Angular project. In the command-line interface, run the following command:
ng new angularcontentfuldemo --routing --style=css
After confirming, Angular CLI will generate your initial project files, install the packages, and log the process on the command-line interface. The following should be printed after the project’s creation:
Open the app.component.ts file from the src/app folder, and add the following line to the top of the file:
import { ContentService } from './content.service';
Then, in the AppComponent class at the bottom of the file, add this line below title = "angularcontentfuldemo" as follows:
constructor(contentService: ContentService){}
Next, in your terminal, go to the directory of your project:
cd angularcontentfuldemo
You can then serve your Angular application by running the ng serve command as follows:
ng serve
Your app will be served from http://localhost:4200/.
Leave your current command-line interface open for running the development server, and open a new command-line interface for running the commands that follow.
Before proceeding, you’ll need to add your Contentful Space ID and Content Devliery API Access Token to the environment variables of our application. You can create an access token using the Contentful web app or the Content Management API.
Open the src/environments.ts file and update it as follows:
Make sure to replace YOUR_SPACE_ID and YOUR_ACCESS_TOKEN with your actual credentials.
Next, you need to install some necessary dependencies, such as contentful, bootstrap, rich-text-types, and rich-text-html-renderer. Navigate to your project’s folder and enter the following commands:
You’ll use Contentful to connect with Contentful APIs and Bootstrap for styling the Angular UI.
Next, add Bootstrap to your project. There are various ways to add Bootstrap to Angular. In this demonstration, Bootstrap files are included via the angular.json file. Open the configuration file that exists at the root of the project and add the following line:
With the code snippet above, you’ve removed the boilerplate markup, except for the router outlet, and added a Bootstrapheader bar. Please note that in order for the styling to take effect, you may need to restart your service.
1. Create the service for communicating with Contentful
Now, you’ll create the service that will encapsulate the code for communicating with Contentful. Go back to your command-line interface and run the following command to generate the service:
ng g s content
Create a content-types.ts file in the src/app/ folder and add the following code:
This will be used to type the entries corresponding to your content model. You can either write the types manually like above, or use these automated tools for a more scalable approach:
Open the src/app/content.service.ts file and start by adding the following imports:
Next, add the client property and call the createClientfunction to create a client as follows:
Then, add the following method after the constructor in the content.service.ts file to fetch content from Contentful:
You call the getEntries method of Contentful to retrieve the entries corresponding to the model content that you pass as the method's first argument. You use Object.assign to create an object containing the content type and any other queries that you pass to Contentful.
This method also accepts a generic type that defines the type of content that will be returned, which in this case is TypeJobListingFields.
Use the from operator to convert the promise returned from the method to an observable, as this is more convenient to use with Angular.
If you didn’t save your content type ID before, you could get it by clicking contentful > content model, then click on your content model name. Your content type ID should be on the right sidebar.

To fetch a job listing by ID, add the following method below the getJobListings()function in content.service.ts:
2. Add routing
After implementing the service, you need to create a component to display the job listings fetched from the backend and add routing.
Go back to your command-line interface and run the following commands:
This will generate the components’ files and add them to the root application module.
Next, open the src/app/app-routing.module.ts file and start by importing the components as follows:
Then, add the following routes:
Here, you define three routes. The first route simply redirects the user to the second route, which routes to the JobListingsComponent.
Open the src/app/job-listings/job-listings.component.ts file and import the service and the other symbols as follows:
Next, inside the component’s class, define the following array to hold the fetched job listings:
jobListings: Entry<TypeJobListingFields>[] | undefined;
Next, inject the service via the component’s class as follows:
constructor(public contentService: ContentService) { }
Injecting the service makes it available to the component.
Then, define the following method for fetching the content:
Then, call the previous method inside the ngOnInit() life-cycle method of the component:
Life-cycle methods are methods that hook into key events of the component. You can find more information about them in this article.
In the same way, open the src/app/job-listing/job-listing.component.ts file and add the following imports:
Next, define the following property:
jobListing: TypeJobListingFields | null = null;
Next, inject the following services:
The ActivatedRoute class provides information about the active route in the outlet.
Next, update the ngOnInit hook of the component as follows:
When the component is initialized, you get the job’s listing ID from the route using ParamMap with switchMap. Since your service method returns an observable, flatten the observable with the switchMap operator and subscribe to the resulting observable to get the fetched entry and assign it to the jobListing property.
The switchMap operator also cancels any previous ongoing requests. If the user navigates to the route with a different ID while the ContentService is still fetching the content, switchMap removes the previous request and returns the job listing for the current ID.
This code will generate the base list of all jobs, each with a link to a more descriptive page containing the full content.
3. Rendering the content
After that, the next step is to render the content in the component’s template. As our app will contain a list of components that contain a link to the full component description, we now have to construct the full components.
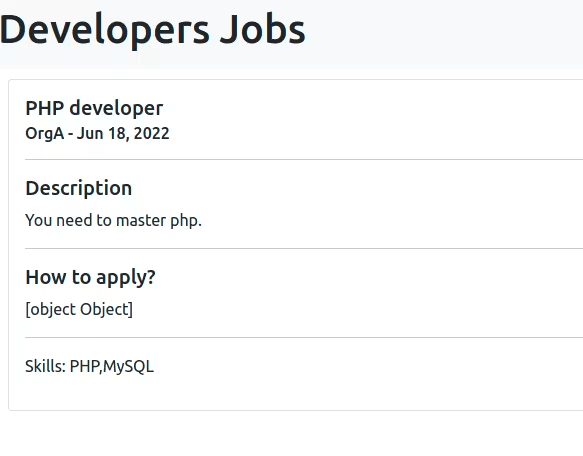
Open the src/app/job-listing/job-listing.component.html file and update it as follows. Be sure to remove the p tag!
Notice that under the How to apply section, you’re displaying the content of the howToApply field, yet you’re getting [object Object] displayed. That’s because this is a Rich Text field, a JSON format for handling complex content structures in a strongly typed manner in Contentful.
This is how the fields appear:
Contentful provides many tools to help you work with the Rich Text feature. Because you’re already installed the @contentful/rich-text-html-renderer package, it’s easy to display rich text fields via a documentToHtmlStringfunction.
Since you’re using Angular, you need to use the function with a custom pipe that you can apply to the field in the component’s template to display it correctly.
Go back to your command-line interface and run the following command to generate a pipe:
ng g pipe toHtml
Open the src/app/to-html.pipe.ts file and update it as follows:
You can then go back to the joblisting.component.html file and display the rich text field using the following code:
<div [innerHtml]="jobListing.fields.howToApply | toHtml"></div>
Since the result of applying our custom toHtml pipe to the howToApply field is HTML content, you need to bind to the innerHtml attribute to render it inside the <div>.
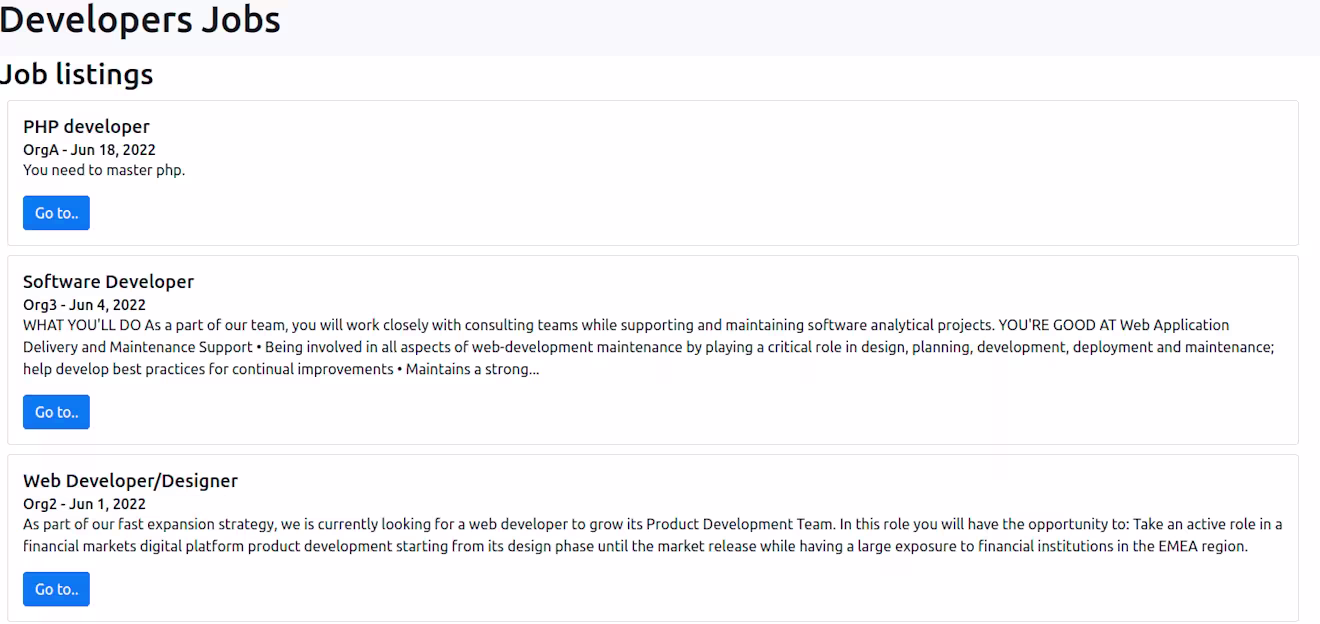
After applying the pipe, the field should look like this:

This is the final result with some example job listings:
Further functionality
While this is basic functionality, there are many more things that make Angular a great choice with Contentful. One of the primary benefits of Angular is the potential to develop apps that can be used on the web, native mobile, and desktop.
It offers a number of benefits in terms of both performance and productivity, using APIs including Web Workers and Angular Universal for server-side rendering.
Additionally, Angular also includes high-quality developer tools that simplify the process of developing full projects with multiple apps and libraries. It also comes with its own templatesyntax that extends HTML and may be enhanced with custom components.
Conclusion
This tutorial used Contentful as our Angular application's backend for managing content on a job listing website. By working through this demonstration, you’ve seen how easy it is to build a full-stack application using Contentful and Angular.
Contentful enables you to accomplish more and separate your front end or view layer from managing content, making it simpler to interface the front end with the back. Additionally, you save time with Contentful because you only need to write and update content once for all the platforms that are integrated with your CMS.
Do you want to quickly and efficiently manage the contents of your Angular application, but don't want to build a custom back end from scratch? Contentful is the solution you're looking for.

Inspiration for your inbox
Subscribe and stay up-to-date on best practices for delivering modern digital experiences.
Meet the authors

Lucas helps developers by providing resources to build faster. He's a developer, marketing technologist, and die-hard Green Bay Packers fan for those sports enthusiasts out there.
Related articles

How to query a GraphQL API using Python and Flask
July 31, 2025

Zod validation with React Hook Form
January 30, 2025

Start a React app with Tailwind CSS in under 5 minutes
October 25, 2024
