Svelte tutorial: Building an app using Svelte 5
Updated on May 20, 2025


Inspiration for your inbox
Subscribe and stay up-to-date on best practices for delivering modern digital experiences.
This practical tutorial will introduce you to the key concepts of the Svelte modern framework. Svelte is a frontend JavaScript framework that compiles your code at build time, unlike React or Vue, which have to do a lot of work in the browser at runtime. The term “svelte” means lean and elegant, and Svelte v5 aims to be exactly that with the introduction of runes and the ability to compile components into functions.
By the end of this Svelte tutorial, you'll have built a basic Svelte app that will give you a good understanding of the core concepts in Svelte: components, props, state management, conditional rendering, and styling.
You can see the final code in this repository. Let's go!
Creating a new Svelte app
You'll need to have the latest version of Node.js installed on your system. If you don't have it already, you can download it from the official Node.js website.
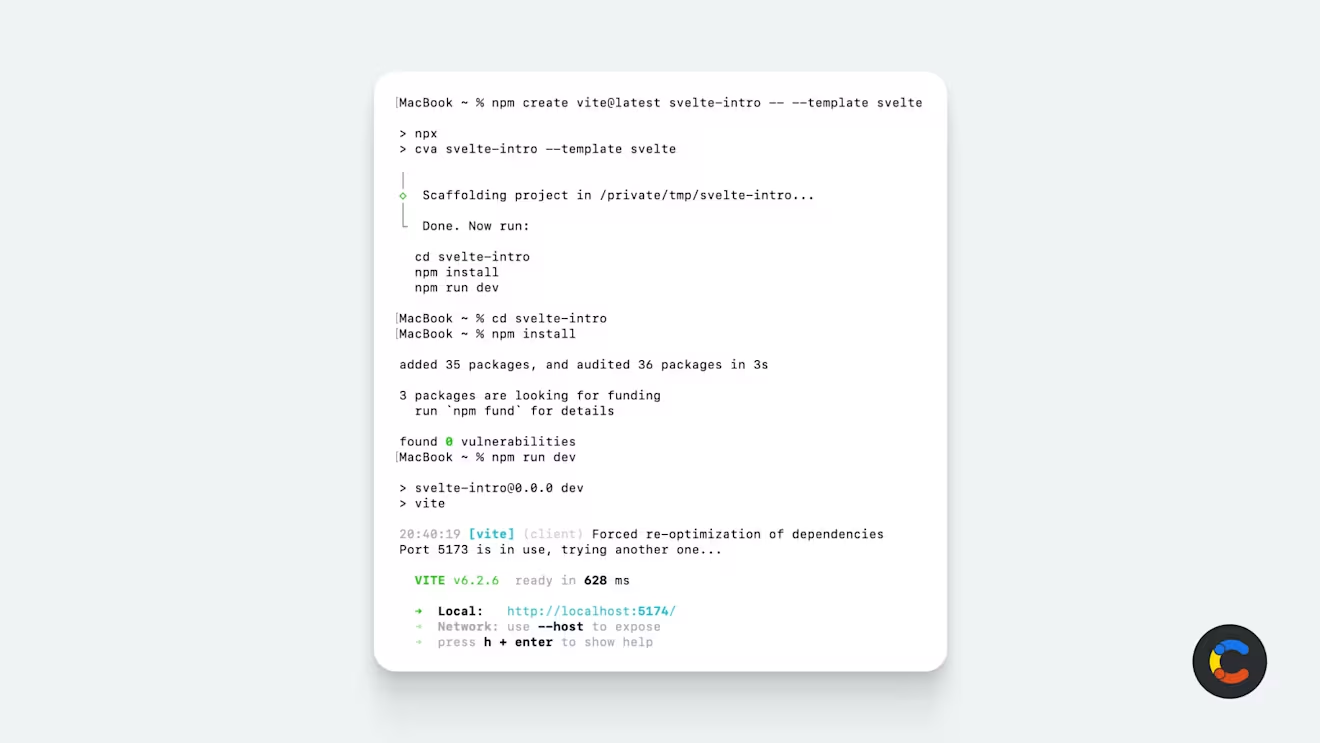
To create a Svelte project, open your terminal or command prompt and run the following command:
npm create vite@latest svelte-intro -- --template svelte
This command will create a new folder called svelte-intro and initialize a vanilla Svelte JavaScript project inside it.
Now, navigate into your new svelte-intro folder by running:
cd svelte-intro
Next, install the required dependencies by executing:
npm install
Once the installation is complete, you can run:
npm run dev
And you’re ready to start building your first Svelte app.
Side-note: Svelte vs. React, Angular, Vue, and Next.js
If you’re reading a Svelte tutorial, you’re probably already curious about the framework and how it compares to the other ones. We have a pretty detailed comparison of Svelte vs. React already, but what about other frameworks?
The main feature that distinguishes Svelte to the other JavaScript frameworks (React included) is that it’s compiler-based.
What does that mean? Well, Angular, Vue, and Next.js all add a runtime to your bundle — extra code on top of your JavaScript to take care of the virtual DOM and other things. The Svelte compiler, on the other hand, does the work at build time to turn your Svelte code into regular DOM manipulations. That’s why its bundle size is so small and its runtime performance is so good!
Building your first Svelte component
All the “modern” frontend frameworks are created around the concept of components, and Svelte is no different.
Just like with the other frameworks, a Svelte component is a reusable, self-contained unit that usually represents a piece of UI. It combines HTML, CSS, and JavaScript in a single file with a .svelte extension.
It can manage its own state, and it can receive data from parent components via properties (or "props").
Svelte component structure
Let’s take a look at the Svelte counter component. Open the file ./src/lib/Counter.svelte. Your scaffolded project contains Counter.svelte, so you can drop this code in place of it and it will work:
This is an example of a .svelte file that contains HTML, CSS, and JavaScript. The three different sections are described below:
JavaScript is defined in the
<script>tags. In our case, the state is represented by the count variable, and the logic includes an increment function for updating this state. The beauty of Svelte is that most of the code in that<script>tag is just JavaScript — there’s no JSX or other framework-specific language to deal with.The HTML is defined in the second section. Here, a button is set up with the
on:clickattribute calling the increment function in the script tag. The curly braces in{count}let you do a binding to the count variable, which means that the value of the variable will be reflected there and automatically updated.The CSS comes last, within the
<style>tags. In Svelte, the styles are locally scoped to each individual component, meaning they do not affect the other parts of your app.
Using your Svelte component in your app
Like with the other JavaScript frameworks, you can import one component into another component and use it like an HTML tag.
In your svelte-intro app, another component is already using your Counter.svelte component. Let's take a look at how you can do this so you can understand how to do this with future components. Open the App.svelte file, which is your entry point, to see the import of your Counter component.
Below that, you’ll see the Counter component in the markup section.
This makes the Counter component part of the App component, which means that whenever your app loads, you'll see a button that increments a counter.
That's your first Svelte component. Next, we'll dive into how runes work.
Runes
Svelte 5 introduced the concept of runes. Runes are special Svelte functions that can be used to access built-in reactive behavior (for example, when your app updates itself automatically when data changes). Essentially, Svelte runes handle things like state management and component properties. $state() and $props() are the two runes used in this tutorial.
Using props to pass data between Svelte components
Props allow you to pass data from a parent component down to a child component. Props in Svelte are passed using HTML attribute syntax. To see props in action, you can create a component that accepts props and pass them in from its parent component.
Start by creating a new Svelte component, Card, that you'll use to display some product information on your web page. Do this by making a new file named Card.svelte in the src/lib directory.
In Card.svelte, add the following:
{title}
{description}
${price}
Here you're using the $props() rune to retrieve the properties the parent component is passing to the Card.svelte component. You're also destructuring the title, description, and price props as variables to be used in the HTML section.
To pass these props to the Card component, add the Card component to your App.svelte file and pass in the expected values like regular attributes.
If you want to, you can provide a fallback value like this:
let { title = 'No Title', description = 'No Description', price = 0 } = $props();
You can even rename them:
let { heading: title = 'No Title', body: description = 'No Description', amount: price = 0 } = $props();
That's it! Now you know how to use basic props in Svelte.
Looping through lists in Svelte
Svelte uses an {#each} block to loop through/iterate over arrays of items.
An example of this is as follows:
Going back to your Svelte code project, to display multiple products, simply create an array for all of them, and render a Card component for each. Here's how to do it.
Declare an array of products in the App.svelte component, then, use the {#each} block to render a card component for each product in the HTML section.
Note: Be mindful of the {/each} closing tag (it’s not the same as the opening {#each} tag.)
A more succinct and scalable way to pass props to your component is to use the spread operator, which allows you to pass all props at once. For the card component, this means passing the entire product object in one go. Simply switch out the element above for this:
<Card {...product} />
This will perform exactly the same function as before, but as well as taking up less space, if the content of the product variable changes, you won’t need to update the props being passed into the component each time.
In the next section, we'll explore how to add styles to Svelte components.
Styling your Svelte app with CSS
Remember that styles are scoped to the component by default (rather than globally), including imported stylesheets. So, if you were to add this .button style to the App.svelte component’s <style> block, you wouldn’t see a change in the Counter component’s button yet.
If you want to apply your styles globally, you can add your style to the top-level component (in this case App.svelte) and encase it in a :global block.
This is one way to apply global styles, but once you start having many global styles, it's cleaner and more maintainable to add your styles to a CSS file (typically called app.css or global.css), and then import that file into your top-level App.svelte component.
Next, we'll look at state management in Svelte. You'll learn how to use the concept of “stores” in Svelte to manage shared state across different components.
Using Svelte's state management stores
State management is a complicated topic. In the React world, there are multiple competing libraries (Redux, Immer, React Query, etc) that each implement it differently. But Svelte uses a simpler way through built-in stores. Svelte stores help you share and manage state between components by storing data as values.
There are two kinds of Svelte stores:
1. Writable stores
A writable store is like a file with write access — you can read from it and write to it. In Svelte, you declare a writeable store using writeable() from the svelte/store library. You can add a writable store now by creating the file ./src/lib/state.svelte.js:
The hasTax variable is a boolean state store, which is exported to make it accessible from across the application’s components. They do this by importing the state.svelte file, like this:
We will shortly see how you can simply apply the $ character to the start of your store value, and Svelte will manage it.
2. Readable store
A readable store only allows you to read it, which you might want to do when you need to prevent some components from writing to the store.
A simple example might look something like this:
This would provide the static string 'My Svelte App' via a $ rune when used the same way as the writable store. While this is hardcoded here, it could be read from a data source and stored in the read-only store.
Using stores to manage tax
In your project, you can use a store to manage whether tax should be applied to the price of the products. Here's how you can use the hasTax store (created above) in ./src/lib/Card.svelte:
Import the hasTax store and use the $ prefix to automatically subscribe to the store. This allows the $hasTax variable to always contain the current value of the store and to be immediately updated whenever the store's value changes. In the HTML, we use the $hasTax value to conditionally apply the tax to the price.
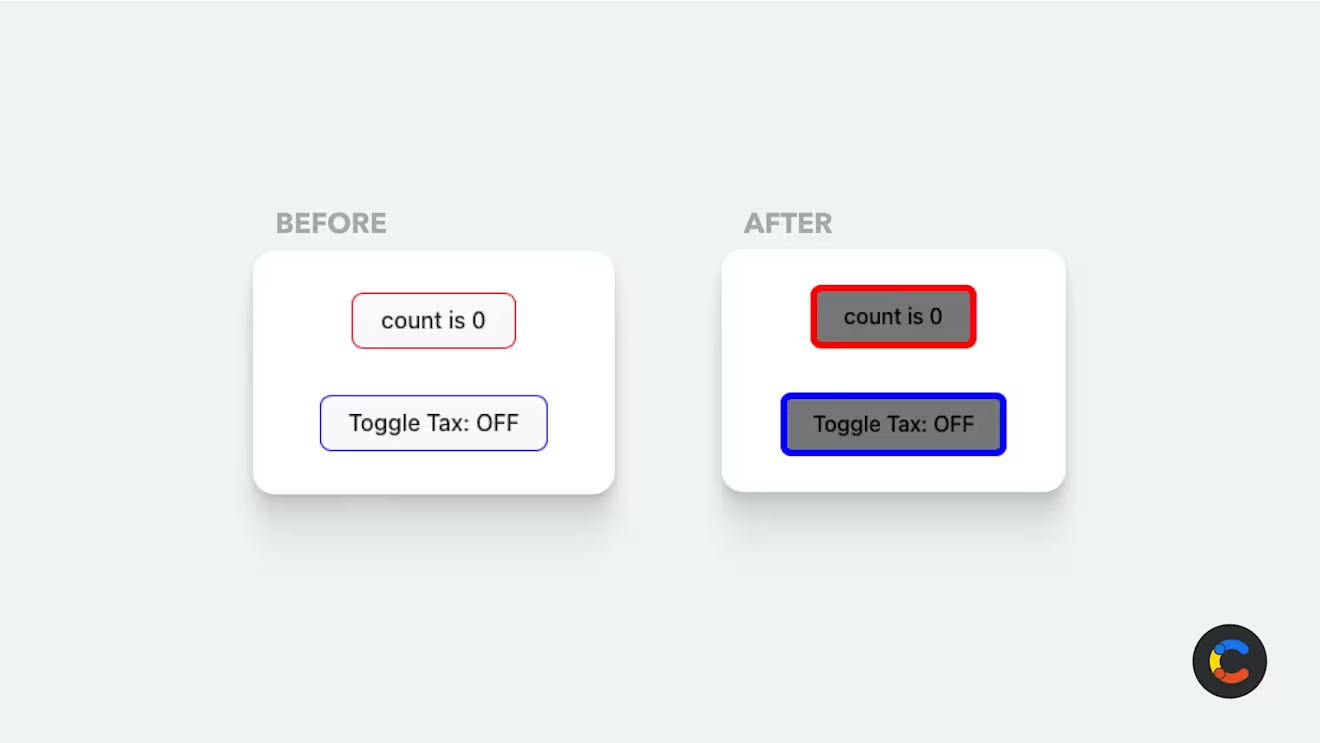
You can choose to display the price with or without tax by using a toggle. Add a new component called ./lib/TaxToggle.svelte and use it in ./App.svelte. This component is quite simple and just writes to the store by setting the $hasTax rune store value:
This Svelte 5 feature of using runes to access the store makes it very convenient to read and write store values.
Powering your Svelte app with real content
Now that you've learned how easy it is to build simple and elegant front ends with this Svelte tutorial, the next step is to add content to your site. Pairing Svelte with Contentful makes sense when you have large amounts of content (like products, or blog posts) that non-technical staff need to regularly update.
Contentful allows marketing staff to manage your content and provides REST and GraphQL APIs to integrate it into your Svelte app. Check out our Sveltekit Starter for more help with Svelte and to get started using it with Contentful.

Inspiration for your inbox
Subscribe and stay up-to-date on best practices for delivering modern digital experiences.
Meet the authors

David Fateh is a software engineer with a penchant for web development. He helped build the Contentful App Framework and now works with developers that want to take advantage of it.

Alvin is a developer advocate and creative coder, formerly with Contentful. He's worked on many things like games, charts, 3D graphics, marketing sites, data visualizations, design systems, and maps.
Related articles

Next.js Middleware guide, tutorial, and code examples
July 6, 2025

Mastering GraphQL filters
April 7, 2025

Blazor vs. React: Choosing a frontend framework
June 16, 2025
