What is Astro? All about the JS framework of all frameworks

Astro is an open-source web framework. It’s focused on performance and content-heavy websites like landing pages, blogs, technical documentation, and more.
Like Next.js, Sveltekit, Nuxt.js, and SolidStart, Astro has its own single-file components (which leverages the island architecture, more on that in a bit) and handles the build process for you.
This post is a tour of Astro and its features. We’ll use a website for an imaginary conference as the basis of a mini tutorial. And as always, you can find the complete code on GitHub.
Ready? Let’s get started! This is 100% compatible with Astro v3.
Astro outputs zero JavaScript by default
Unlike some other frameworks, Astro is HTML-first, outputs zero JavaScript by default, and supports both static site generation (SSG) and server-side rendering(SSR).
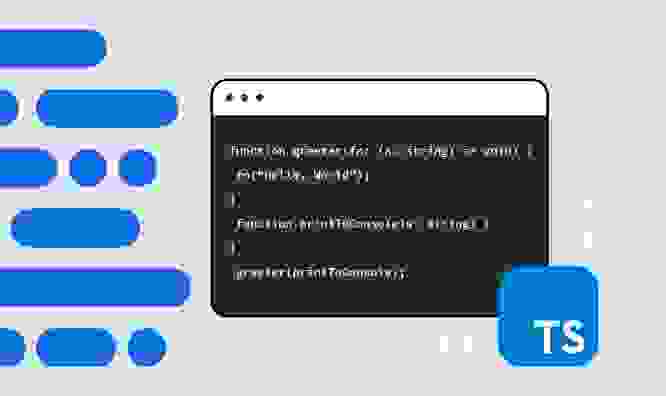
Astro components are similar to Svelte: JavaScript, HTML, and CSS are clearly separated. It doesn’t use JSX. For example:
The framework of all frameworks
I like thinking of Astro as “the framework of all frameworks,” not in terms of dominance but of compatibility. Astro is unique among the JavaScript frameworks in that it supports other UI frameworks.
That’s right, you can import components written in React, Preact, Svelte, Vue, Lit, or Solid directly into Astro, and even mix them within the same file.
Yes, this works. It’s incredible. And it's all possible with the following command:
npx astro add @astrojs/react @astrojs/svelte @astrojs/vue
And, because Astro outputs zero JavaScript by default, the bundle size does not increase for each new framework. Each component gets server-rendered and turned into static HTML.
Interactivity and islands 🏝️
If you want interactivity, you need to add the client:load directive, and then the framework’s runtime will be loaded client-side. This is an implementation of what’s called “island architecture”
The idea of island architecture is to build websites that are static-first, and restrict interactivity (and the JavaScript associated with it) to specific parts. These parts are isolated “islands” and are loaded after the main content, which remains static.
Astro components
As we saw earlier, on top of letting you reuse components created in React, Svelte, and other frameworks, Astro has its own component system. Let's dive into how they work.
Here’s what a component for a basic conference talk would look like:
The front matter contains JS that the server will run, and then send the resulting data to the HTML.
Our component expects a name and a time property, which we’re setting up using Astro.props and giving it default values ("Learn Astro" and "2023-09-23T13:30:00"). Then, we're using those values in our HTML with {}, like in Svelte or other template files. This is just an example.
Passing values
We can pass values/props from a parent component to a child component, like so:
File-based routing
Similarly to other frameworks, the file structure in your src/pages directory translates into the pages of your website. Here’s an example folder structure for our Astro site:
Our index.astro file from before will become the index file of our website. Now what’s that about.md file? We'll see this in the next section, but before let's talk about dynamic routing.
Dynamic routing
In a lot of scenarios, you don't want to be creating single files for every page of your website. Your content might come from the API of a headless CMS or content platform (like, you know, Contentful) or you could be using any kind of dynamic data.
That's called a dynamic route, and Astro supports this using a [] syntax in the filename. To learn more about it, check out the Astro docs.
Markdown, MDX and layouts
Remember the directory structure above? Astro lets you turn markdown and MDX files directly into pages on your website. All you have to do is specify a layout value in the front matter.
An about page as a markdown file would look like this:
Now what's that layout property about?
Layouts
In Astro, (like Svelte and Qwik) you can use a <slot> element to specify where the children of a component should be inserted.
For example, it's common to have a component that contains your base HTML, the navigation, and the footer.
A layout component is technically just like any other component, but it's made exclusively to contain others.
MDX
Astro supports MDX via an integration. MDX is "Markdown for the component era" which allows you to insert components into your Markdown documents.
In the case of Astro, the <Chart /> component above will be an Astro component.
You can enable the MDX by installing the integration using the following command:
npx astro add mdx
There's a lot more you can do with MDX; again, you can check out the Astro docs to find out more.
Content collections
Let's continue with a hypothetical Astro project for a conference website.
You've created a Markdown file for each talk. The file looks like this:
Now, scale this to 20 talks. What happens if, in one of the files, you typed "titlr" instead of title? Your build process might break, or someone's talk title might not be shown.
It would be great if the framework could warn you about these things, right? This is where Content Collections in Astro come in.
Content Collections adds types, required properties, and many other features that make working with Markdown files a lot less error-prone.
Let's turn our example into a content collection.
1. Setup the content folder
Create a new folder named content in the src directory, like so:
In that folder, add your Markdown files
2. Configure your collections
Now, create a config file in ./src/content/config.js. (This can be a TypeScript file too.)
Now that our talks are defined as a collection, we need to slightly tweak the code to display them in your app.
3. Update your code
Update your component code so it looks like this:
References
References are a perennial problem with working with Markdown files. To use our conference website as an example, if we have a collection of talks that all have a speaker's name attached to them, our Markdown front matter would look like this:
But what if a speaker is giving two different talks? Or what if you want to have a dedicated speaker page on the website for each speaker with their details? This is the same problem that blogs face with their authors. The answer is either duplicate information (like using the speaker's name twice), or create some kind of ID for the speaker to use in one file, reference it in the other, and code something to make it work.
Astro takes care of this for you in Content Collections.
First let's create a second collection for our speakers, so that our config file looks like this:
Create at least one Markdown file for a speaker in ./src/content/speaker.
Then, add a reference to your talk collection in your config file.
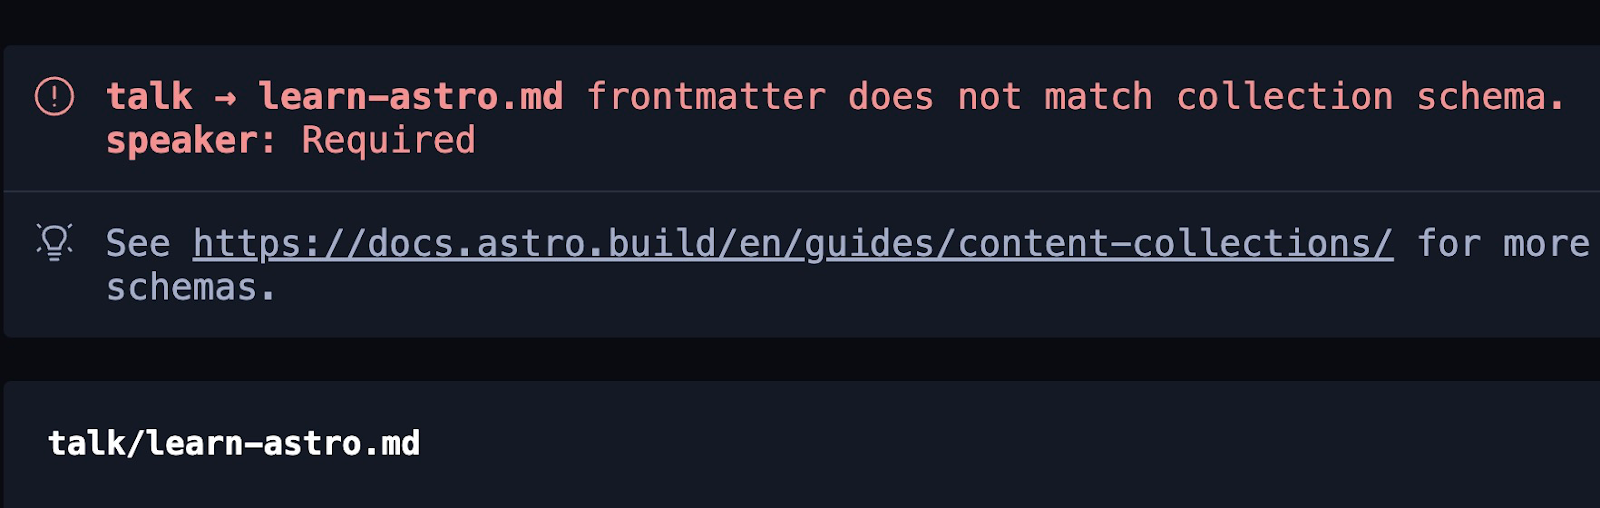
Now, if you forget to add a speaker to your talk's markdown, Astro will tell you and show you a (helpful!) error message:
Markdoc
Content Collections also let you use Markdoc, which is kind of like MDX.
Markdoc is another Astro integration that lets you add Astro components to your Markdown using a shortcode syntax.
Custom components are wrapped in tags that look like this: {% tags %} .
This is what a Highlight component in Markdoc would look like:
Hybrid rendering
First, our conference website was a bunch of scattered Markdown files. Next, we gave it structure using Content Collections. Then we added complexity by catering for the case "What if you need references?"
Now, let's add another layer of complexity. What if you need a dynamic page that relies on an API? What if you want to show the current weather forecast at the conference? You can't rebuild your whole site every time the forecast changes, right? (Especially if you live in Northern Europe).
Enter: Hybrid Rendering.
With Hybrid Rendering, you can specify which of your routes should be static and which should be dynamically rendered on the server.
1. Enabling Hybrid Rendering
You enable Hybrid Rendering by adding output: "hybrid", to your global Astro config file ./astro.config.mjs, where all your integrations are. (Not to be confused with the ./content/config.js file that we created earlier).
In production, you'll have to use an SSR adapter, which could be Vercel, Deno, or anything else the Astro team is kind enough to provide for us.
Once it's enabled, everything should continue to work as normal, because static site rendering is the default.
2. Creating a new page
Let's create a new "venue" page for our conference and request some dynamic data for it.
3. Adding dynamic data
Now, let's call an API to get the sunrise and sunset times at our hypothetical venue. This a basic and contrived example, but it's just to give you an idea of what you can do with this technology.
Here's the final file.
And that's all folks! We've gone on a little tour of Astro framework with all its funky features, and we've created a website to support an imaginary conference. That should be plenty to get you started. And don't forget you can find the complete code on GitHub.
More resources on Astro framework