Content sources
Overview
A content source is the connection between your Content Management System (CMS) project and Contentful Personalization. Contentful Personalization syncs your audiences and experiences so the Experience API knows which Audiences and Experiences to assign to a profile.
Contentful Personalization environments
Your Contentful Personalization account comes with two environments: a main and a development environment. Profiles, Audiences, and Experiences from content source connections are specific to each environment. The drop-down on the top left of the app dashboard indicates which Contentful Personalization environment you are currently viewing.
environment property you supply matches the Contentful Personalization environment you created.
Set up your first content source connection
To set up your first content source:
- Log in to the Ninetailed legacy app.
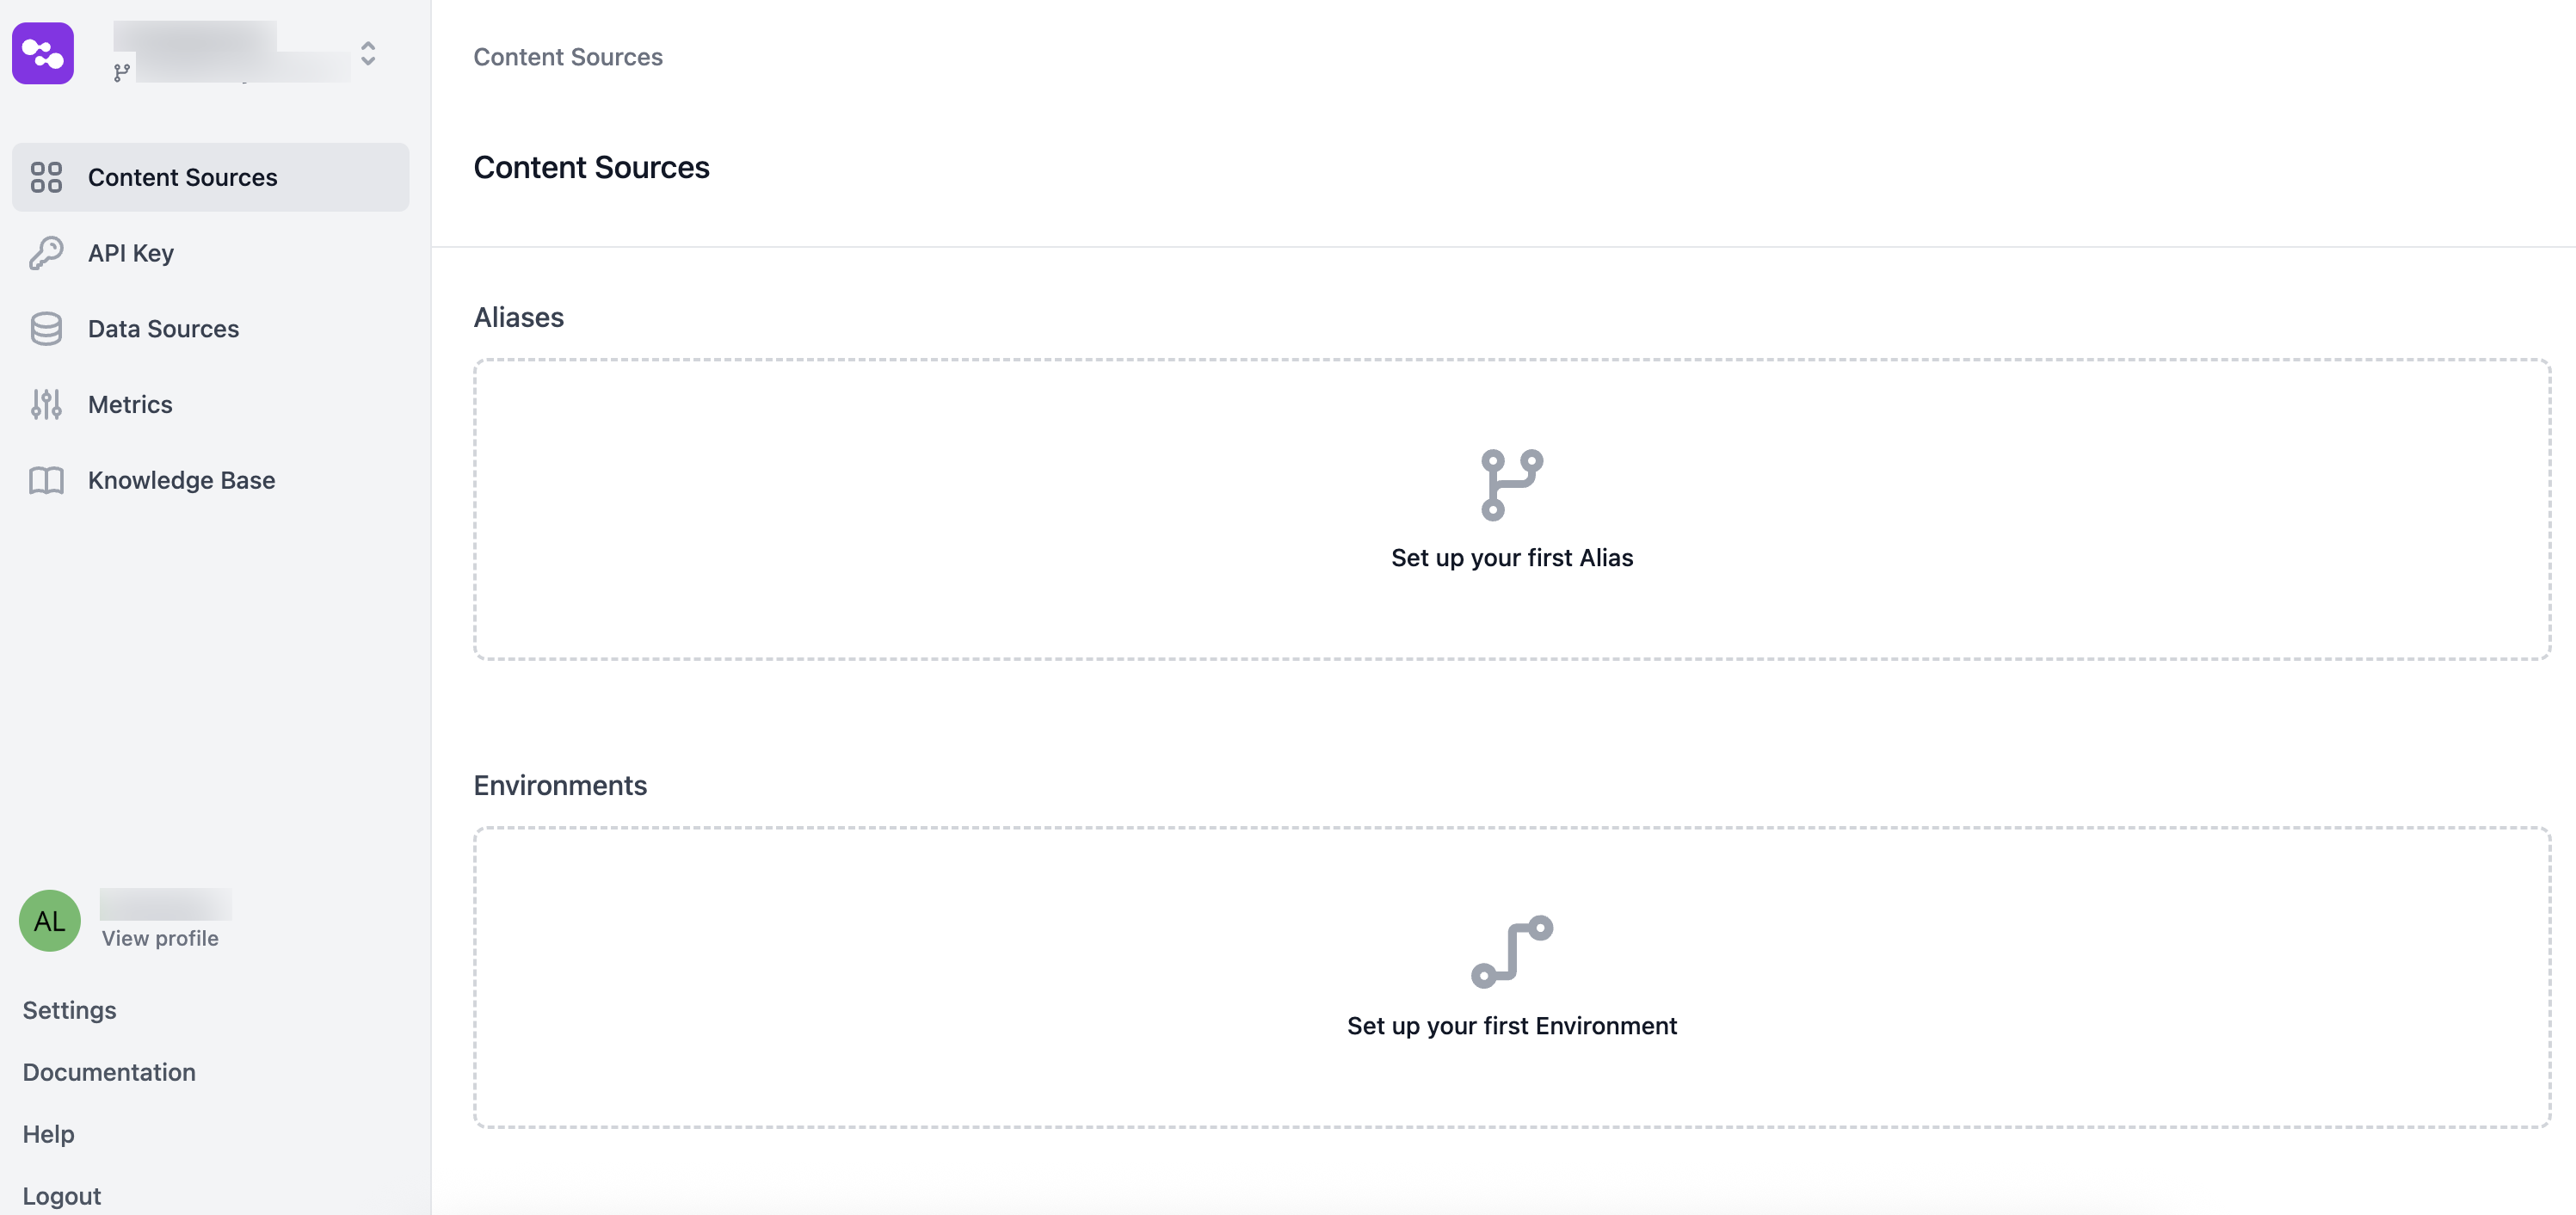
- Navigate to the "Content Sources" page.

- Click Set up your first Alias or Set up your first Environment. The list of supported CMSs is displayed.
- Select your content source. The authentication page is displayed.
- Select the Region for your project, and click Authenticate.
- Authorize the connection with your CMS, by logging in to your account. Once the authorization is complete, the list of available environments is displayed.
- Choose the environment where you want to install Contentful Personalization.
- Optional: When prompted to create the connection, you can toggle off installing Merge Tags if you have a limited number of content types you can use within your Contentful environment.
- Enter a name and, optionally, a description for the connection.
- Click Create Content Source. The content model of the selected project is extended with the following content types: Audience, Experience, and Merge Tag (unless toggled off when creating a Contentful connection).
Create a new connection
To create a new connection:
- Log in to the Ninetailed legacy app.
- Navigate to the "Content Sources" page.

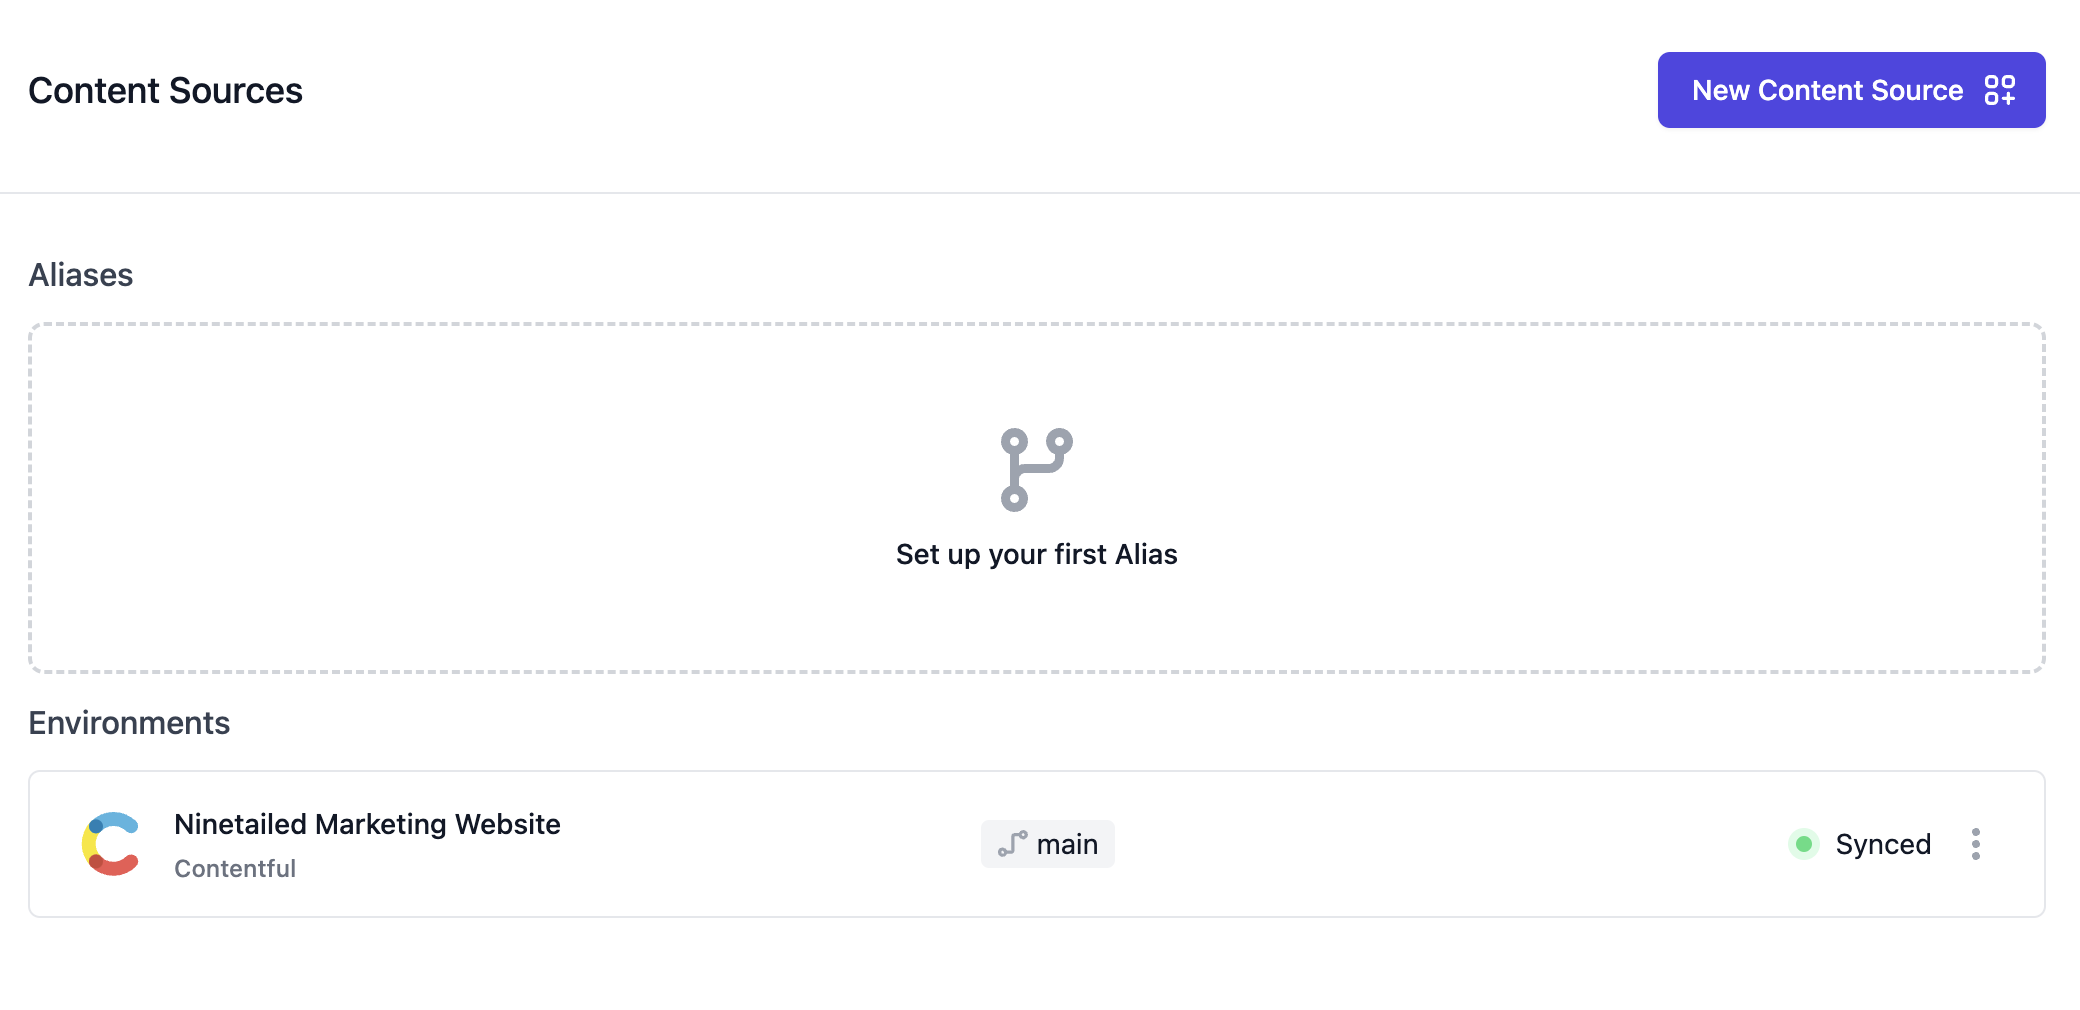
- Click New Content Source. The list of supported CMSs is displayed.
- Select the content source. The authentication page is displayed.
- Authorize the connection with your CMS, by logging in to your account. Once the authorization is complete, the list of available environments is displayed.
- Choose the environment where you want to install Contentful Personalization.
- Optional: When prompted to create the connection, you can toggle off installing Merge Tags if you have a limited number of content types you can use within your Contentful environment.
- Enter a name and, optionally, a description for the connection.
- Click Create Content Source. The content model of the selected project is extended with the following content types: Audience, Experience, and Merge Tag (unless toggled off when creating a Contentful connection).
Connect to an alias
Contentful Personalization allows you to connect to an environment alias. Contentful encourages using environment aliases to make it easier to publish and roll back your configurations and content.
To connect an environment alias with Contentful Personalization, navigate to the "Content Sources" page, and click Set up an Alias.
Ninetailed Experience or Ninetailed Audience entries and publish it, or click Sync content sources in your Contentful Personalization dashboard.
If your CMS is currently not supported, let us know by filling in our survey or getting in contact with us on how to use our API for non-CMS content.
Add Experiences to content types
Next, extend your content model to support Personalizations and Experiments. While the content types are similar across the content management systems that Contentful Personalization connects to, the steps to extend a content model in each CMS varies.
To add experiences to content types in Contentful:
- Log in to the Ninetailed legacy app.
- Navigate to the "Content Sources" page.
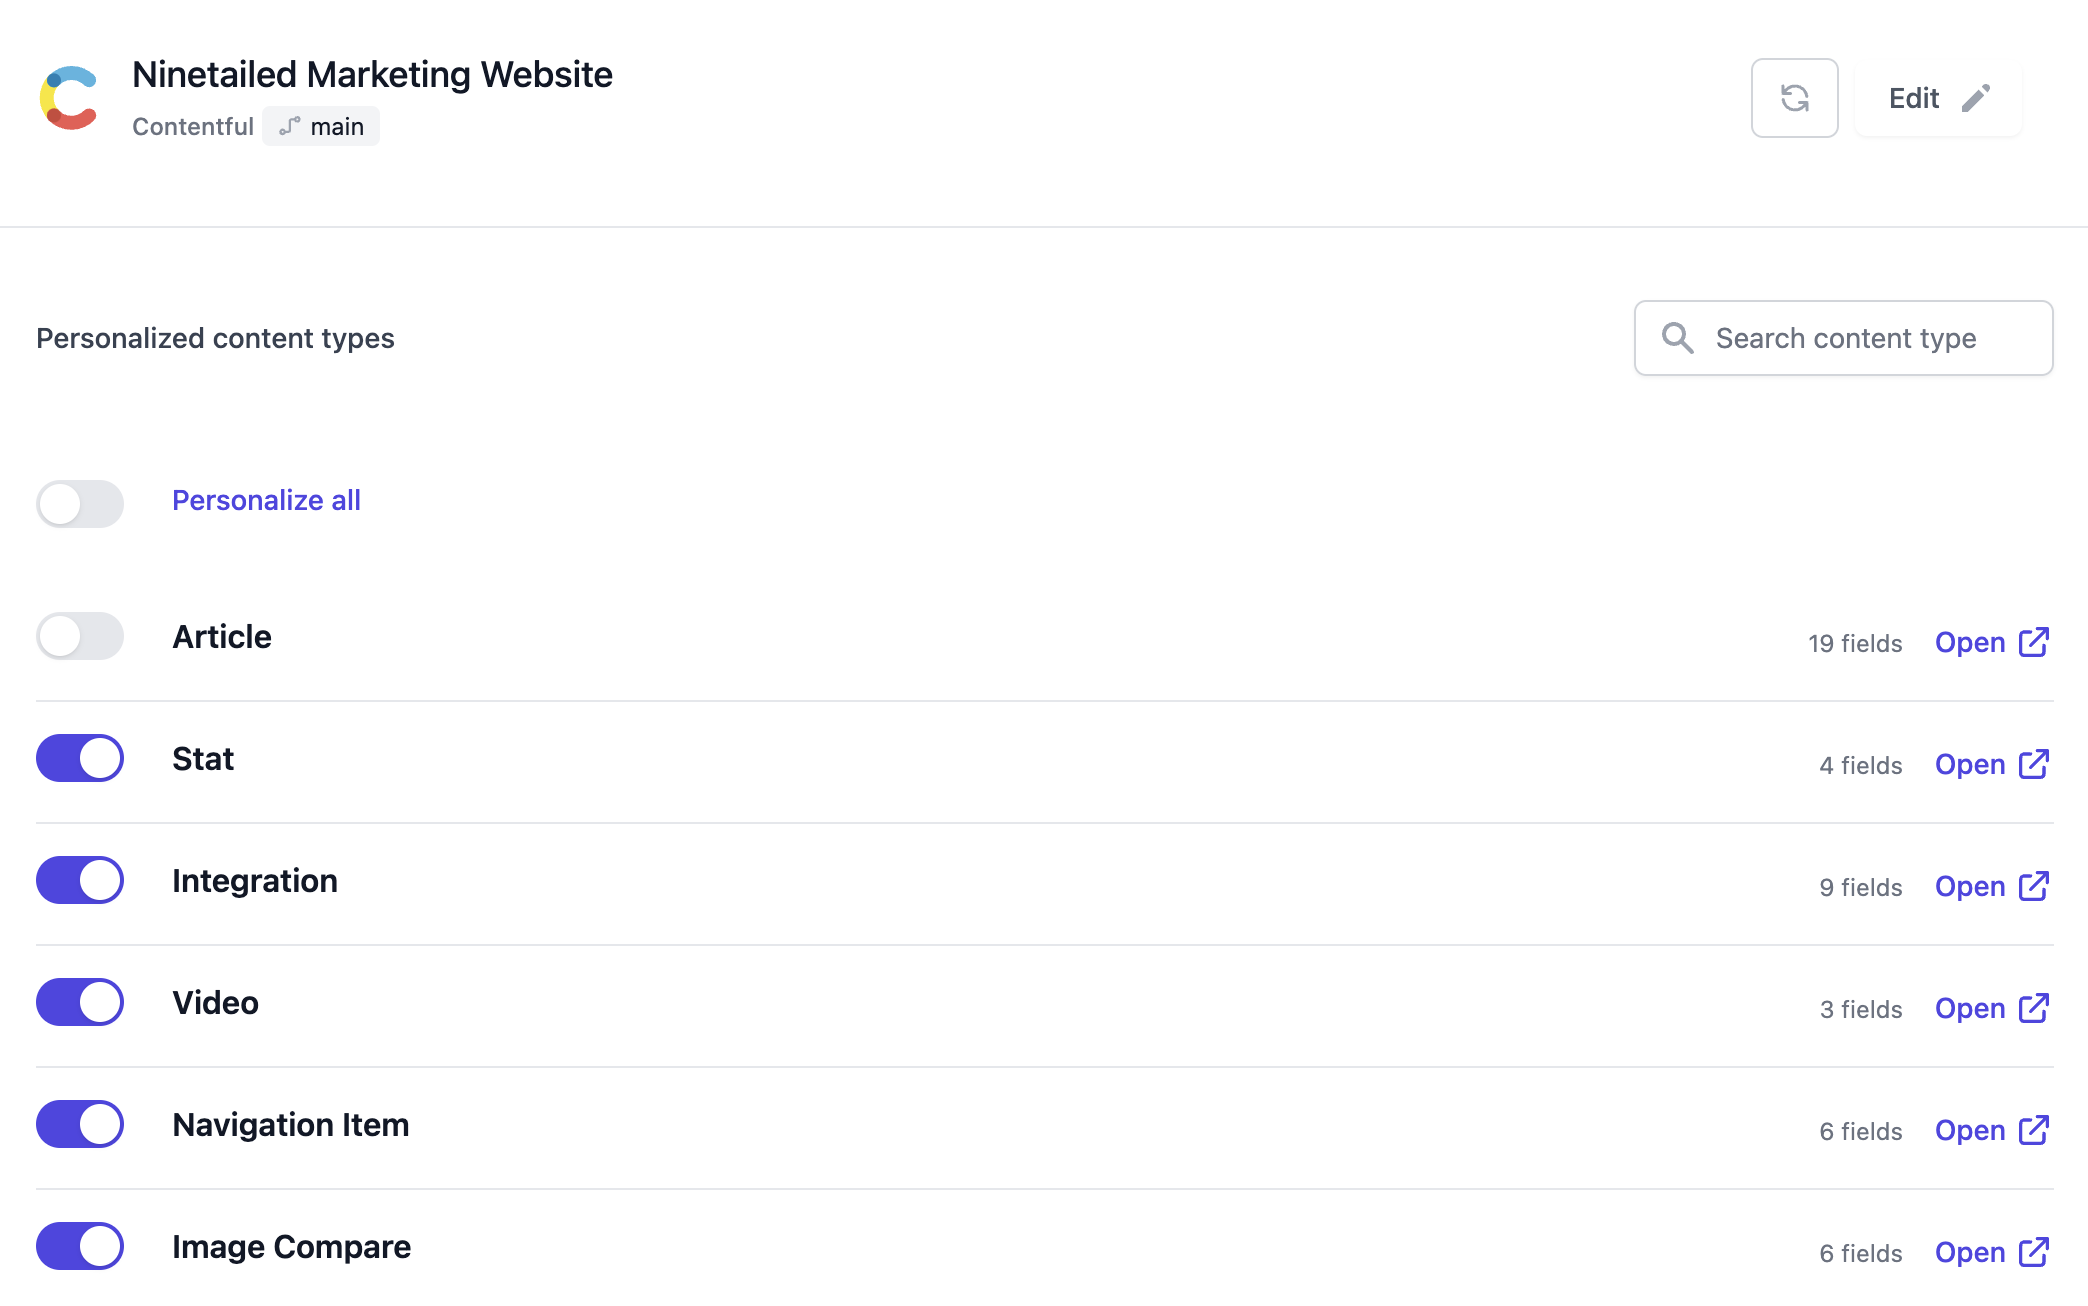
- Select the content source for which you want to add Experiences to content types. The "Personalized content types" page is displayed.

- Select the content types to which you want to add Personalizations and Experiments.
- Click Personalize Content Types. This extends your content model to include a one-to-many reference field on those content types entitled "Ninetailed" (field name
nt_experiences) that will reference entries of type "Ninetailed Experience".
Next steps
You can now create Audiences and Experiences in your connected Content Source. To render them in your front-end, make sure you set up your delivery. We also recommend adding your data connectors and configuring Insights to measure performance.
