Images
Images are a powerful way of explaining concepts, attracting a reader’s attention and creating an impact. Contentful has a separate Images API that helps you add and retrieve image files in spaces, but also offers manipulation features to make images look how you want.
Note: As per the Technical Limits specifications, size of an image uploaded must not exceed 100MB. Images exceeding the size limit are treated as assets and the manipulation features offered by the API are not applicable.
To best understand how to manipulate images it is recommended that you create a space (may result in additional charges if the free spaces available in your plan are exhausted.) filled with content from the ‘Photo Gallery’ example space.
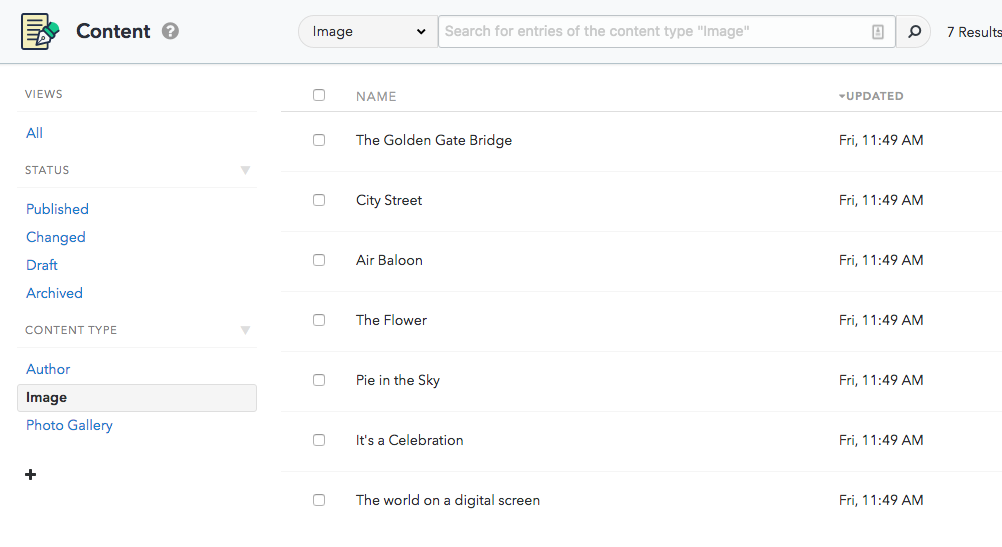
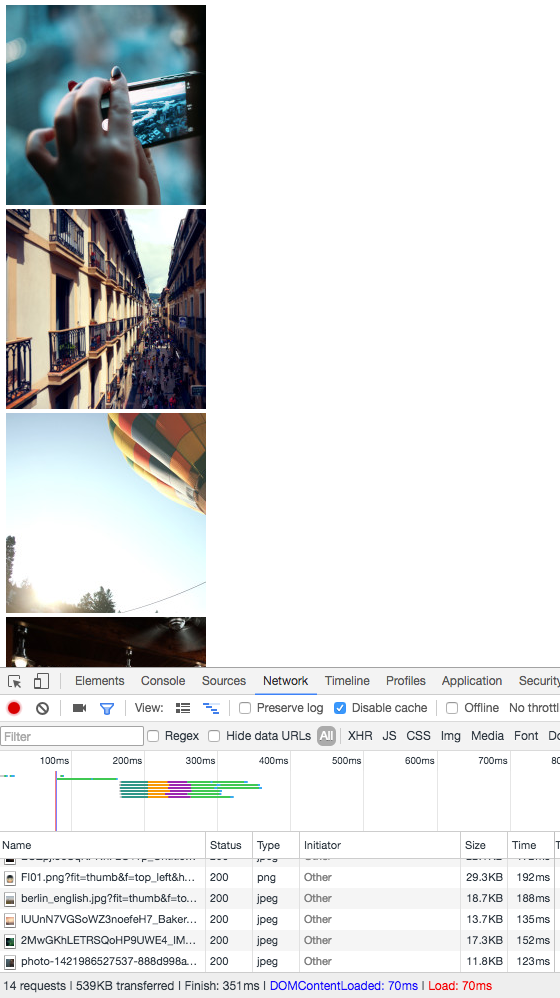
If you switch to the Media tab you will see the images in the space, note that most of them are large, requesting and loading each of these into your app will be a significant network and memory hit, ideally you want to request images at the size you need them.
Typically you retrieve images from the context of one or more entries, or by assets directly. To make it clearer we will use a small JavaScript application to show Contentful’s image features and how image assets relate to content entries.
Retrieve assets and image url
Read how to setup and authenticate a JavaScript app, and then fetch the assets from the space, constructing an URL for the image file.
Create a skeleton index.html file to display the images. The example below uses browserify (webpack is also usable) to package the client library for use in a browser.
Populate page with images
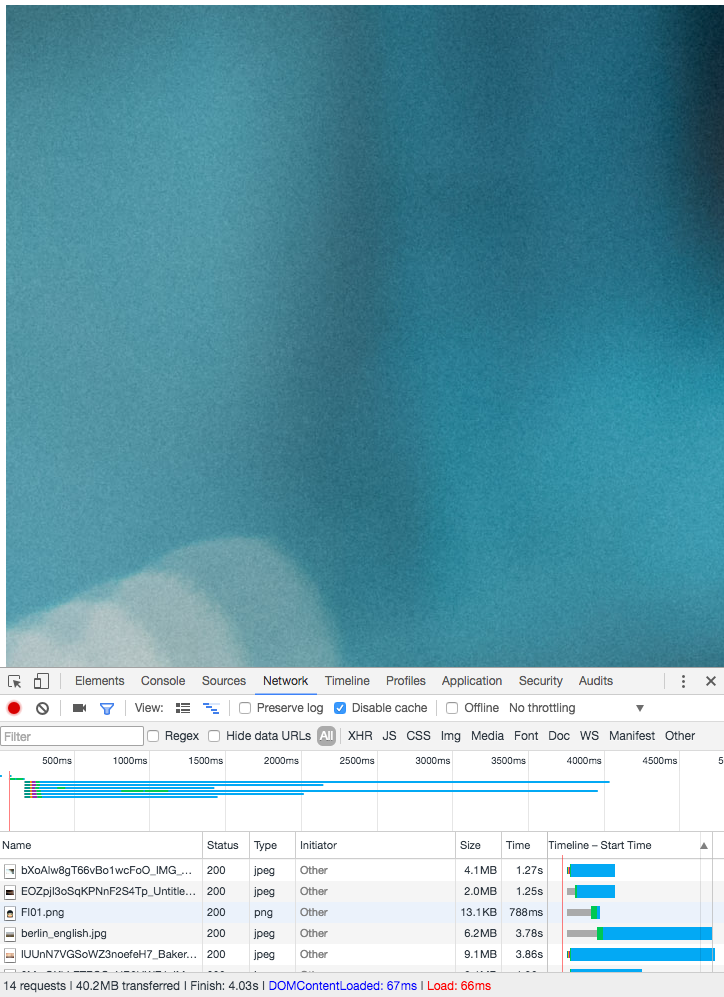
Inside the forEach loop, create an image element for each asset, div elements to contain them, and populate the images div with them.
This results in a page of large images, in terms of dimensions and file size.
Now you have the structure ready, it’s time to experiment with Contentful’s manipulation features.
Resizing images
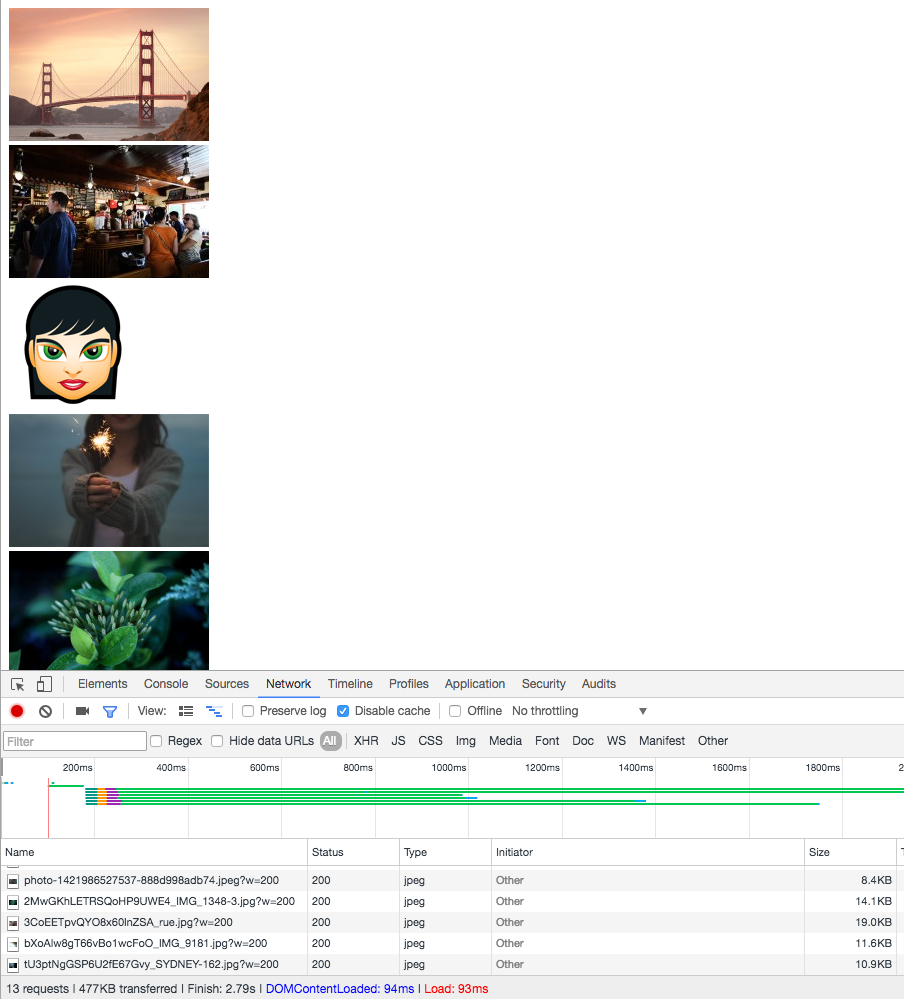
You can resize images by adding a parameter to the image url that sets a width, but will also maintain aspect ratio.
Setting both the width and height of an image will still maintain the aspect ratio, so the code below will generate the same output as the previous example and possibly not the exact size you expect.
If you want to override this behavior, you can use the fit parameter to control what part of the image Contentful returns.
This example creates a thumbnail of the image from the top left corner of the image.
The fit parameter can take other values to change this behavior and suit your use case, read more about what’s possible in the Images API guide.
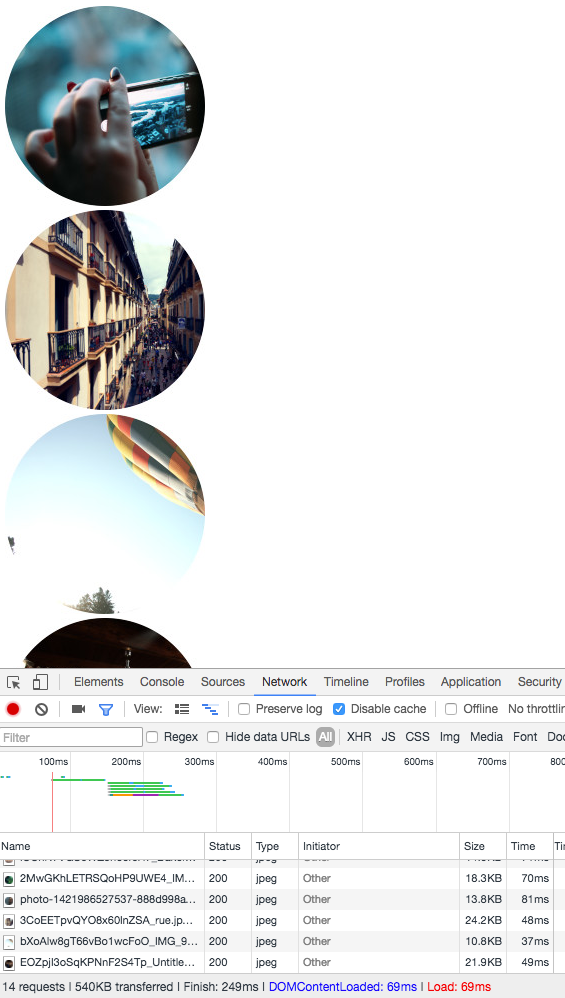
When you crop or resize an image you can round the corners with the r parameter. If you want to generate rounded images without resorting to CSS, set the value to 180.
Adding your own images
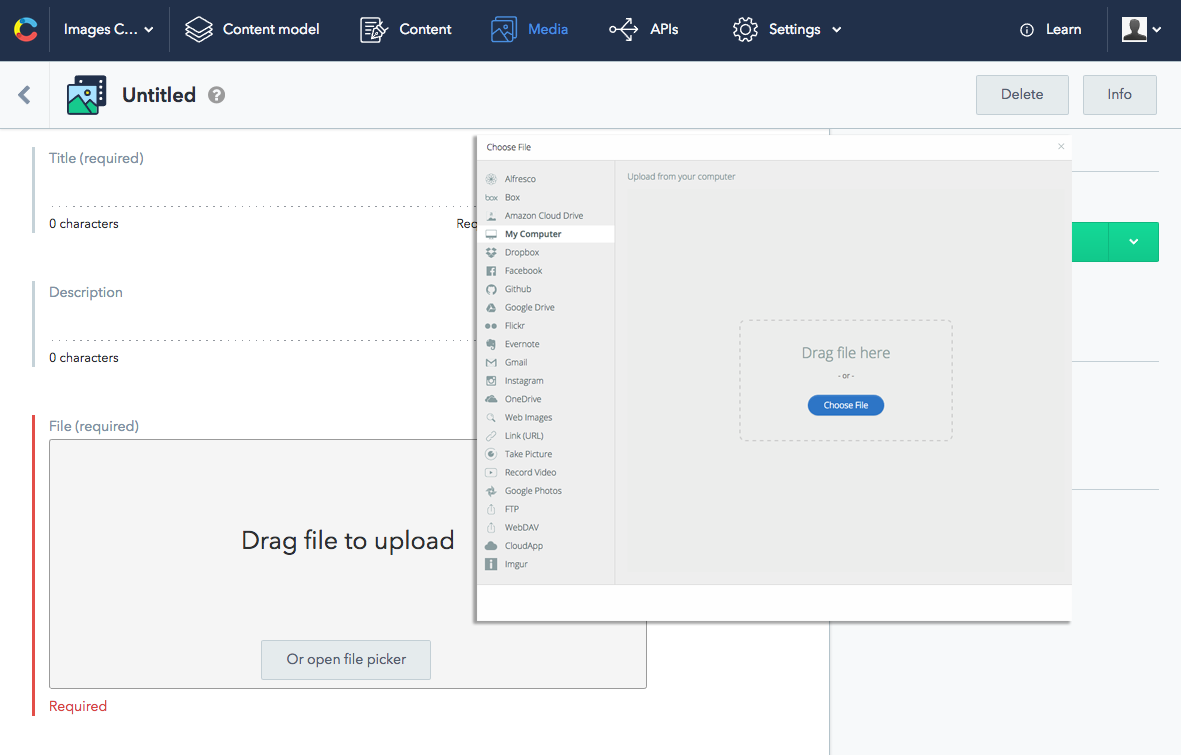
You can add images to your spaces using the web app, which provides a comprehensive variety of methods for uploading files.
Adding images via the content management API involves three separate API calls, which all client libraries expose:
- Creating an asset, which is an entry for the media file.
- Processing an asset, Contentful downloads the media file from the URL supplied and processes it.
- Publishing an asset, making the entry and media file publicly available.
Creating an asset
Authenticate and create a Contentful client, this time using the management client library as you want to create content.
Get the space and environment you want to add an asset to.
Inside the .then method create the data object that contains information about the image you want to upload to Contentful, including the title for the asset, and data about the image file itself.
Create the asset in the environment:
This will create an asset ready to process and publish inside the .then method:
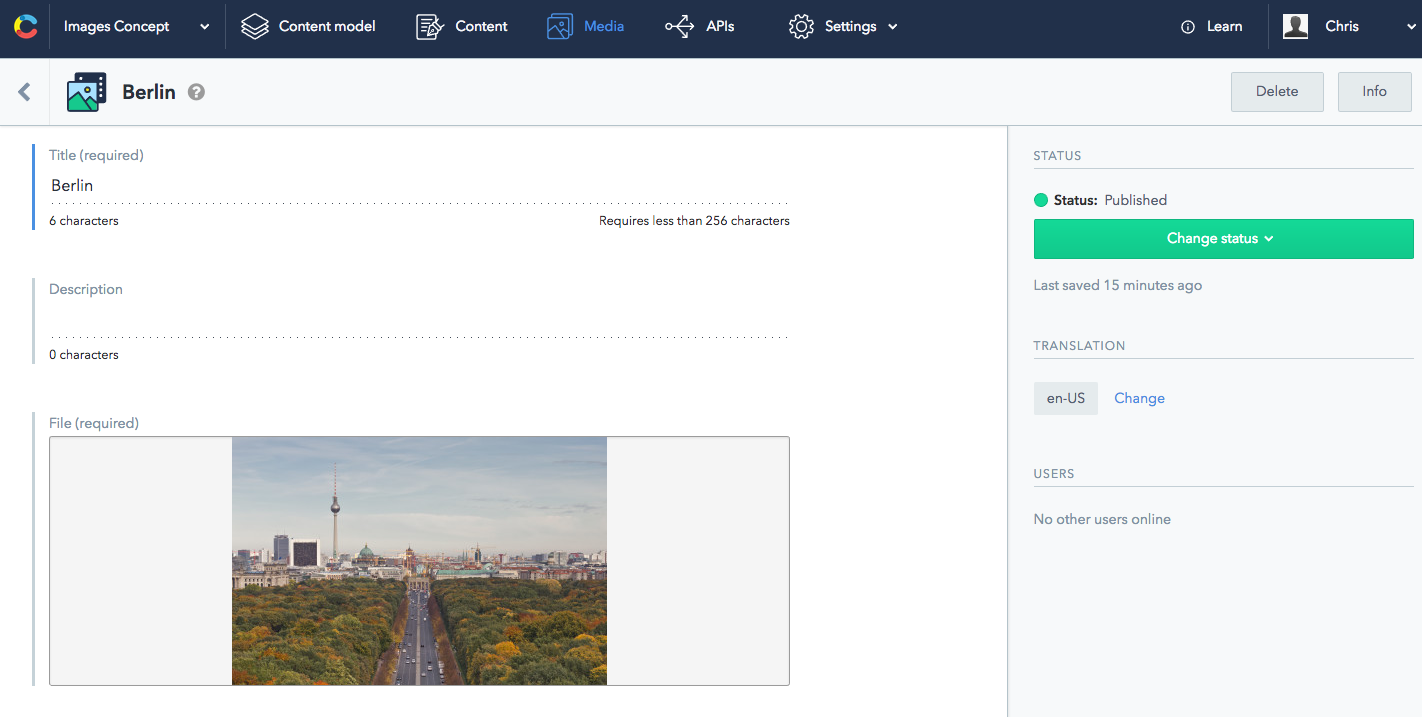
Open up the space and you will see the new image inside.
If you load the images page you made earlier again you will also now the see the new image listed alongside the existing images.