Overview
Experiences by Contentful Studio allow you to compose reusable layouts together using predefined components built by Contentful or your development team.
Once the layouts are built by the marketing and content team, you can pull those content-bound, styled, custom experiences into your front-end app.
This creates a nice separation of responsibility between who develops the components, who builds the experiences and layouts, who binds content, and who integrates the experiences into the front-end app even if they’re done by the same person or team.
Personas
Experiences is built with the following personas in mind:
- Developer: Responsible for setting up the front-end app, integrating it with Experiences (such as configuring the preview URL, installing the SDK, creating custom component definitions), and applying design styles for the Marketer to use.
- Designer: Collaborates with the Developer to design custom components and define design styles. May also work with the Marketer to help outline layouts and experiences that the Marketer will assemble.
- Marketer: Responsible for assembling layouts using the available components and design styles to create the final experience.
- Editor: Responsible for binding content to the experience built by the Marketer.
Note about the developer’s role in Experiences:
Experiences empowers marketers, designers, and editors to manage layouts and content independently. However, developers remain essential for configuring integrations, creating custom components, and ensuring a sound technical foundation. Rather than replacing the developer’s role, Experiences enhances collaboration by allowing each team member to contribute within their expertise, creating a cohesive and efficient workflow across roles.
How Experiences can support you and your team
The primary purpose of Experiences is to shift the responsibility of building composed layouts, called experiences, from the developer to the marketer through Experiences UI. This enables clear divisions of responsibility among the four personas, with simplified dependencies between internal teams. Experiences help you with the following tasks:
- Make instant updates to your front-end experience without developer involvement.
A marketer can use Experiences UI to edit layouts and publish changes independently, similar to how an editor updates content entries in the Contentful web app without involving the development team. This allows non-technical personas to make critical changes in their front-end experiences without having to run through the entire development lifecycle. - Divide responsibilities.
With the marketer responsible for constructing layouts, the development team can focus on building basic or complex component building blocks without needing to assemble and orchestrate entire pages. Meanwhile, the editor can concentrate on updating content entries independently of the layout, and the designer can collaborate with the developer and marketer on design styles and layouts. This separation of responsibilities enables each persona to make targeted contributions, leading to a greater return on their efforts. - Reliable storage.
Experiences store all created experiences, serving as a repository for layouts that can be pulled into different front-end apps. You can reuse your custom layouts in various UI frameworks instead of duplicating them across multiple projects.
Set up Experiences
Experiences setup involves the following main stages:
- Setup in the Contentful web app:
- Enabling Experiences in spaces - Select up to three spaces in which you would like to be able to create experiences.
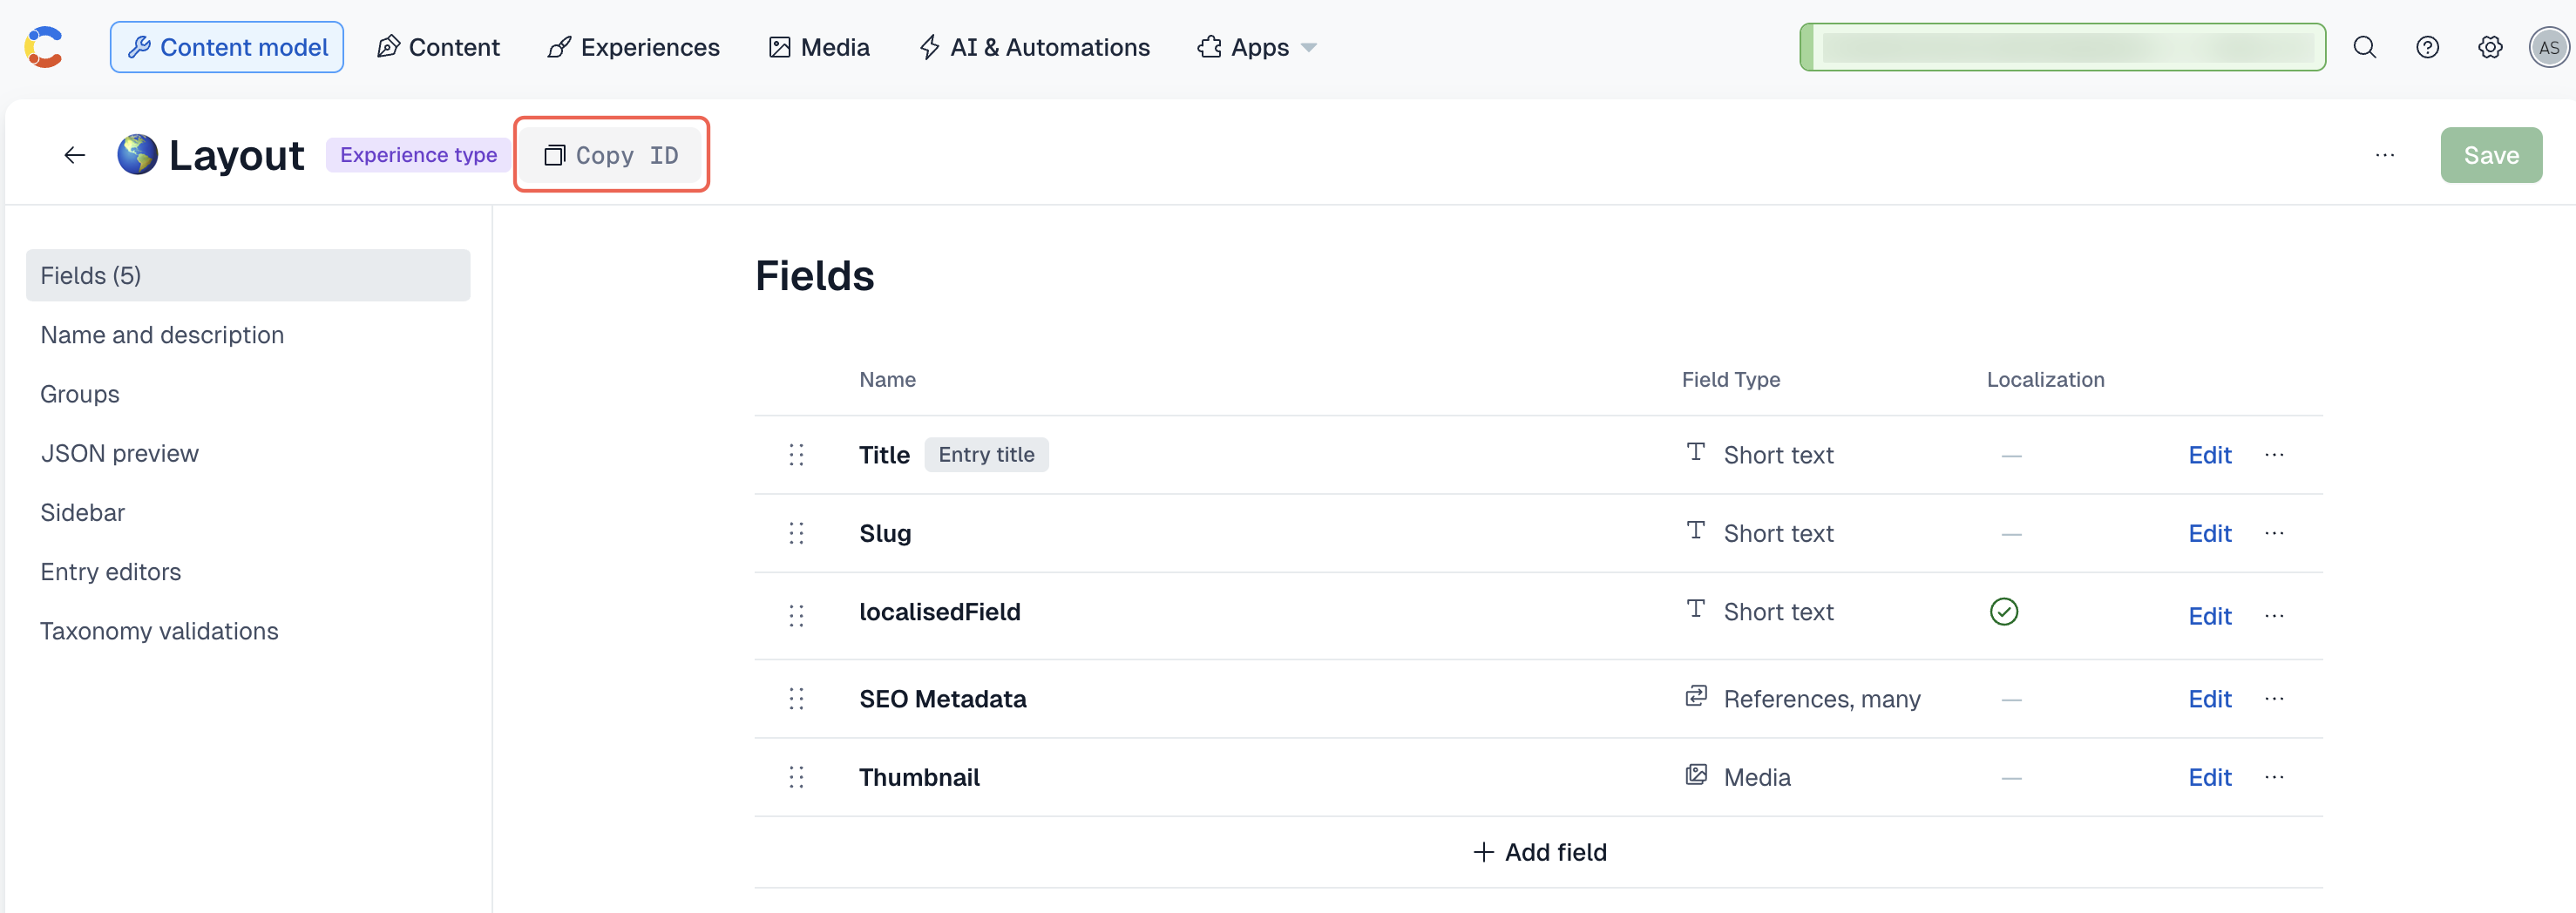
- Configuring in Contentful web app - Go through Experiences setup process to set a preview URL and generate an underlying content type for each new Experience type you create. To get the experience ID, log in to the Contentful web app, open the specific content model and click Copy ID.
Only organization administrators can set up Experiences in Contentful.
- Project setup:
- Installing and configuring Experiences SDK - Install the Experiences SDK and provide the parameters to enable it.
- Registering custom components and design tokens - Import your design system components and register your design tokens.
Query Experiences through the API
The structure of the experience object is identical to that of the entry object. Experiences are queried through the Contentful APIs as entries. During setup, a dedicated “Experiences” content type is generated per space.