Set up content preview
What is content preview?
Content preview allows you to preview content created in a Contentful space either in a local or an online version of your website or app. This feature makes it possible to add single or multiple content previews, preview draft and published entries, and select which content types can be previewed.
There are the following preview modes:
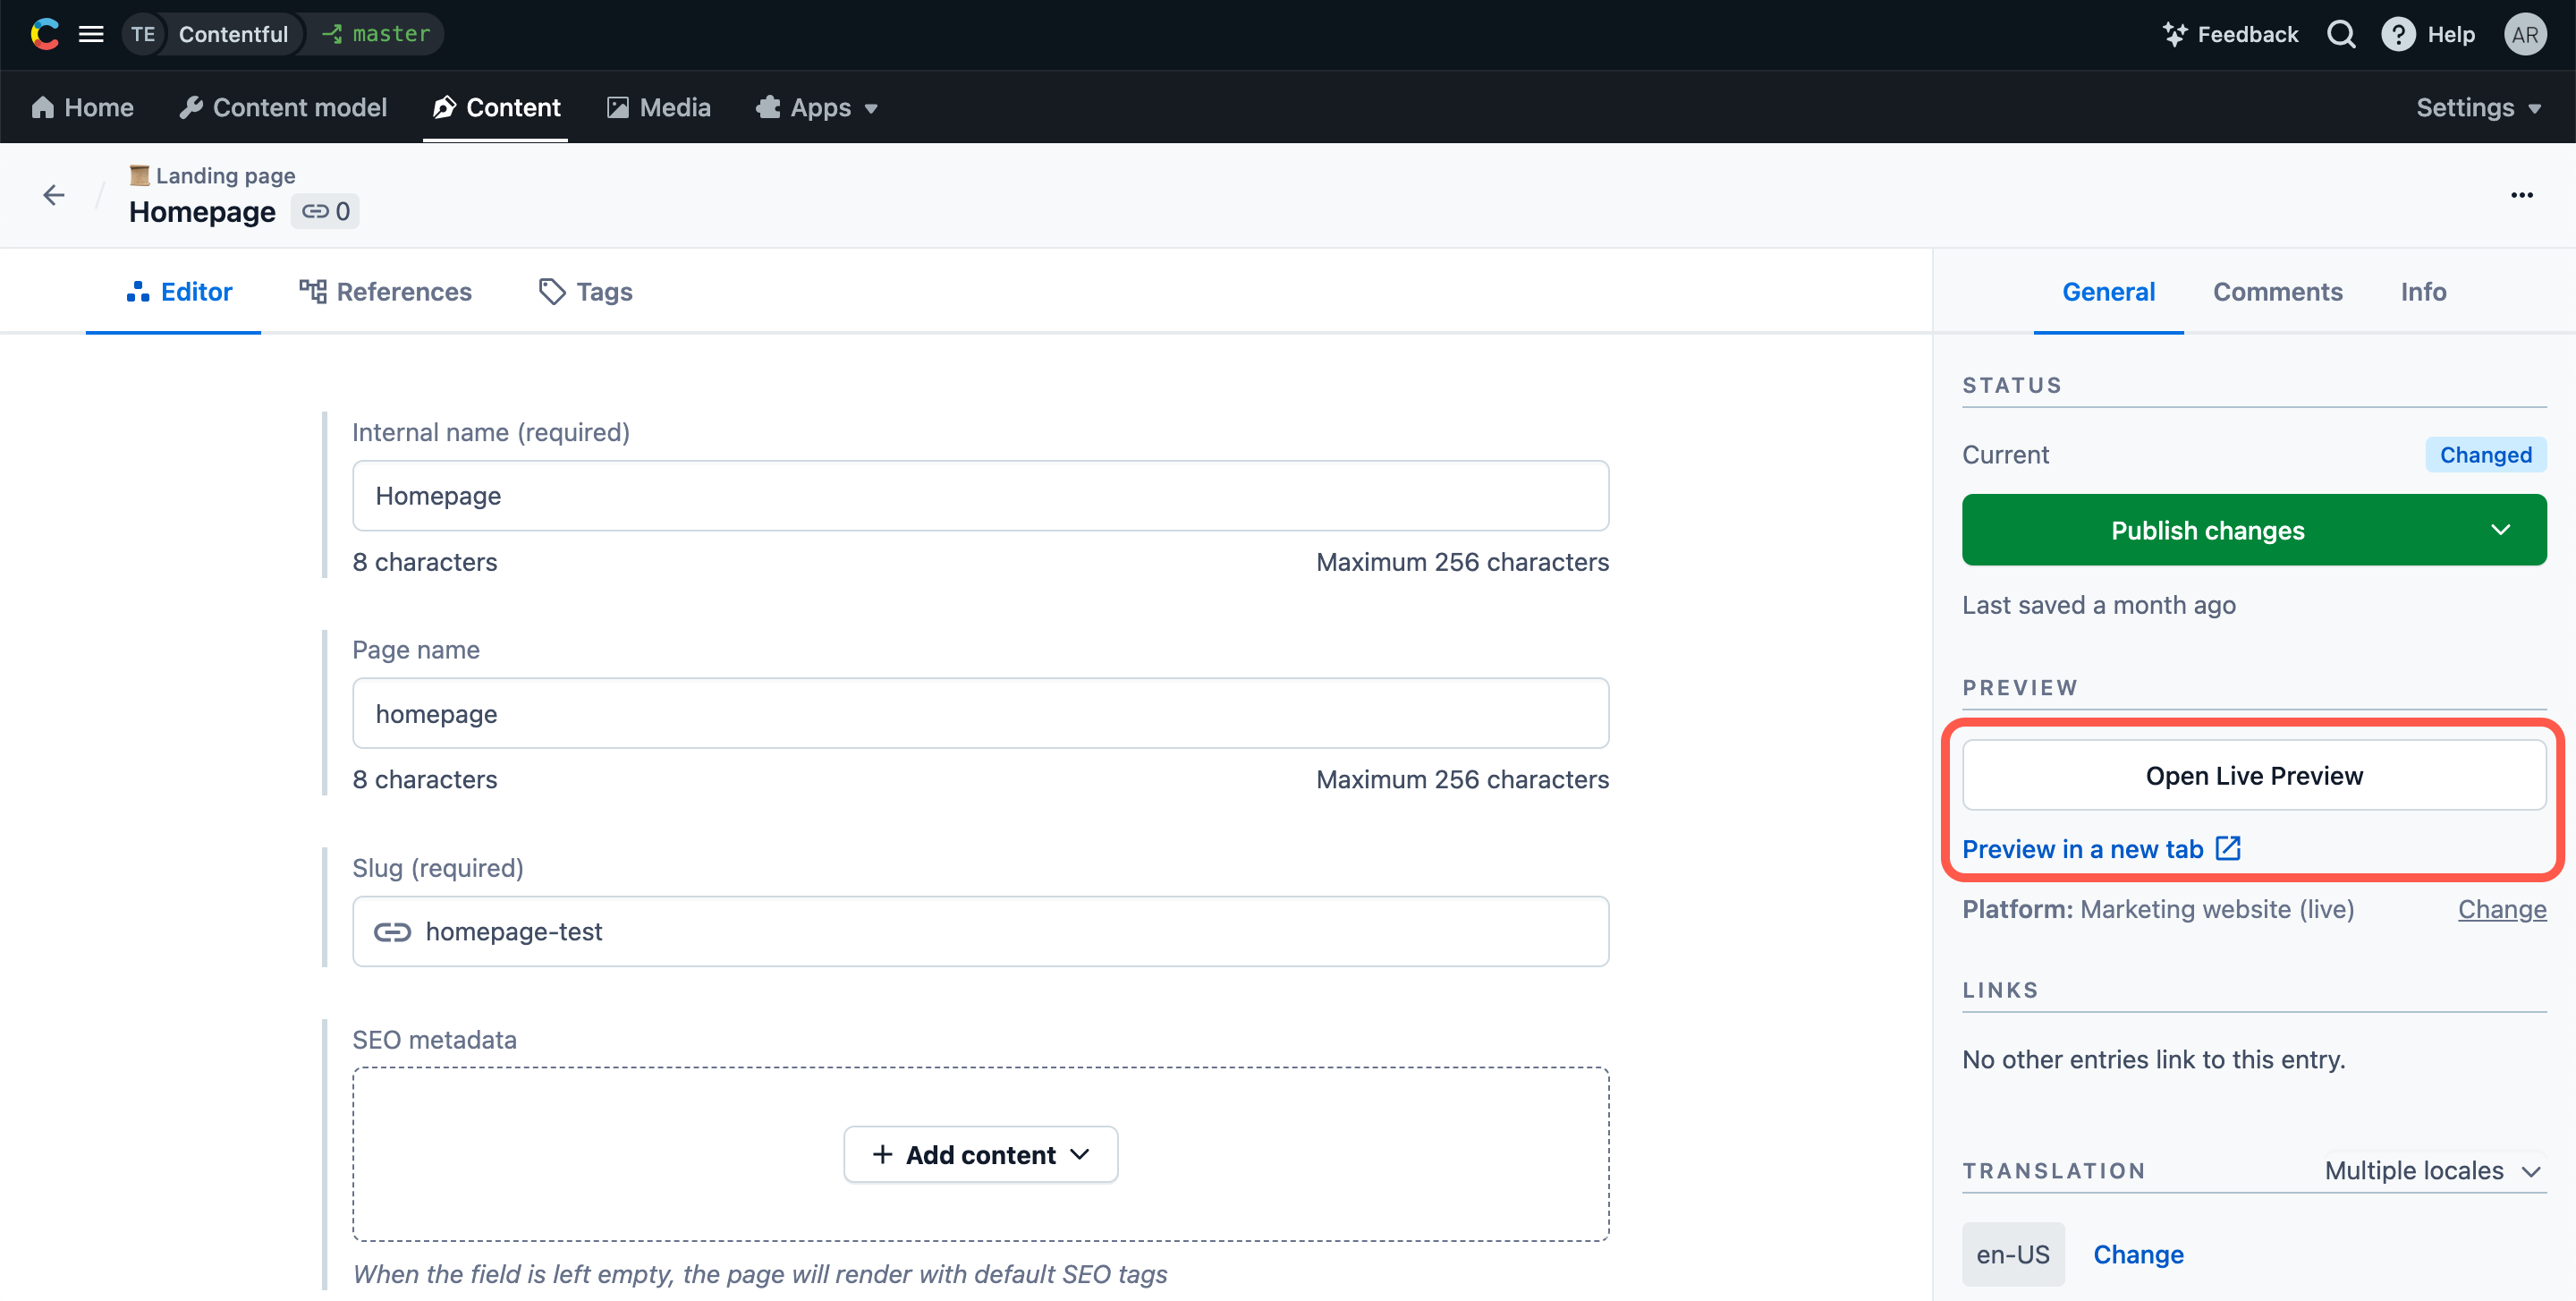
- Live preview — Recommended: Allows you to preview your content in the same page with the entry editor, view your changes live as you type, and quickly go to editing of a specific piece of content.
- Preview in new tab — Your content preview opens in a new tab.
You can switch between the preview modes in the "Content preview" window in the web app. The selected preview mode applies to all of your content previews.
Create a content preview
To set up content preview:
- Log in to the Contentful web app.
- Click Settings tab and select Content preview from the drop-down.
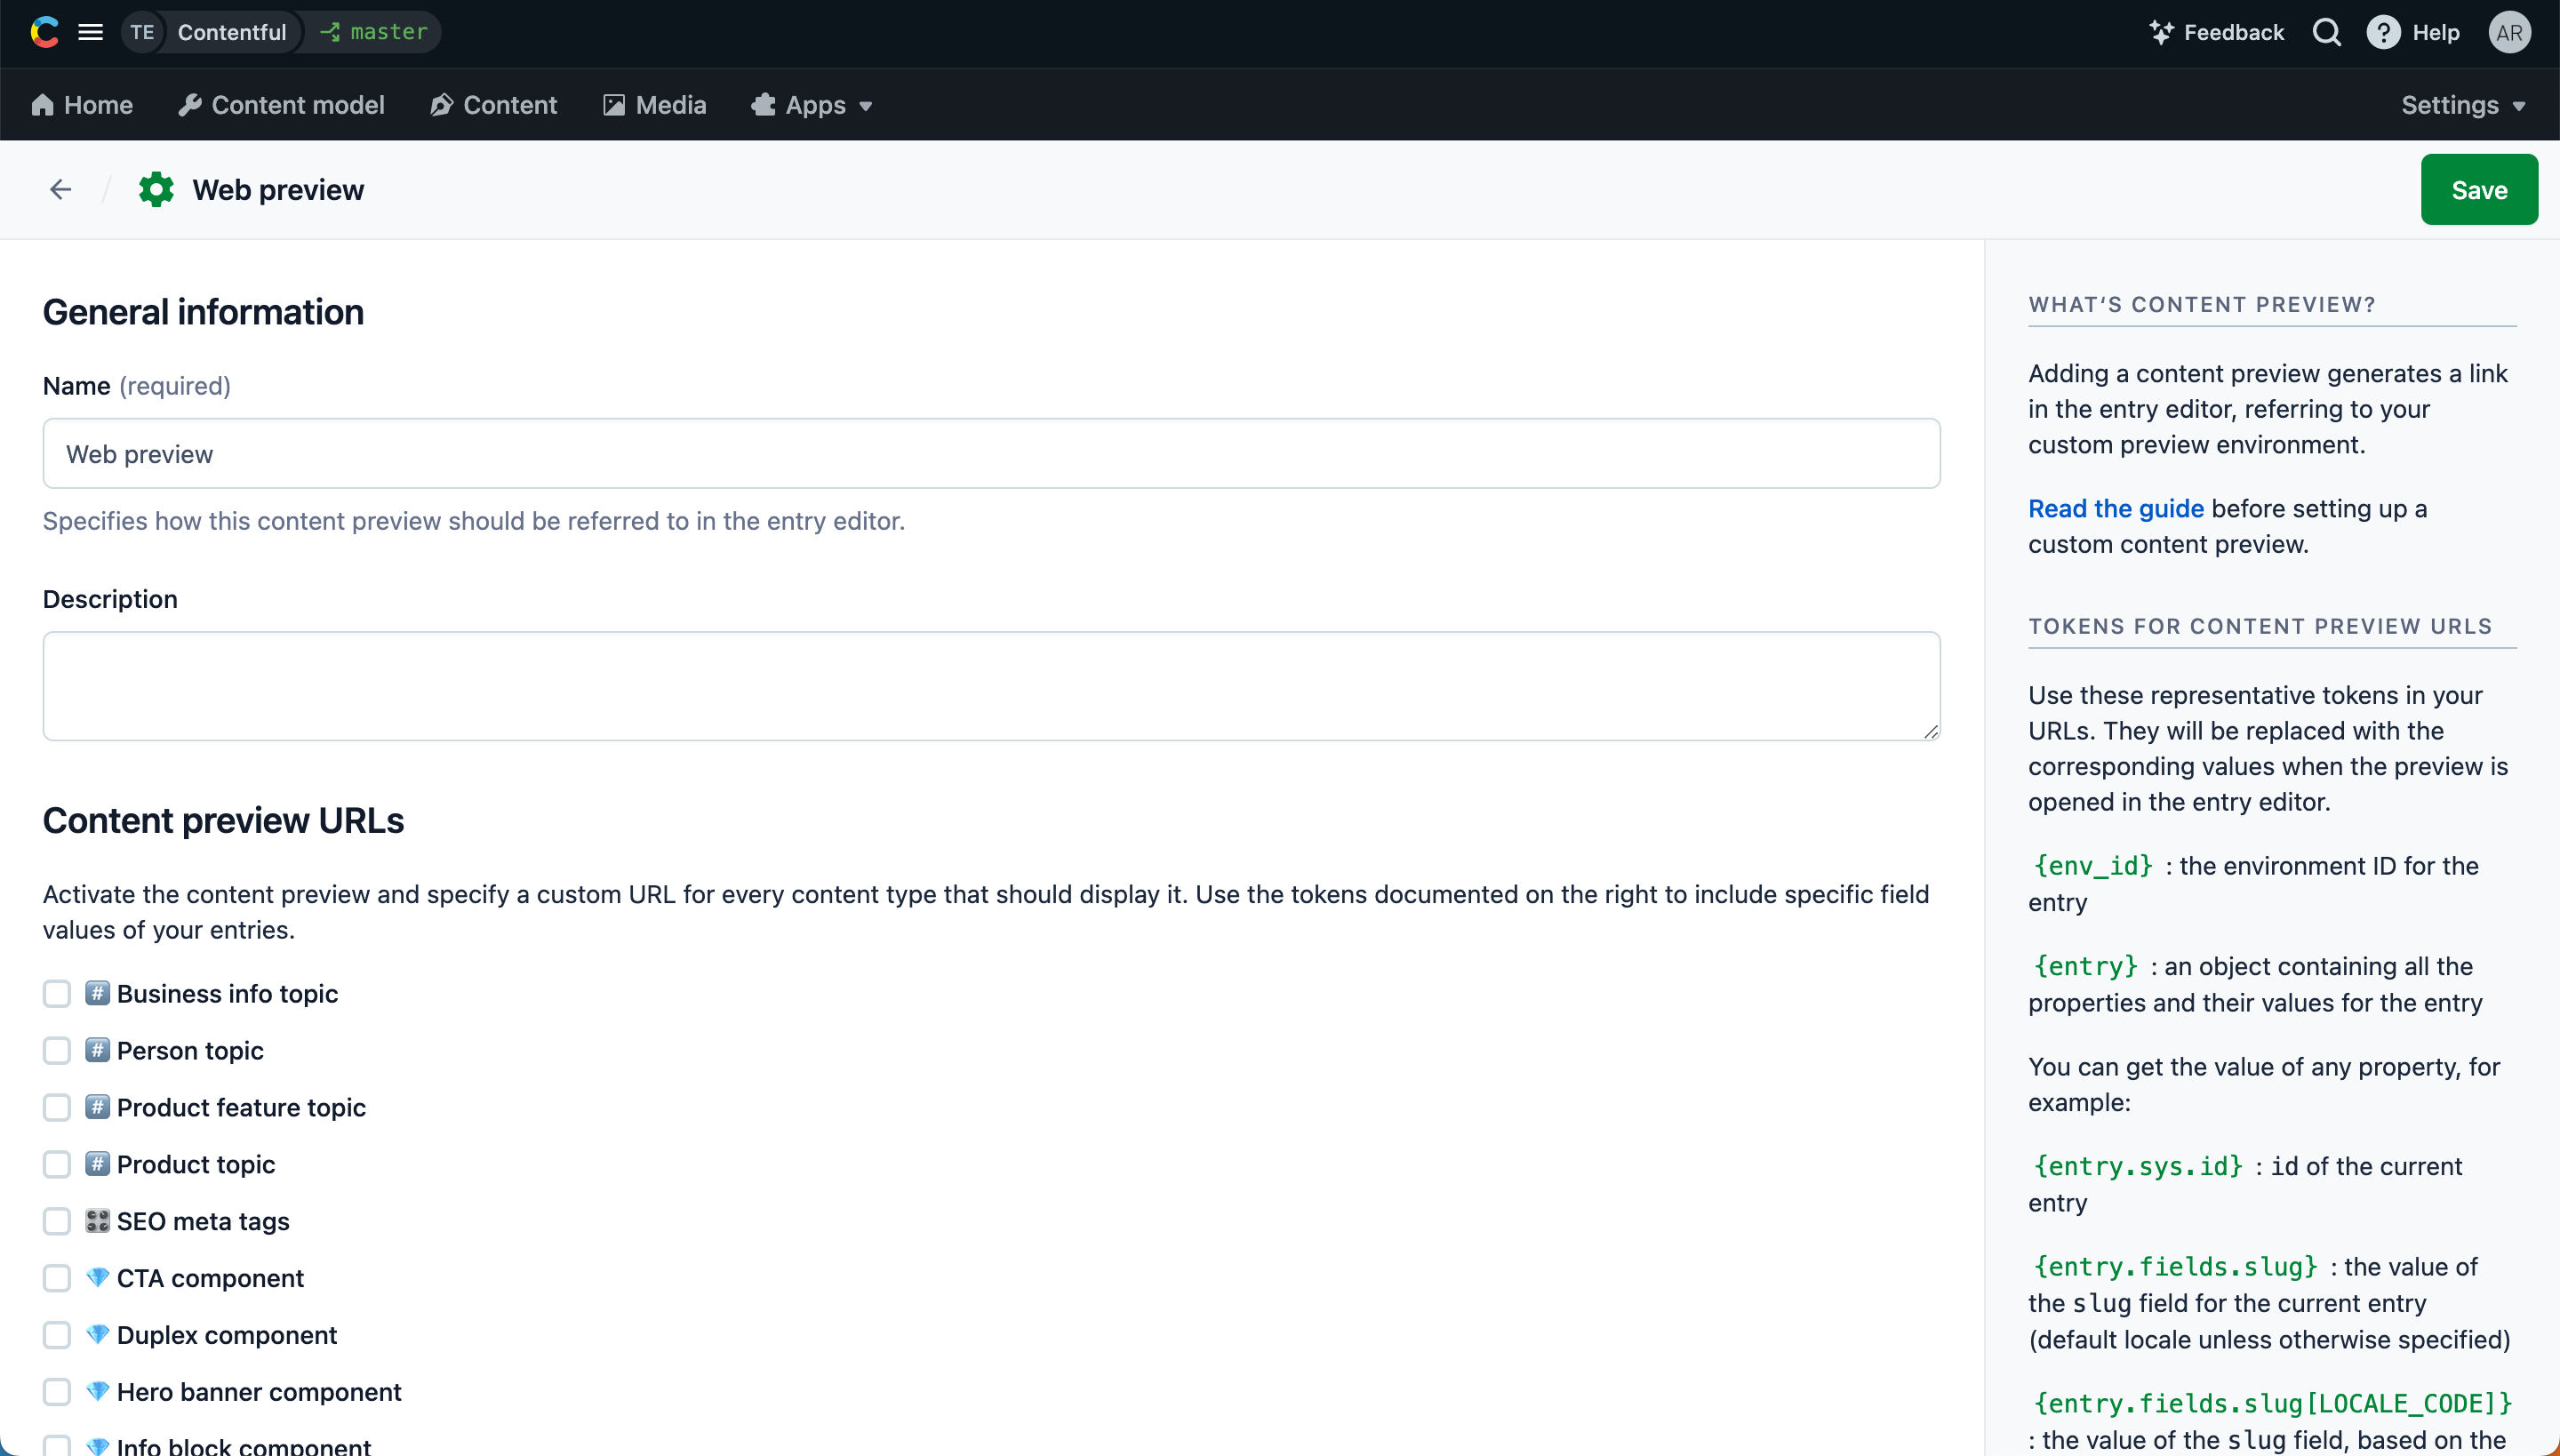
- Click + Create preview platform. The Content preview editor is displayed.
- In the Name field, enter a custom name for your content preview.
- Optional: In the Description field, enter a description for your content preview.
- Under the Content preview URLs area, select the checkbox against a content type you would like to have content preview for.
In the Preview URL for content type… field, add a URL according to the following template:
https://[YOUR_PREVIEW_DOMAIN]/[PLACEHOLDER_TOKEN]where:YOUR_PREVIEW_DOMAIN— The base path of your preview website or app (e.g.https://myapp.com/entities/).PLACEHOLDER_TOKEN- A token that is resolved into an actual value when a user clicks on the preview link. You can add one or multiple tokens according to the table below:
Premium plan customers can specify their own custom preview tokens.
| Placeholder token | Description |
Example of use |
|---|---|---|
{env_id} |
Preview content created in a specific environment, with the environment ID represented in the URL. NOTE: A content preview can be set up only in the “master” environment. For a user to be able to preview content created in a non-master environment, the underlying content type must be present in the “master” environment. |
You would like to preview content from the “development” environment, with the environment ID displayed in the URL. The {env_id} value is development when you open the preview from the “development” environment, and master when you open it from the “master” environment. |
{entry.sys.id} |
Add this token for an entry ID to be represented in the preview URL. | You would like the ID of your previewed entry to be displayed in your preview URL, for example 4BqrajvA8E6qwgkieoqmqO. |
{entry.fields.slug} |
Add this token for an entry slug for a default locale to be represented in the preview URL. | You have a slug field in your entry and you would like its value to be displayed in your preview URL, for example soso-wall-clock. |
{entry.fields.slug[LOCALE_CODE]} |
Add this token with a specific locale code to display entry slug for this specific locale in the preview URL. NOTE: If the specified locale is invalid, the preview URL won’t fall back to the default locale. |
You need the Spanish slug from a field {enry.fields.slug[es]} to be displayed in your preview URL. |
{entry.linkedBy.sys.id} |
Optional: query incoming links to entry by ID of the parent entry. | You need the ID of the entry of the “Page” content type, while the preview URL is set up for the “Section” content type. You can query the ID of the entry of the “Page” content type by the ID of the entry of the “Section” content type that is linked in it. |
{entry.fields.seo.fields.title} |
Optional: Add this token to use fields from a reference to build your content preview URL. | You have information in a separate SEO content type. |
{entry.linkedBy.fields.slug} |
Optional: query incoming links to entry by slug of the parent entry. | You need the slug of the entry of the “Page” content type, while the preview URL is set up for the “Section” content type. You can query the slug of the entry of the “Page” content type by the slug of the entry of the “Section” content type that is linked in it. |
{locale} |
Add this token to retrieve the code of the current locale. NOTE: In multi-locale mode, it's the default locale. |
You need the locale code in the URL or want the a field (e.g. slug) for a the current language |
https://{domain[{locale}]}/products/{entry.fields.slug}
- Click Save. Your content preview is saved. The entries of the selected content type can now be previewed.
Custom preview tokens
You can create custom preview tokens that resolve to locale-specific URL strings and parameters. This allows your content editors to more quickly and easily switch between locales in live preview as they edit.
To create a custom preview token:
- Log in to the Contentful web app.
- Click on Settings and select Content preview. The preview settings page is displayed.
- Go to the Custom preview tokens area at the bottom of the page.
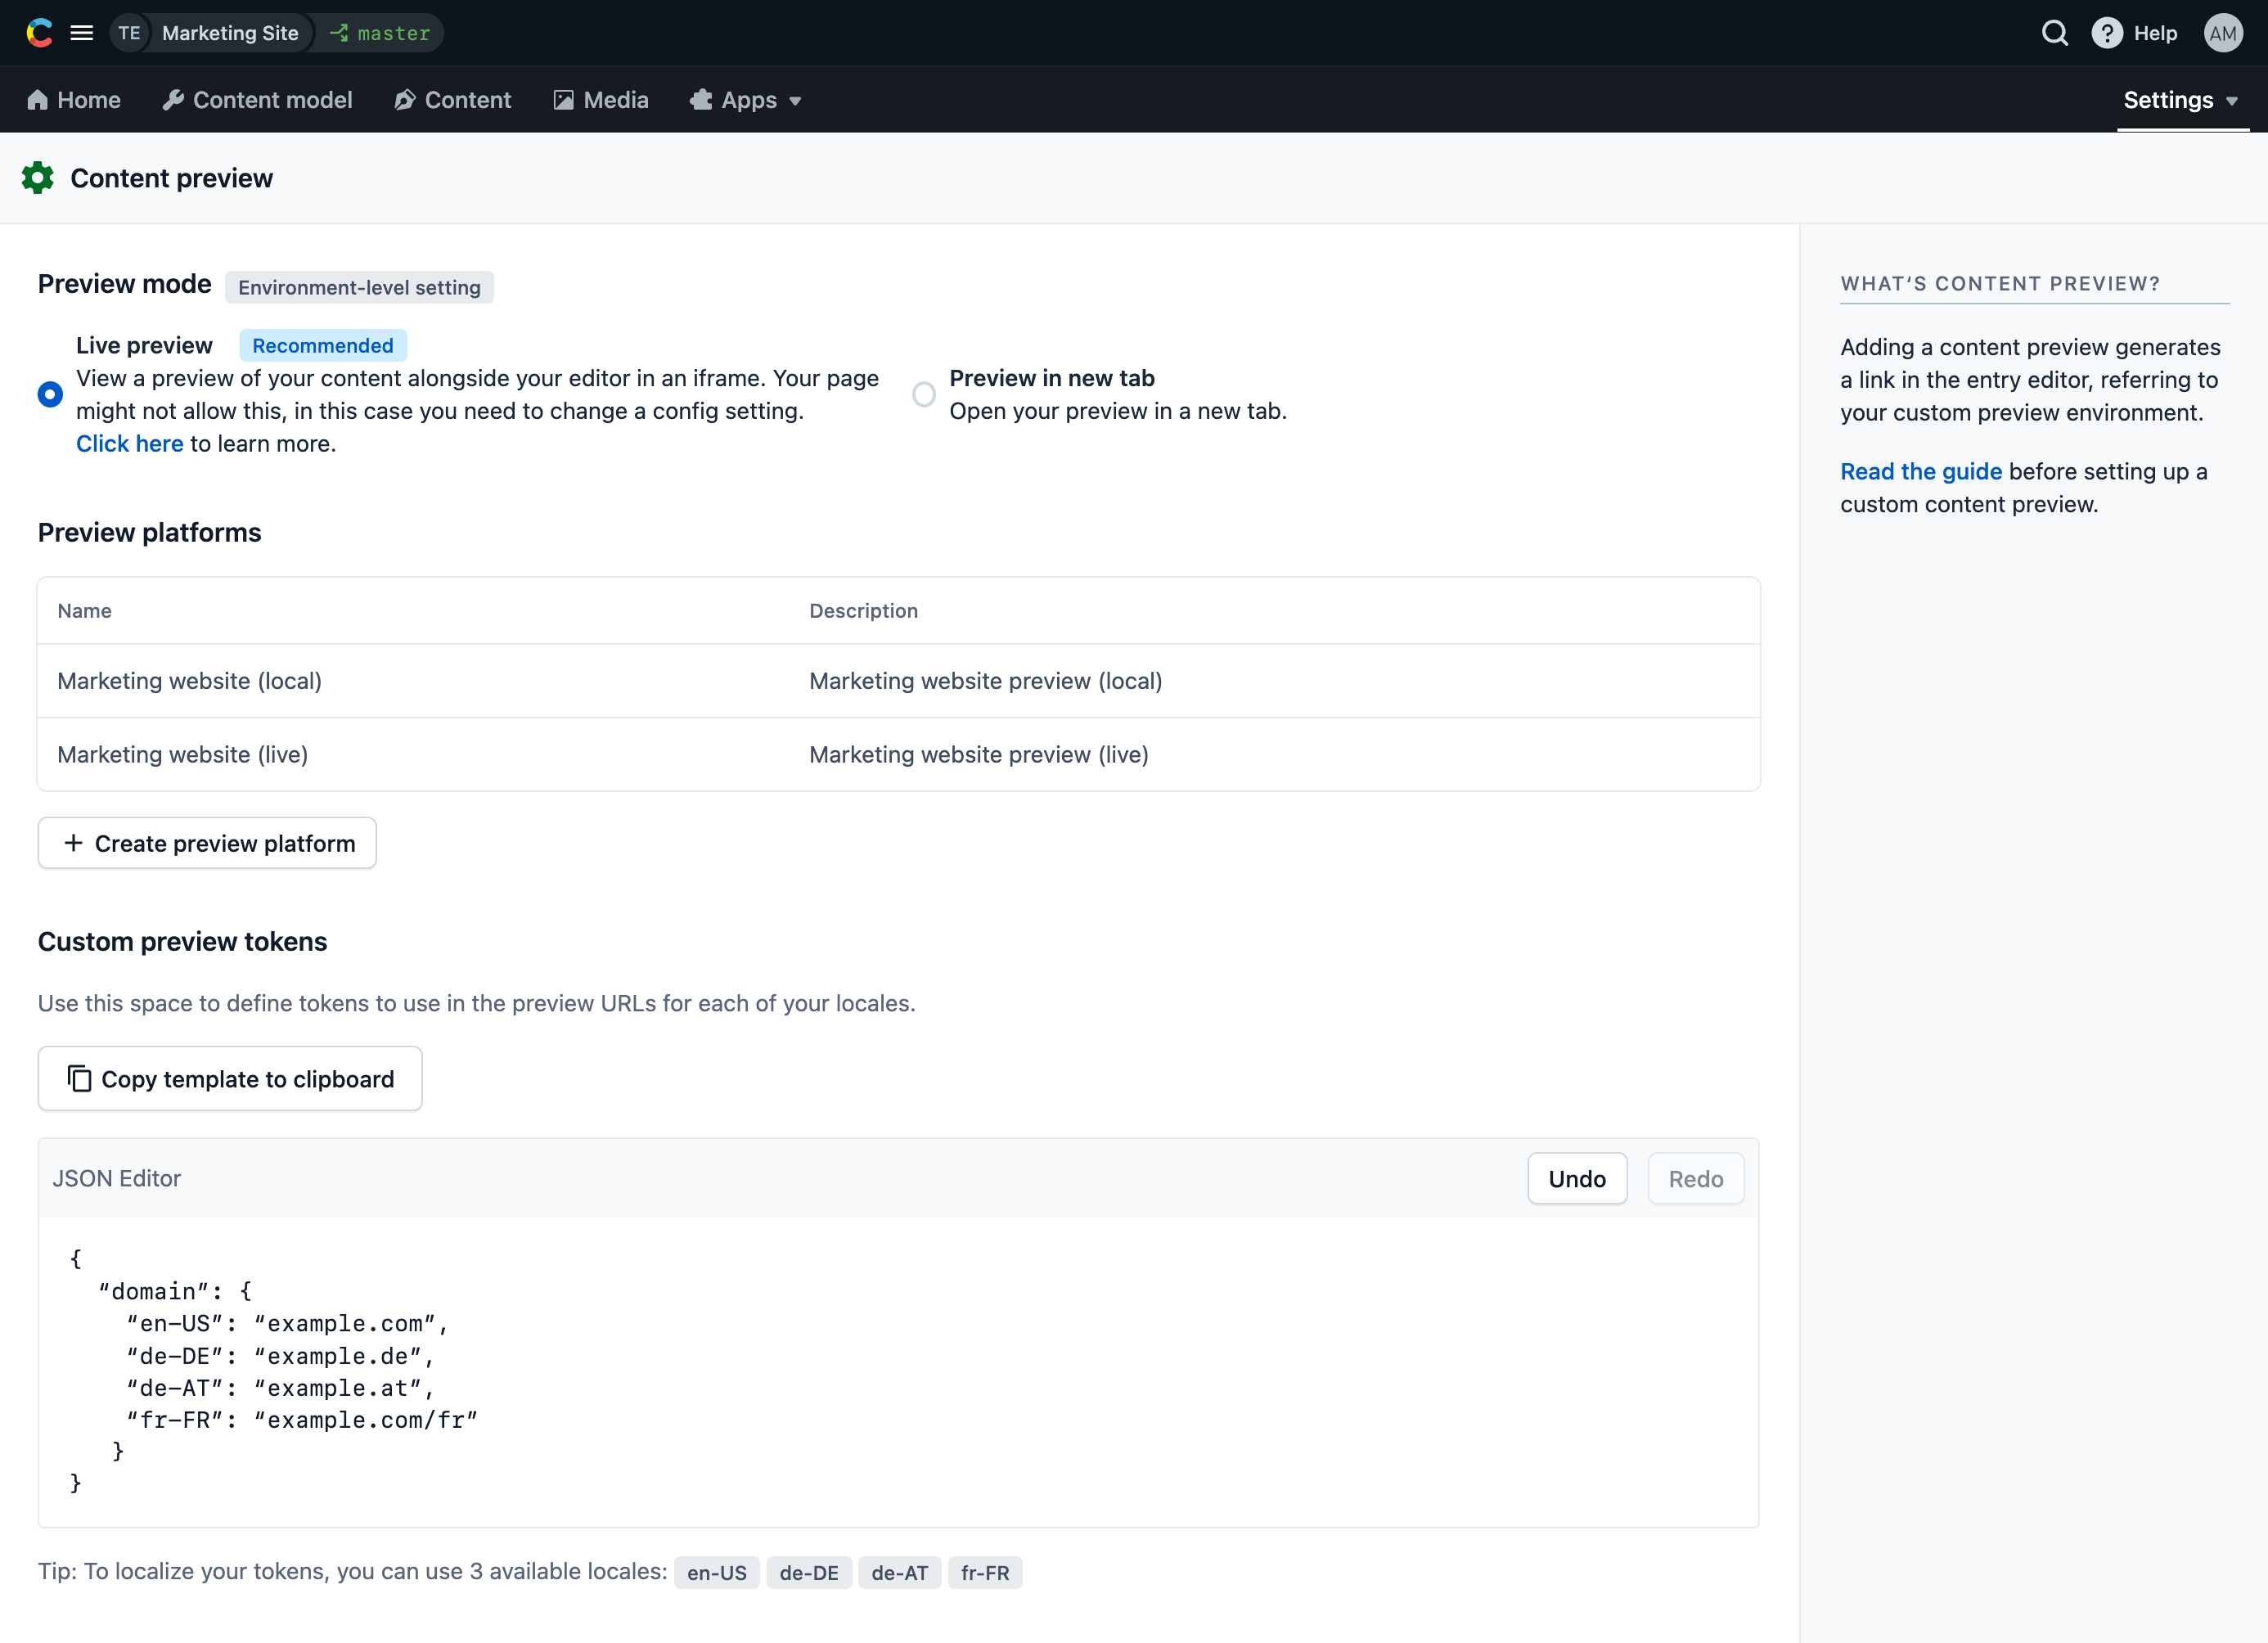
- Click Copy template to clipboard to copy an example JSON template with all of your locales listed to your clipboard.
- In the JSON Editor field, paste the copied template.
- Adjust the token and each locale setting to your needs. The table below includes some examples that might be relevant to your setup:
| Token name | Description | Example |
|---|---|---|
domain |
If your website domain and/or localization structure differs between locales, you can give each locale a unique value. | “domain”: {“en-US”: “example.com”,“de-DE”: “example.de”,“de-AT”: “at.example.de”,“fr-FR”: “exemple.fr”} |
products_path |
If you use localized URL paths for important parts of your website (like “/products/”), you can specify a unique preview path for each locale. | “products_path”: {“en-US”: “products”,“de-DE”: “produkte”,“de-AT”: “produkte”,“fr-FR”: “produits”“de-AT”: “produkte”,“fr-FR”: “produits”} |
locale_to_country |
If you need to map IETF language tags (e.g., de-DE) to alpha-3 country codes (e.g., DEU) for some reason, you could use a token for that. | “locale_to_country”: {“en-US”: “USA”,“de-DE”: “DEU”,“de-AT”: “AUT”,“fr-FR”: “FRA”} |
local_dev |
You can also use tokens for non-localized global variables, such as the path to your local development machine. | “local_dev”: “localhost:3001” |
- Repeat the process for any other custom tokens you’d like to use in your preview settings. Be sure your JSON is valid and properly formatted, or the tokens won’t resolve properly in the preview URLs.
- Click Save to save your custom tokens, so that they can be used for the preview URLs of a new or existing preview platform.
Additional resources
- Live preview - Learn how to set up live preview to preview your changes in the same page with the entry editor, see them simultaneously with the editing, and quickly go to editing of a specific piece of content.
- Setting up and configuring preview - Take the training course in our Learning Center to learn more about setting up a content preview.
