Set up a release
Create a release
To create a new release:
In the Releases page, click Create new release.

In the "Create New Release" window, enter the name for your release in the Name the release field.
Click Create Release.

Add content to a release
You can add entities like entries and assets to a release.
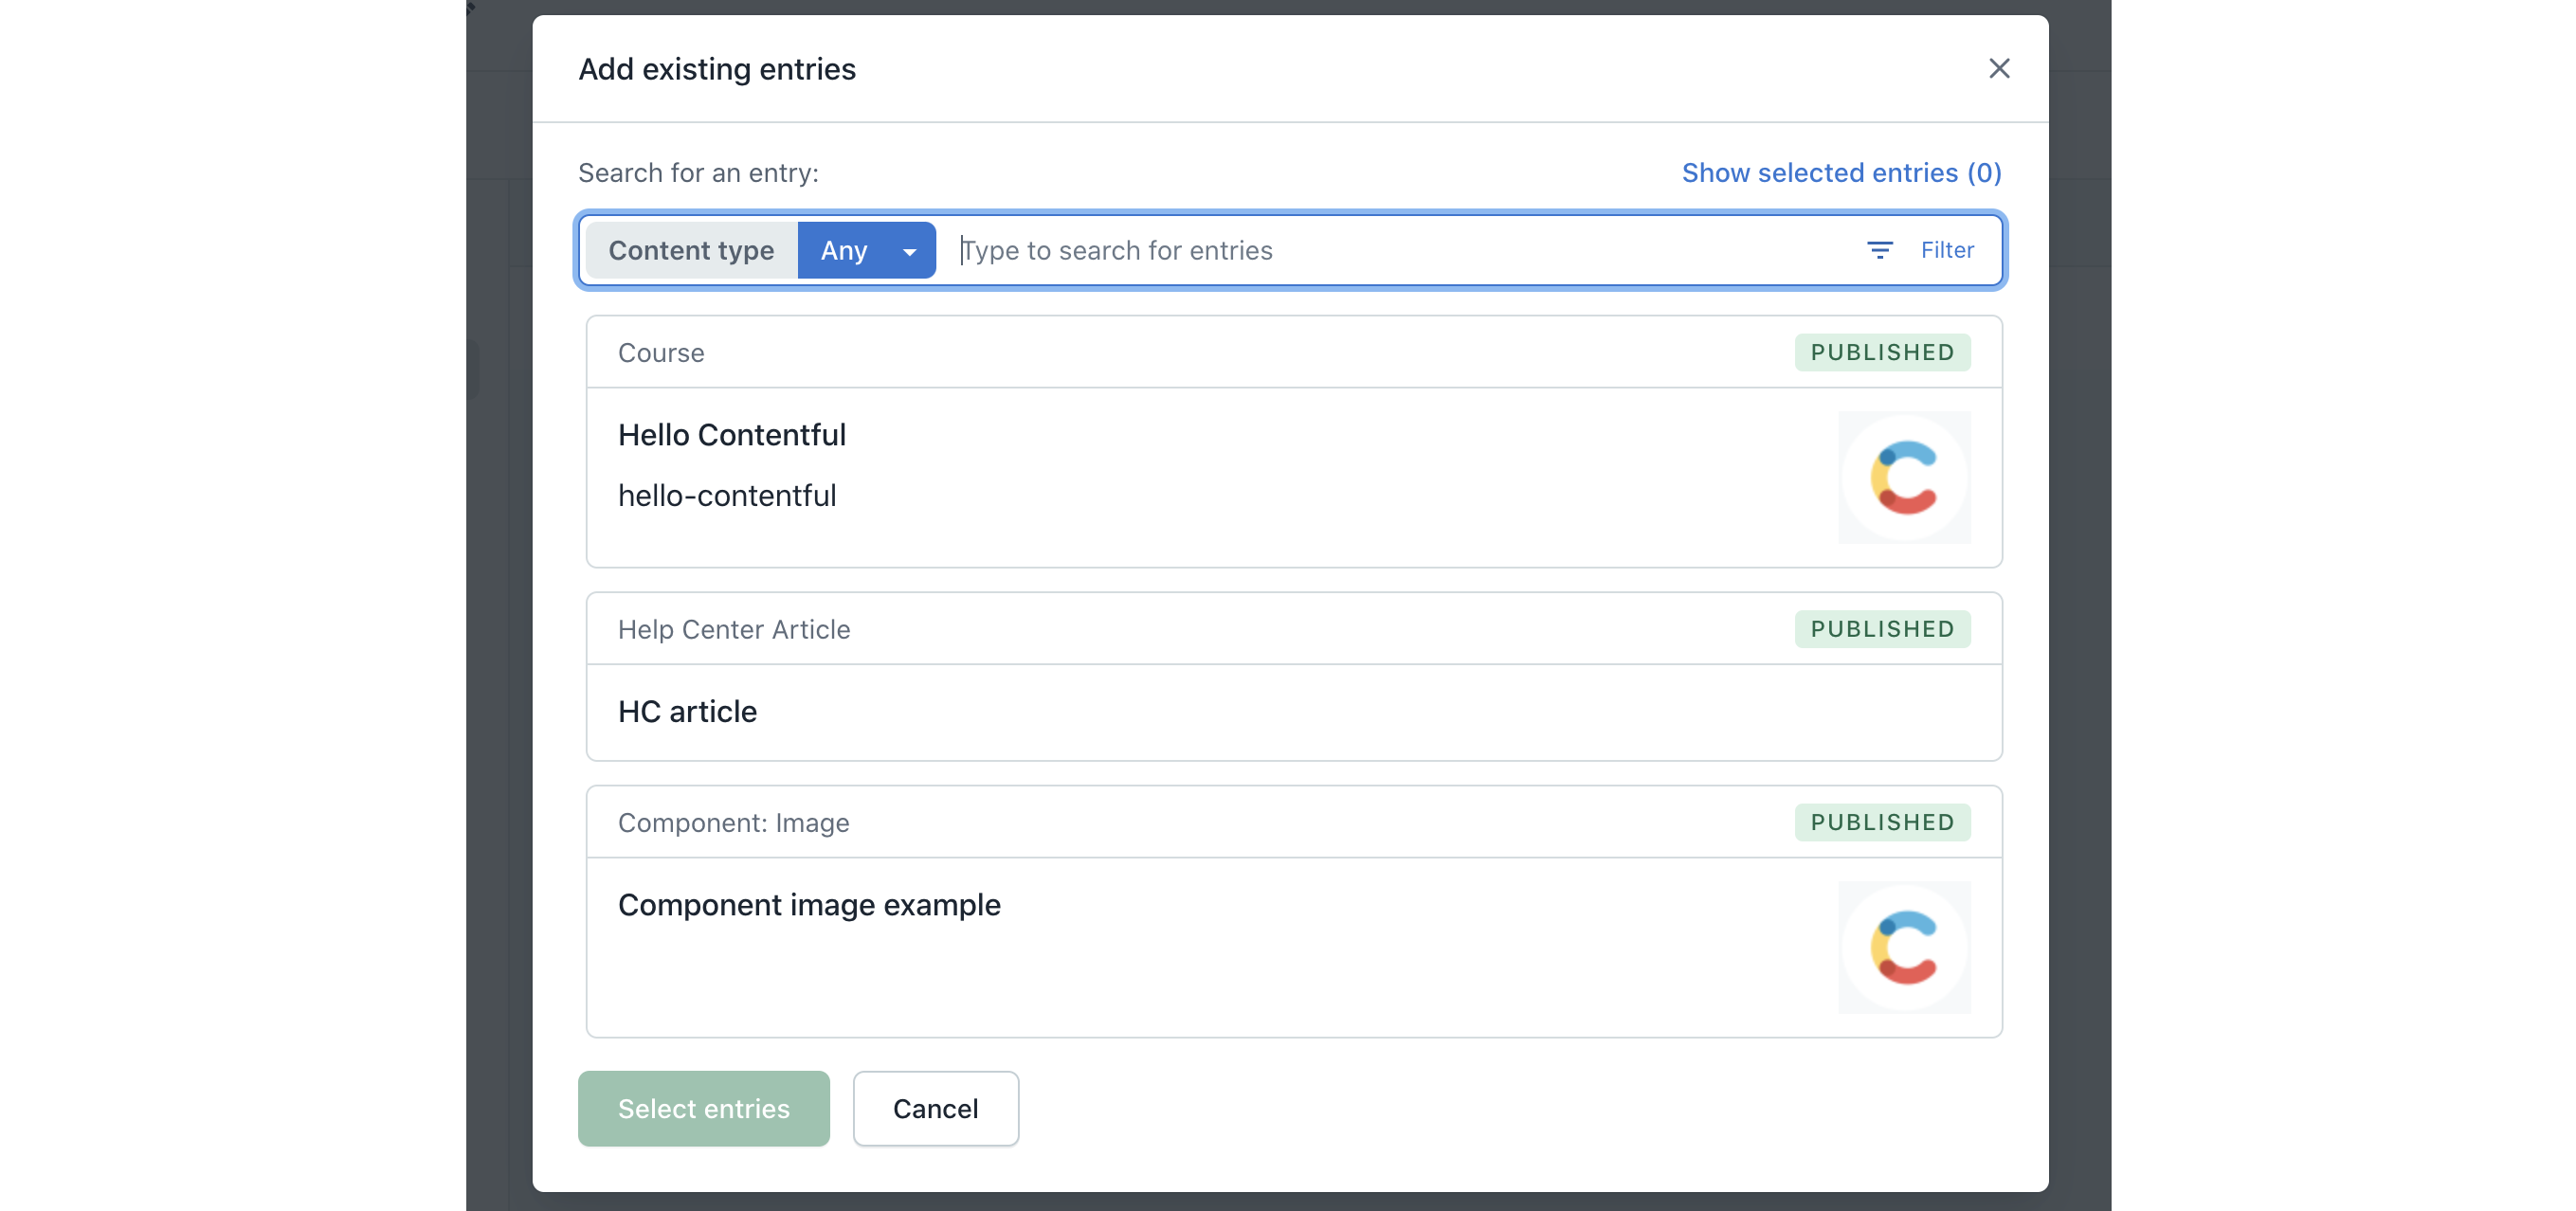
When adding an entity to a release, make sure to add all the referenced entities. For example, you want to add to your release “Help Center Article” entry that contains two other entries in it: “Component: Text” and “Component: Image”. In this case, you must add all the three entries to your release: “Help Center Article”, “Component: Text” and “Component: Image”. Also, if “Component: Image” entry is in draft state, you should add media that it contains as assets in Launch.
In Launch
To add content to your release:
In the Releases tab, navigate to the required release and click on it to open. The Release editor is displayed.
Click Add content and select which type of content to add according to the following options:
Add entry—Select this option to add one or multiple entries to your release.
Add asset—Select this option to add assets to your release.
Add page — Select this option to add pages to your release.

Select the required entity (one or multiple).
Click Insert… The entity is added to your release.

In Contentful web app
In the Content tab
To add content to release using the Content tab:
In Contentful web app, go to the Content tab.
Optional: Search for the required entry by entering its name in the Search field and/or applying filtering options.
Select the checkbox against the entry (one or multiple) that you wish to add to your release.
In the actions menu on the top of the list, click Add to release. The Add to release window is displayed.

Add the selected entry to a release by selecting one of the following options:
Add to existing—Click on one of the existing releases to add the content to it.
Create new—Select this option to create a new release and add the selected entries to it.

Click Add to release. The entry is added to a selected release.
In the entry editor
NOTE: The option to add an entry to a release using the entry editor sidebar is defined by the content type settings. To learn more, refer to Configure content type.
To add content to release using the entry editor sidebar:
In Contentful web app, navigate to the required entry and open it. The entry editor is displayed.
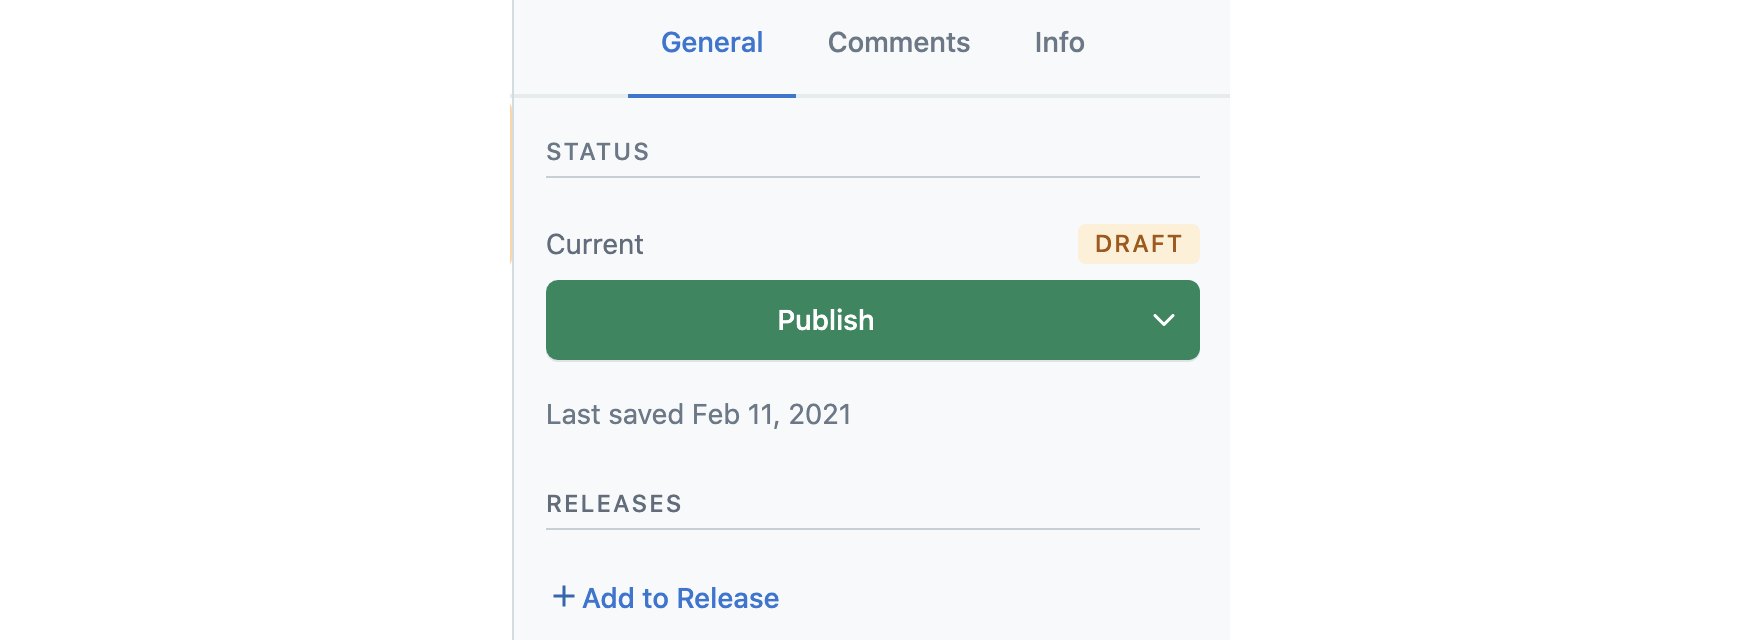
In the entry editor sidebar, go to the RELEASES area and click Add to Release.

Add the selected entry(ies) to a release by selecting one of the following options:
Add to existing—Click on one of the existing releases to add your entry to it.
Create new—Select this option to create a new release and add your entry to it.

Click Add to release. The entry is added to a selected release.
In the References tab
To add content to release from the entry editor References tab:
In Contentful web app, navigate to the required entry and open it. The entry editor is displayed.
Go to the References tab.
Select the entries and/or assets that you wish to add to your release.
In the entry editor sidebar, click Add to a release.

Add the selected entry(ies) to a release by selecting one of the following options:
Add to existing - Click on one of the existing releases to add the content to it.
Create new - Select this option to create a new release and add the selected entries to it.

Click Add to release. The entry is added to a selected release.
Validate a release
Validate your release to see if there are any errors that might prevent your release from publishing. After running the validation, Launch will mark the entries that contain errors - for example, those that contain empty fields.
Important! If any entry in a release contains error, the whole release won’t be published.
To validate a release, in the Release editor page click on the Release Actions menu and select Validate Release. The validation will run automatically and the entries/assets with errors (if any) will be marked.

Publish a release
After adding content to the release, you can immediately publish it. Publishing a release will publish all entries/assets that it contains changing their DRAFT state to PUBLISHED.
NOTE: Make sure to add all entries/assets that you wish to be published to the release.
To publish a release:
In the Release editor page, click on the Release Actions menu and select Publish Now.

In the dialogue window that opens, click Publish Now to confirm your action.

Unpublish a release
To unpublish a release:
In the Release editor page, click on the Release Actions menu and select Unpublish Now.

In the dialogue window that opens, click Unpublish Now to confirm your action.

Schedule a release
Set a schedule for your release to be published/unpublished on a specific date and time. Multiple schedules can be applied to one and the same release. For example, if you want your content to go live only for the weekend period, you can schedule the release to be published on Saturday morning and to be unpublished on Sunday night.
NOTE: To learn more about scheduling content publishing, please refer to Scheduled publishing.
To schedule a release:
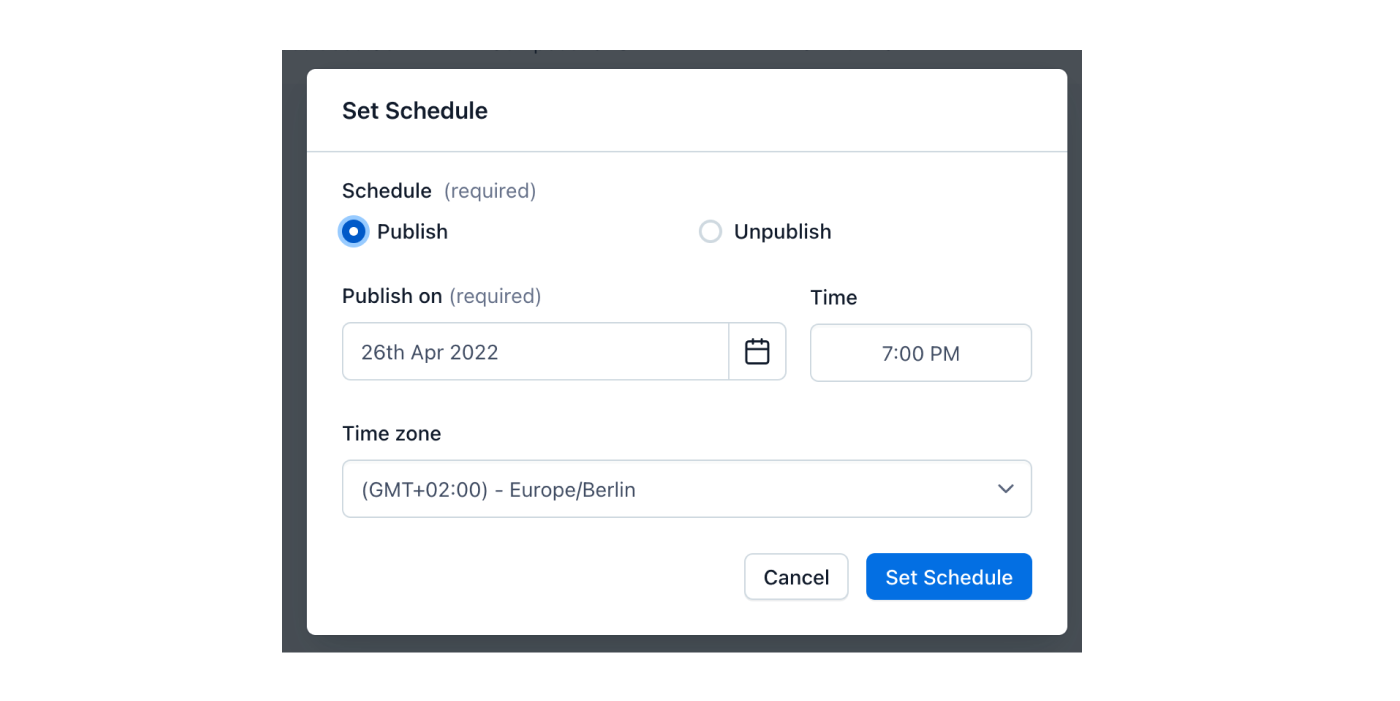
In the Release editor page, click on the Release Actions menu and select Set Schedule. The Set Schedule window is displayed.

Select either Publish or Unpublish radio button to schedule the desired action.
Select the required date, time and timezone.
Click Set Schedule. The schedule is applied to your release, which means that the release will be automatically published/unpublished on the specified date and time.

Optional: Set another schedule for your release (e.g. unpublishing) repeating the steps 1-4.
NOTE: Scheduling entries in draft state will automatically publish those entries on the selected date and time.
Technical limitations
A release can contain up to 200 entities in order to be published using the scheduling feature. The referenced entities in a page count towards that limit.
Schedules aren't cloned when creating new environments.
When scheduled for unpublishing, only the parent (top-level) entry of a page will be unpublished, and the referenced entities will remain in their current state.
Each space environment is able to have up to 500 schedules present, across the web app and Launch. A schedule in Launch counts towards this 500 limit, until the schedule is executed.
Update an existing schedule
To update a schedule:
In the Release editor page, click on Schedules.
In the drop-down, navigate to the required Schedule, click on the actions menu and select Edit schedule.

Set new date, time and/or timezone for your schedule.
Click Set Schedule. Your schedule is updated.

Cancel a schedule
To cancel a schedule:
In the Release editor page, click on Schedules.
Navigate to the required Schedule, click on the actions menu and select Remove action.

In the dialogue window that opens, click Remove action to confirm.


