Add tags to multiple entries at once
If you have a lot of content to tag, you don't want to spend a lot of time adding tags one by one. Luckily, you can add tags to multiple entries and assets at once.
To add a tag to multiple entries:
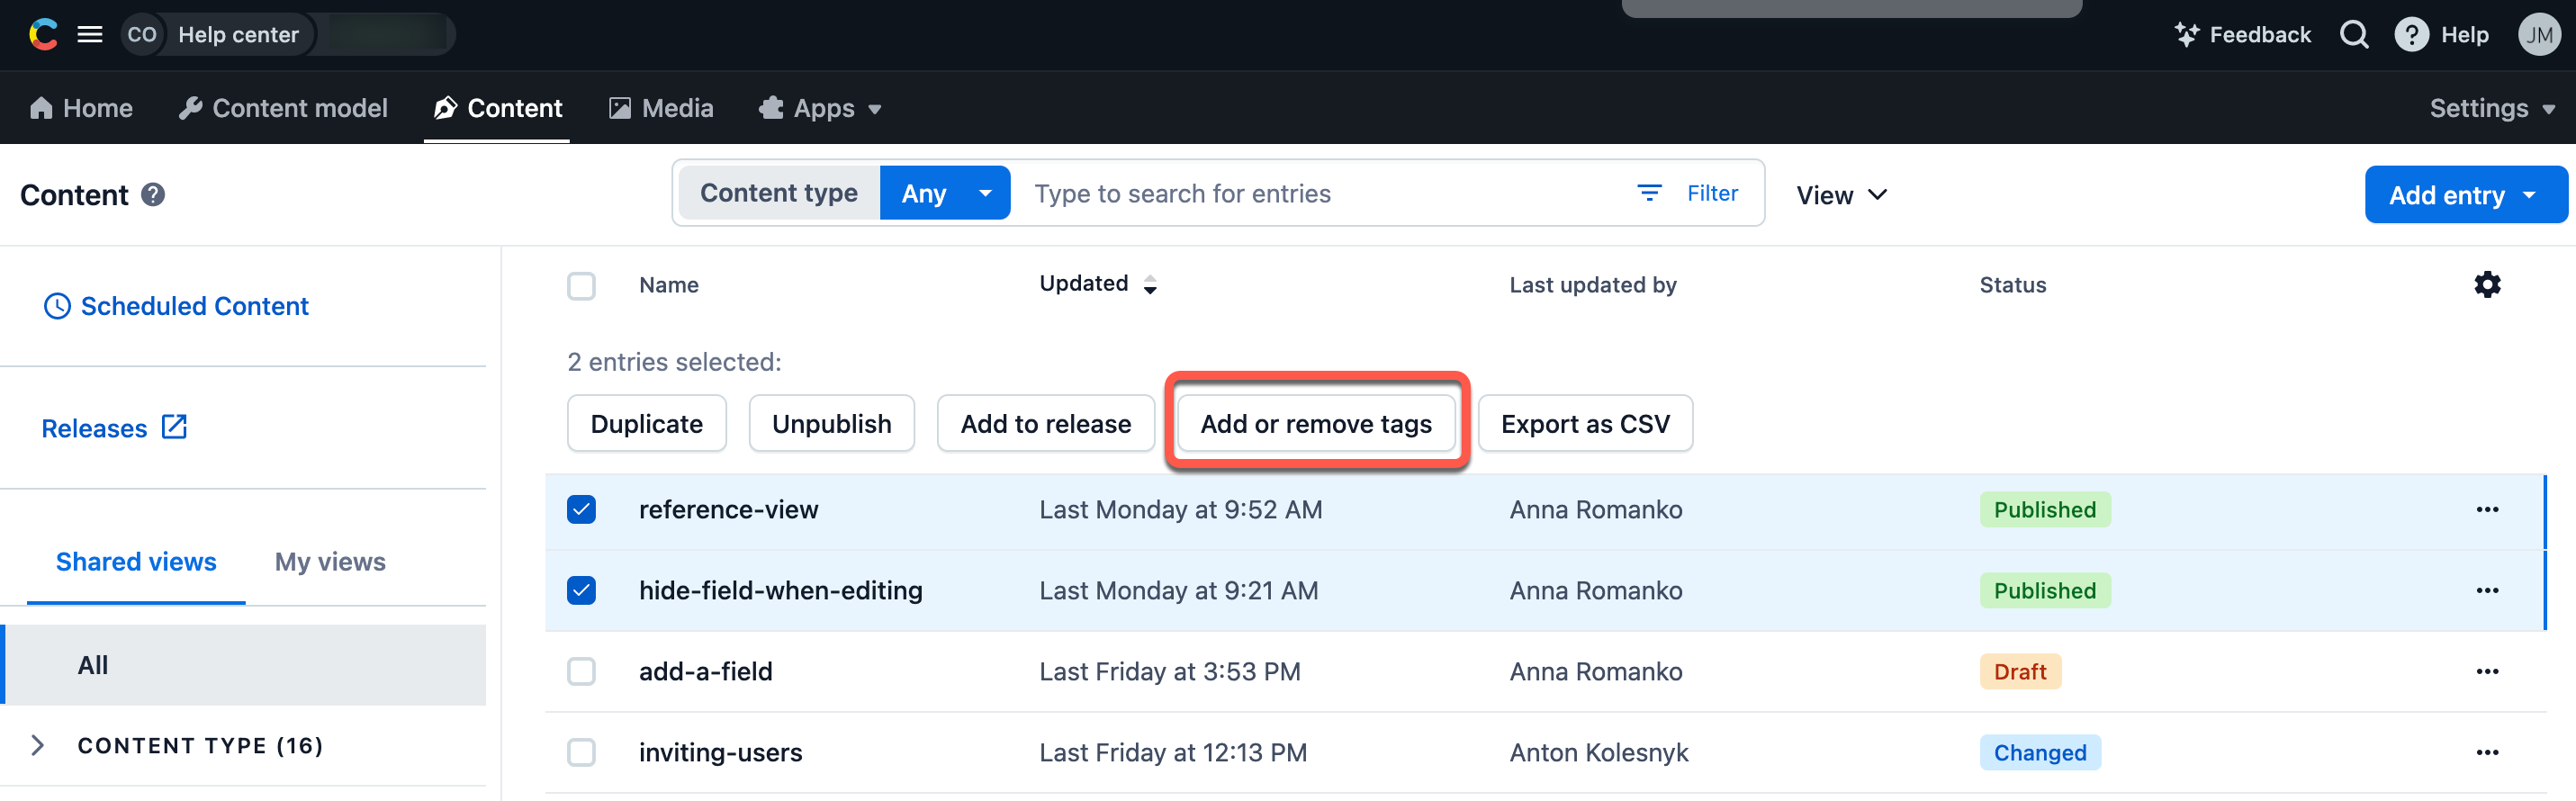
In the web app, navigate to the Content tab.
From the list, select the entries that you want to assign a tag to.
At the top of the list, click Add or remove tags.
In the editor page, select a desired tag from a drop-down to assign it to your entries.
Click Save.
Tip: Use Ctrl + Z (Cmd + Z on Mac) to undo your changes.
NOTE: You can bulk assign tags to both entries (in the Content tab) and assets (in the Media tab).
Assigning tags to all selected entries
In the Add or remove tags editor page, you can view all tags that are currently assigned to the selected entries. Near each tag the number of entries it is assigned to is displayed.
Click Apply to all to assign the tag to all selected entries or assets. If you then decide to Undo, only the latest action of applying the tag to all will be reverted.
Clicking the X next to the tag removes the tag from all selected entries or assets.

NOTE: Any tag assigned to your selected entries or assets will be displayed in dark grey, while removed tags will be displayed with a strike-through.