Create a custom role
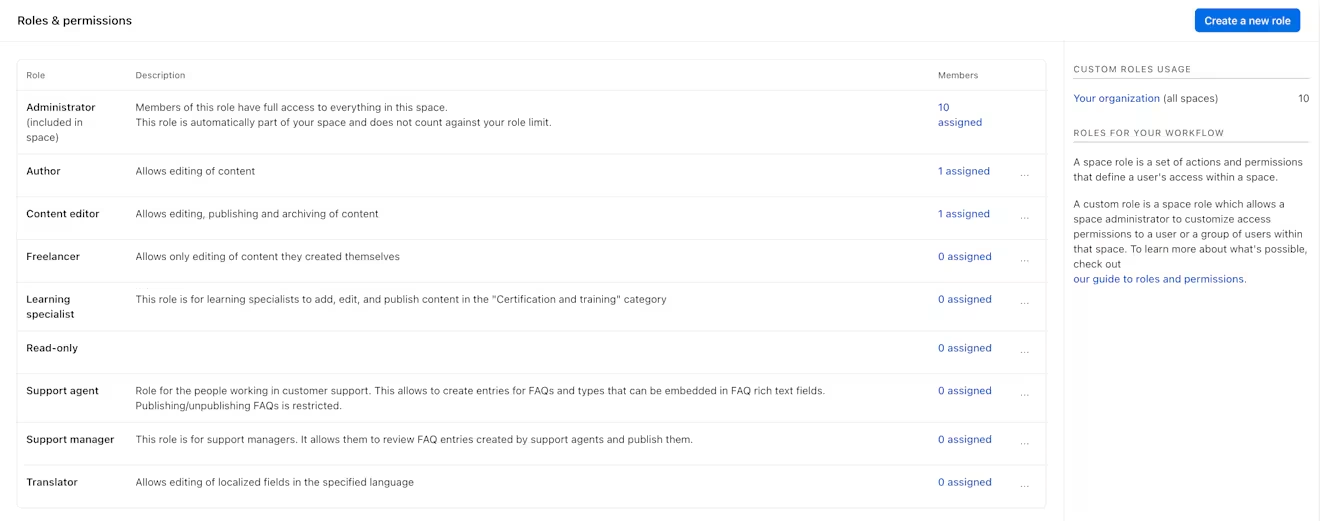
Space administrators can create custom roles in the web app, under Settings > Roles & Permissions.
NOTE: Custom roles are only available on Premium plans. For more details, organization owners and admins can check their subscription plan.
How to create a custom role
To create a custom role:
Click Settings and select Roles & Permissions.
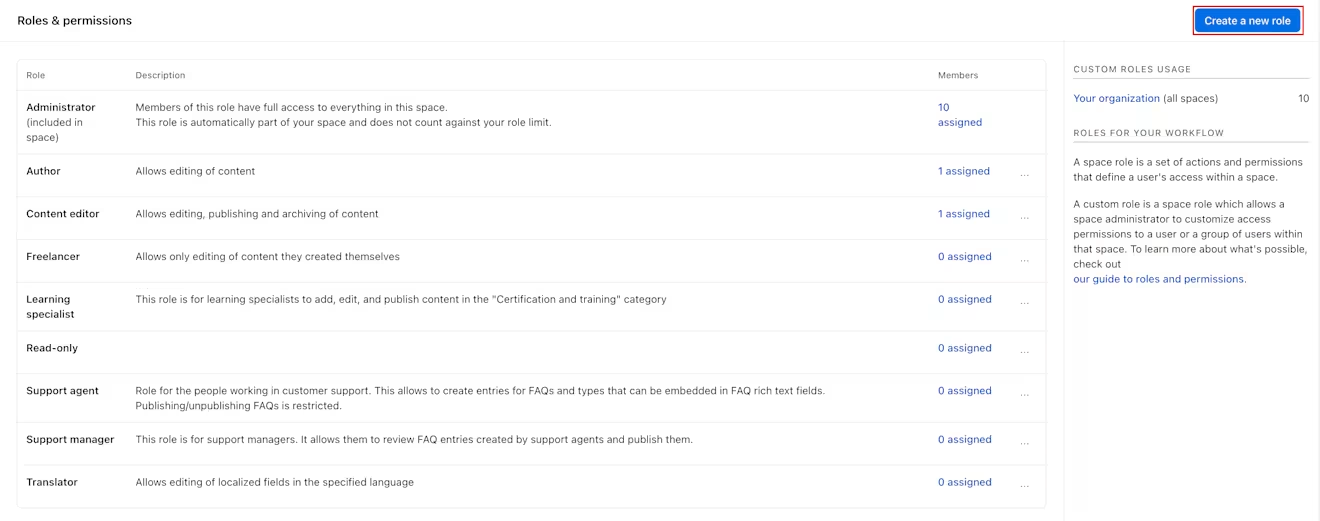
2. Click Create a new role. The "Role detail" page is displayed.
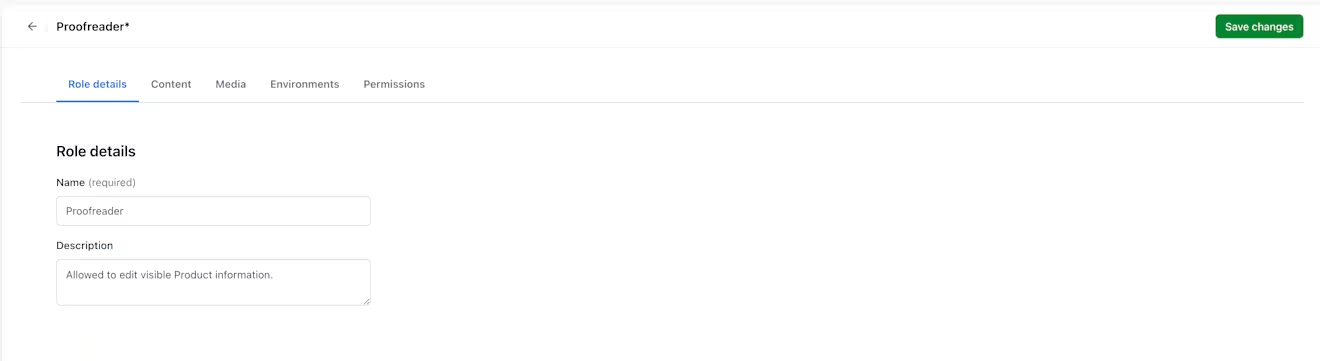
3. Give the role a relevant name and description.
4. Navigate to the "Content" tab, where you can define which content the new role can access.

NOTE: Actions are denied by default. You must explicitly grant permission to actions you want a role to have.
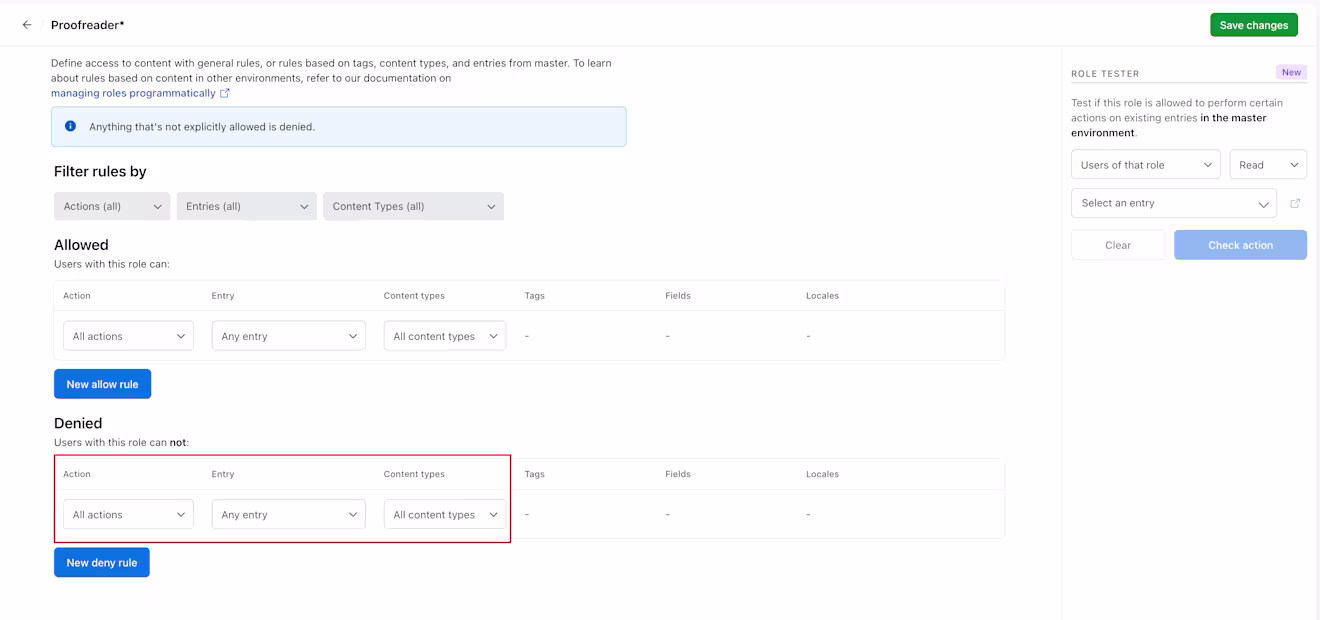
5. Click New allow rule. A row of drop-down menus is displayed to help refine the permissions.
6. Select the actions, entries, and content types this user role can access.

7. You can also specify which type of content the role cannot access. Click New deny rule. A row of drop-down menus is displayed to help refine the permissions.
8. Select the actions, entries, and content types this user role cannot access.
9. Navigate to the "Media" tab, where you can define which media the new role can access.
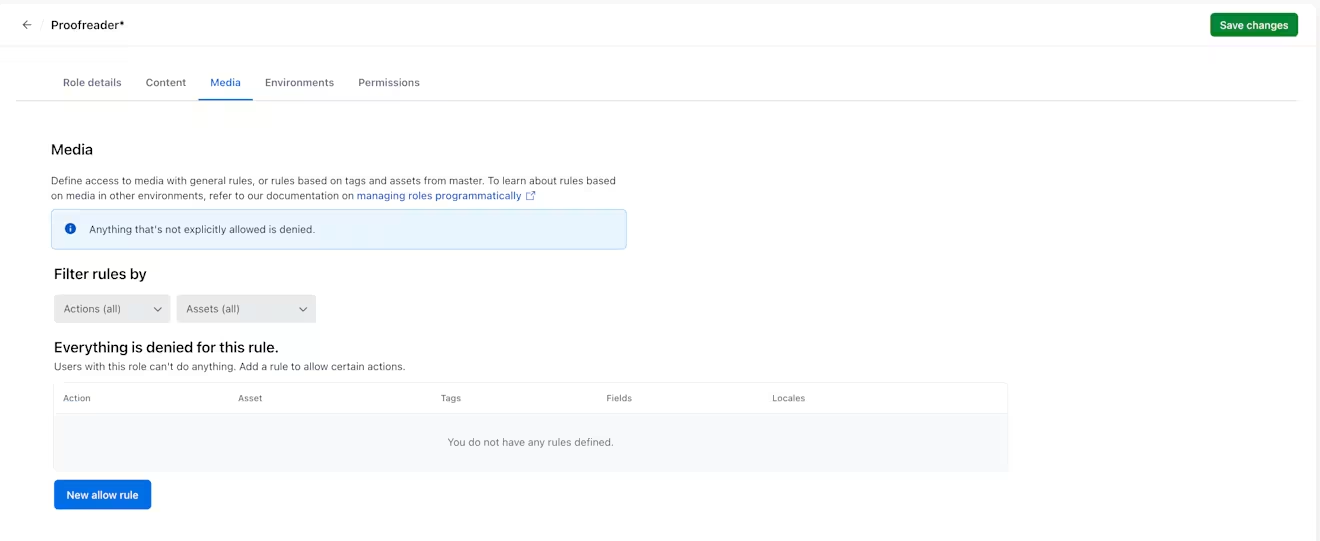
10. Click New allow rule. A row of drop-down menus is displayed to help refine the permissions.
NOTE: You can also specify which media the role cannot access by clicking New deny rule.
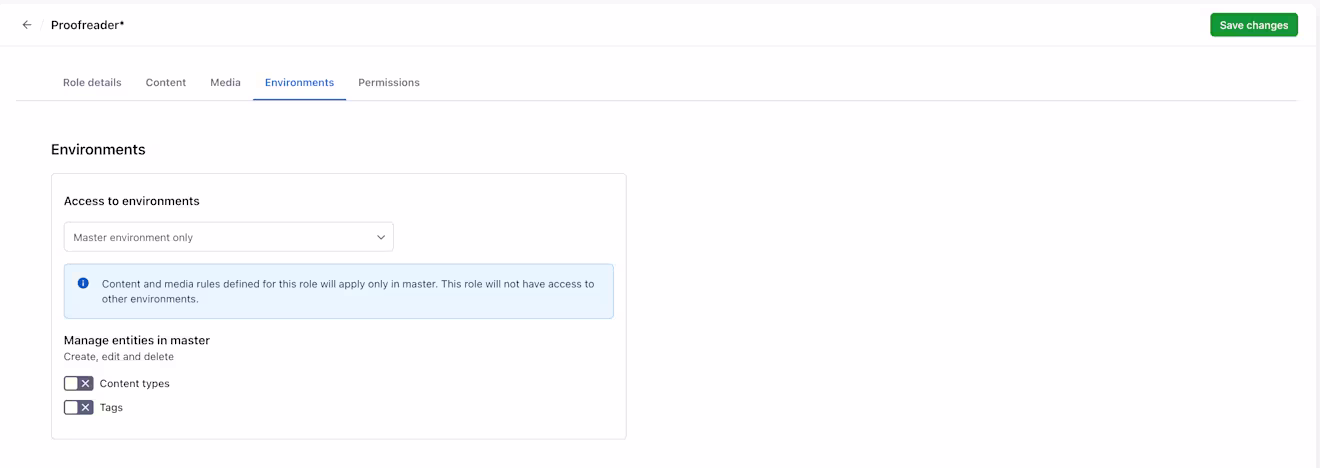
11. Navigate to the "Environments" tab and select which environments the role can access. You can limit access to the master environment only, give access to selected environments for more control, or allow access to all environments.
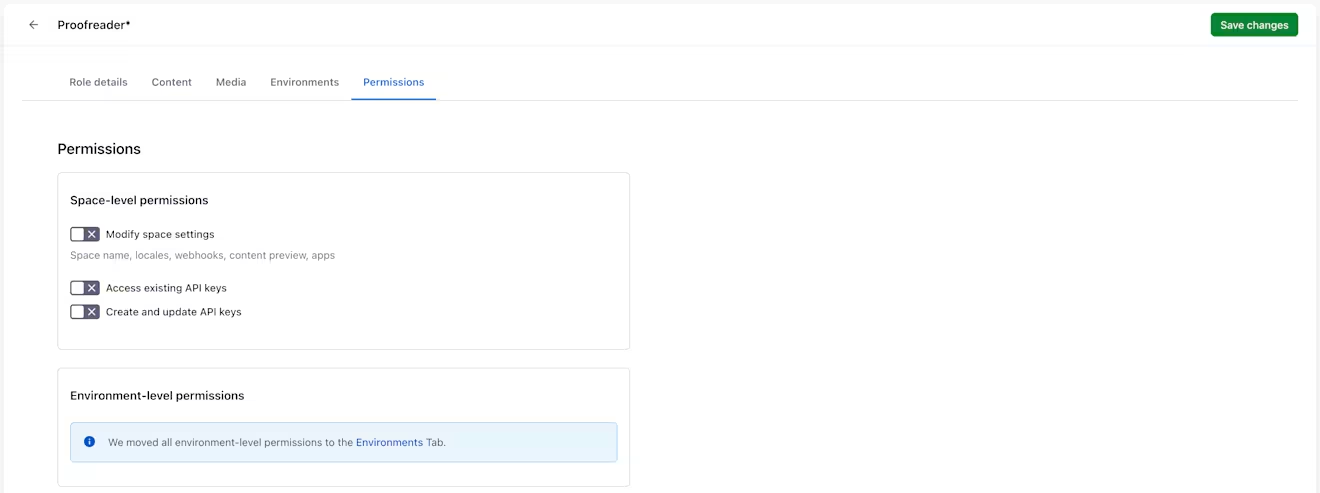
12. Navigate to the "Permissions" tab to further configure the permissions for this role at space level.
13. When you are done configuring the role permissions, click Save changes. The new role is created and displayed on the "Roles & permissions" page.
Role tester
The role tester functionality allows admins to test and troubleshoot the roles within their organization. Once entering the details, admins can view the rules that apply to roles with an allowing or denying action result.
To use the role tester functionality:
Click Settings, and select “Roles & permissions.”
Navigate to the "Content" tab to view the role tester in the right column.
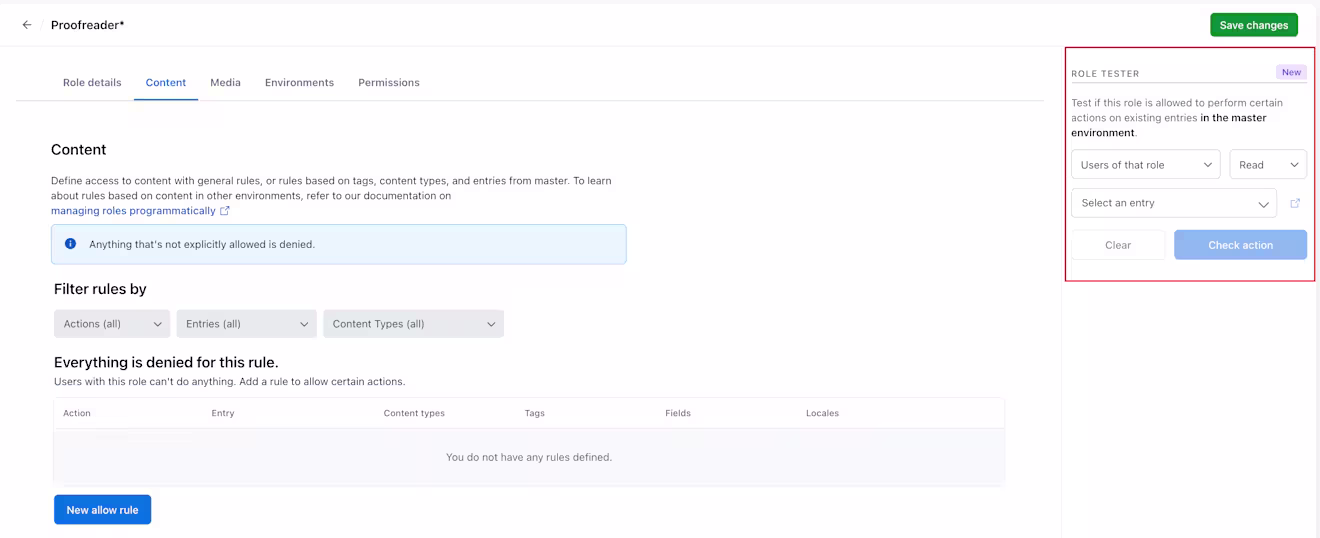
Test a role by selecting a name from the drop-down, the action, and the entry for that role.
Click Check action to view the rule results of that specific role and entry.
NOTE: You can only run the role tester functionality with entries located in the master environment. You cannot test assets or workflow permissions with the role tester functionality.
Custom role examples
Proofreader
When creating a Proofreader role, we want to have the following requirements:
A Proofreader can read any entry that is a Product.
A Proofreader can edit the “Product name” field of any entry that is a Product, regardless of locale.
A Proofreader can edit the “Description” field of any entry that is a Product, regardless of locale.
NOTE: Actions are denied by default. You must explicitly grant permission to actions you want a role to have. In our example, this includes the ability to read entries where edit permissions are granted.
Putting these requirements into the role configuration looks like this:
| Action | Which entries | Content type | Field | Locale |
|---|---|---|---|---|
| Read | Any entry | Product | ||
| Edit | Any entry | Product | Product name | All locales |
| Edit | Any entry | Product | Description | All locales |
Translator
When creating a Translator role, we want to have the following requirements:
A Translator can read any entry that is a Product.
A Translator can edit any entry in a selected locale.
Putting these requirements into the role configuration looks like this:
| Action | Which entries | Content type | Field | Locale |
|---|---|---|---|---|
| Read | Any entry | All content types | All Fields | All locales |
| Edit | Any entry | All content types | All Fields | Single locale. For example: Japanese (ja) |

NOTES:
You can create additional translator roles by duplicating the predefined Translator role, if your plan allows it.
The role name must start with the word “Translator”, with a capital T. After saving the role, the language can be switched to the dedicated locale.
The Translator role can edit fields in any locale OR a single-selected locale.
Only the Edit action can be limited to a specific locale. Every Translator role will always have reading rights for all locales.
To make the editing experience easier for translators, select Single locale in the entry editor translations sidebar.

Assign existing users to roles
After creating the custom role, the next step to enabling field-level permissions is to assign users to the role. If you want to assign a role to a user that's not currently part of your organization, see inviting new users.
To assign an existing user to a role:
Click Settings, and select "Roles & permissions".
Under the "Members" column, click the link indicating the number of members for the role you want to assign. The Users management page is displayed.
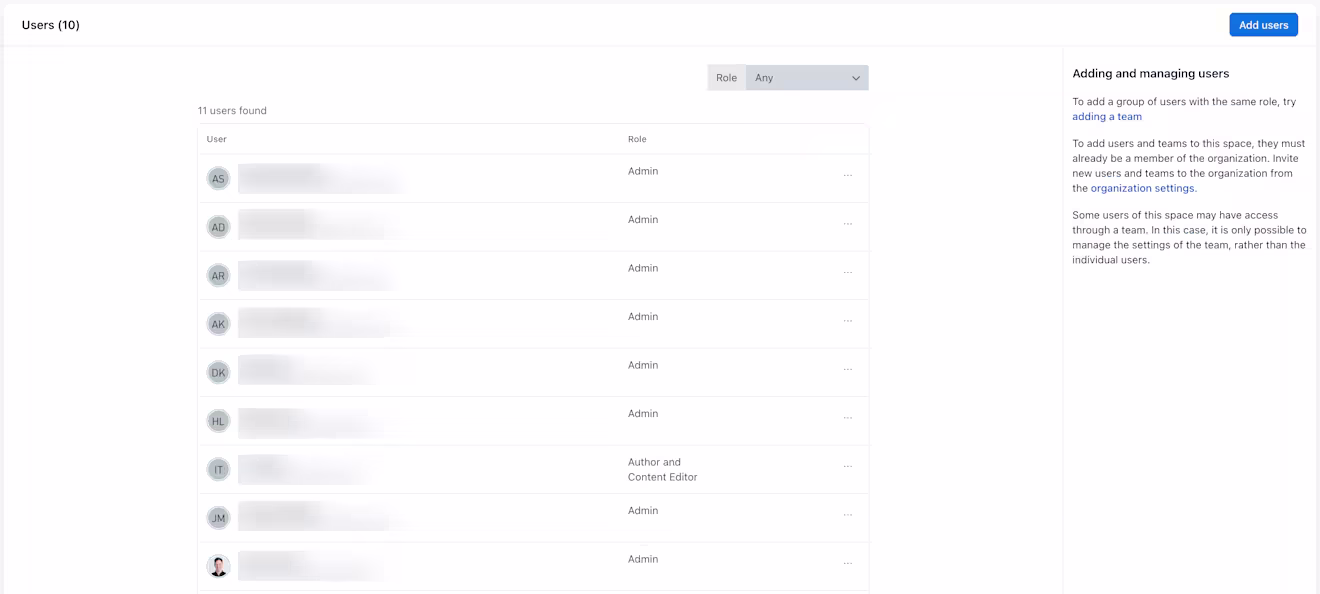
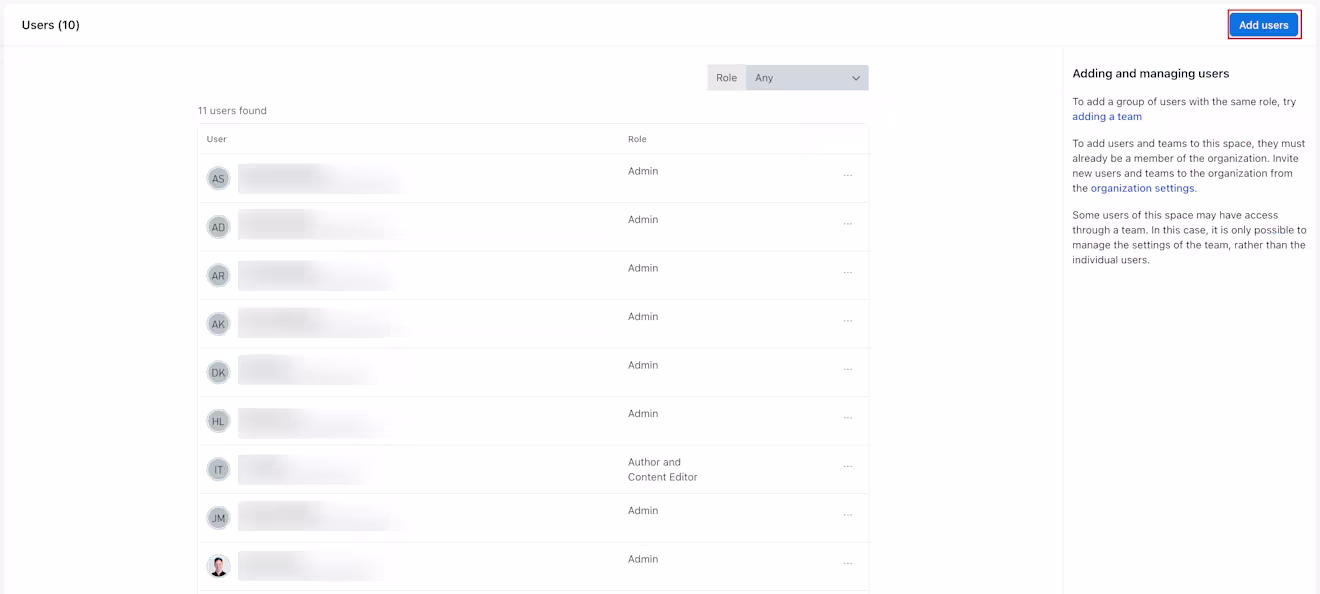
Click Add users to bring up the list of users for the organization.
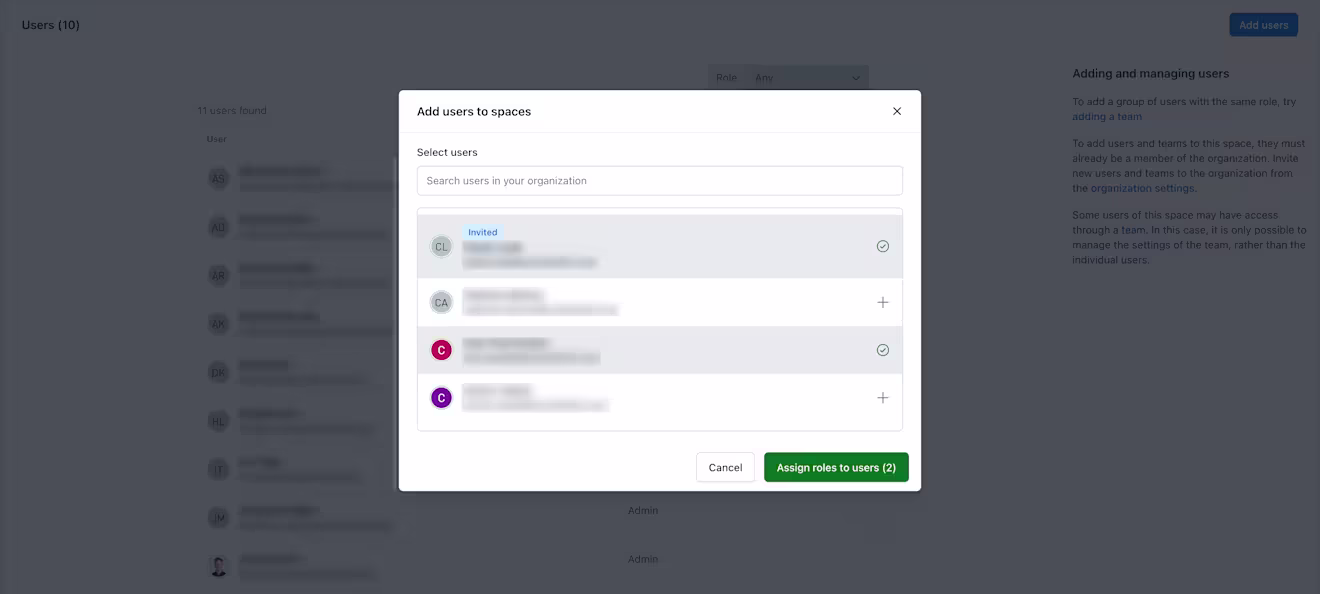
Select one or more users and click Assign roles to users.
Select the role that should be assigned to the user and click Add selected users.
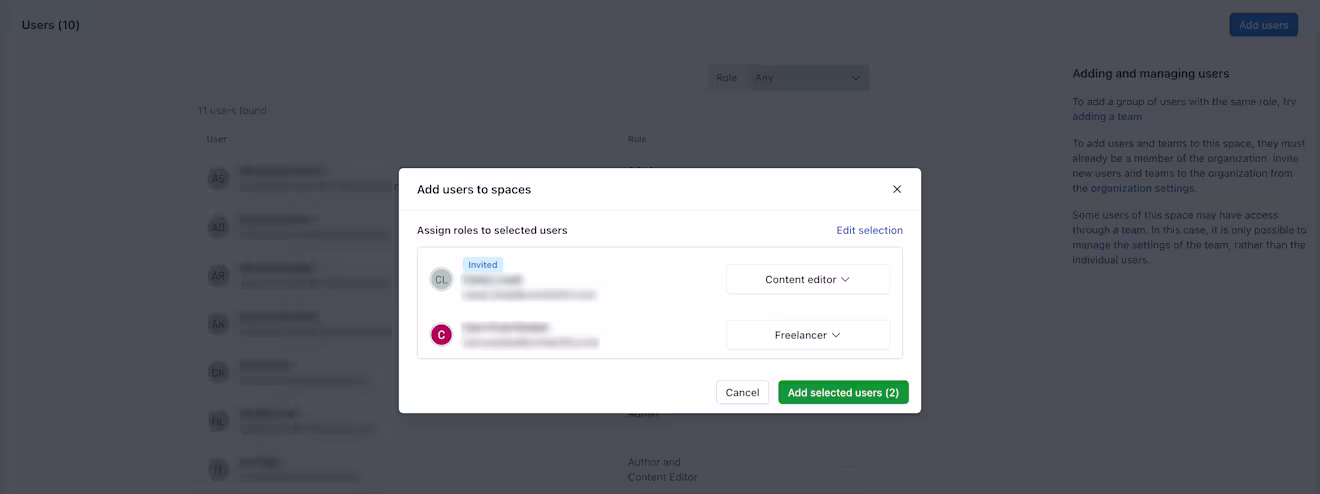
The user will receive an invitation to the space and will be displayed on the "Users" page with the assigned role.