Localization
Overview
Locales are language-region pairs that allow you to add and maintain multiple versions of your content for different geographical regions.
For example, your entry can have the locales en-US and de-DE, which you can fill with content in English (United States) and German (Germany).
Publish locales
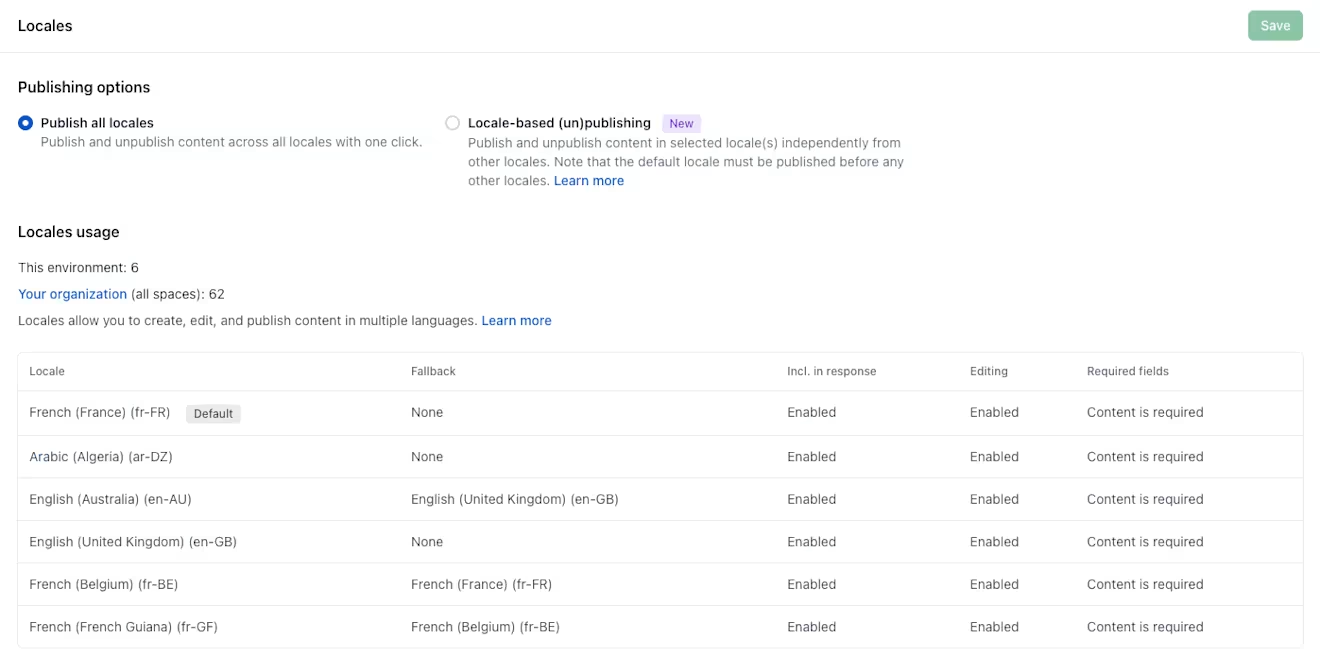
There are the following modes to publish your localized content:
Publish all locales — Allows you to publish and unpublish all locales of an entry, asset, or experience with one click.
Locale-based (un)publishing — Allows you to publish and unpublish content in one or multiple selected locales, in isolation from other locales.
NOTE: The locale publishing mode is defined on an environment level.