Create a Timeline release
To create a Timeline release:
Log in to the Contentful web app.
Navigate to the “Content” tab.
Click the time picker to view all of your existing releases.
Click + to create a new release.

NOTE: You can also create a new release from the entry editor.

The "Create release" modal is displayed.

Select what type of release you want to create: Scheduled or Ideation.
Select Scheduled if you want to have your release published at a fixed date.
Select Ideation if you want to collaborate and test out your content changes without publishing them.
Under Title, enter a relevant name for your release.
Set the schedule for when you want this release to go live by setting the Date, Time and Time zone fields. The start date can be up to four months in the future.
NOTE: If you do not currently have a go-live date, select the Set schedule later check box and configure this at a later time.
Click Create. Your release is created.
You can check the time picker and see that the version of the entry is now included in the newly created release.
Edit content of a Timeline version of an entry
Once you create a release, you can make updates to the content and preview them well in advance before the publishing date.
To edit the content of a Timeline version of an entry:
Open the entry you want to include in your newly created release.
Edit the fields you want to update for your release.
NOTE: The fields that are not included in your release are marked with a Not in release status.
Click +Add content, and select Add existing content. The “Add existing entries” modal is displayed. Select the entry you want to include in your upcoming release.
Click Insert entry. The entry is included and the status changes from Not in release to Will publish.

Add entries to a release
To add an entry to a release:
Open the entry you want to include in a release.
Click the time picker, and select the release in which you want to have the entry. The “Add entry to release” modal is displayed.
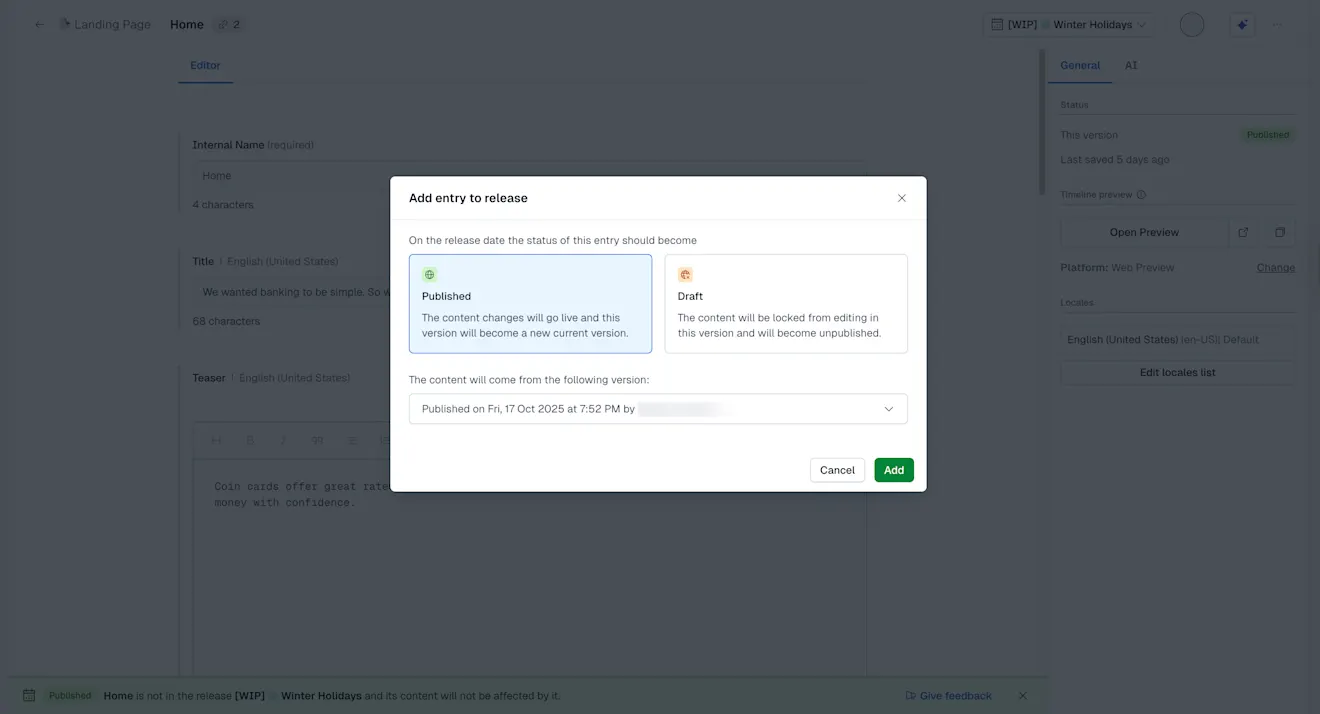
Select whether you want your entry to be published or unpublished at the time of the release going live.
Under "The content will come from the following version", select which version of your entry you want to include in the release. This is useful when the entry version should be very similar to a version that is already planned.
For example, the "Christmas" release content might be much closer to the content in the "Current version", than in "Black Friday". In this case, it's more efficient (less editing) to fill the content from the “Current version”.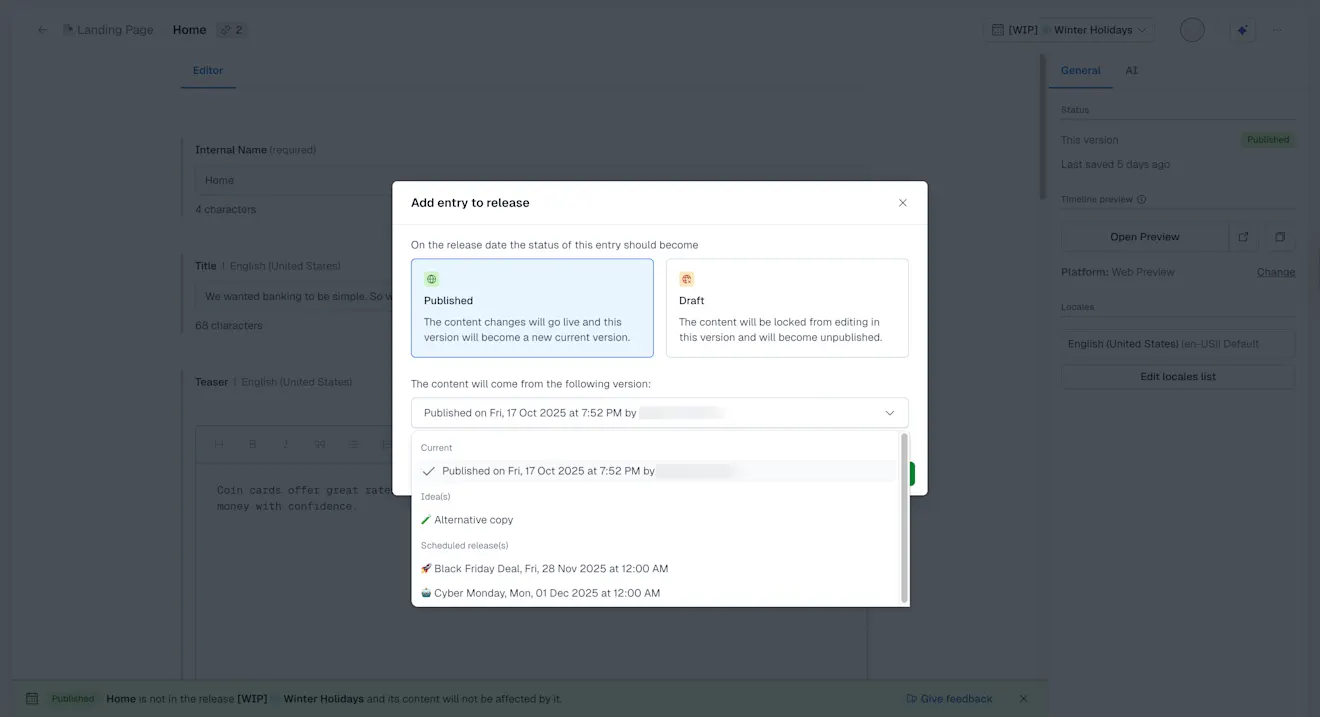
Click Confirm and add. Your entry is added.
Add assets to a release
To add an asset to a release:
Log in to the Contentful web app.
Navigate to the “Media” tab.
Open the asset you want to include in a release.

Click the time picker, and select the release in which you want to have the asset. The “Add asset to release” modal is displayed.
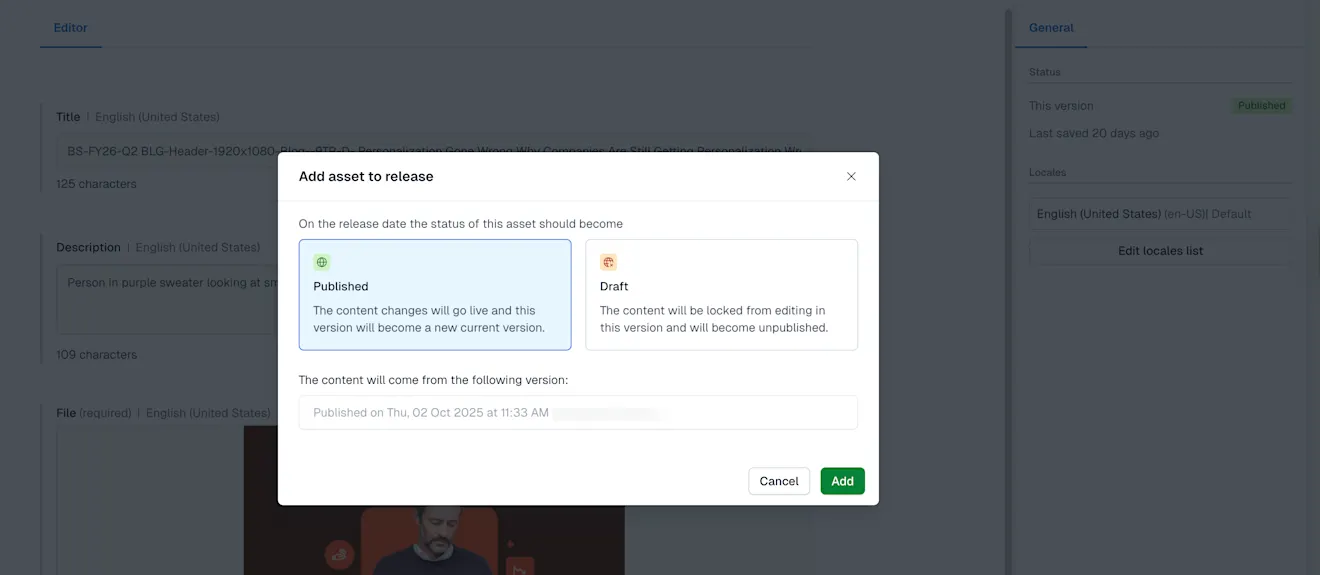
Select whether you want your entry to be published or unpublished at the time of the release going live.
Under "The content will come from the following version", select which version of your asset you want to include in the release. This is useful when the asset version should be very similar to a version that is already planned.
Click Confirm and add. Your asset is added.